

Mini Box Advent Calendar


This project takes a bit of time because you have to make 24 small boxes. On the plus side once Christmas is over, if you store the Advent Calendar somewhere safe it will keep for years to come and so can be used over and over again, year after year.
I know the thought of making 24 boxes is quite daunting but they are fairly easy to construct, and once you've made your first one the others will come together quite quickly. It's also a great way of using up scrap card because each box can be cut from an A5 sheet (half an A4 sheet) and the boxes don't need to be cut from the same colour card either, in fact the more colourful the better.
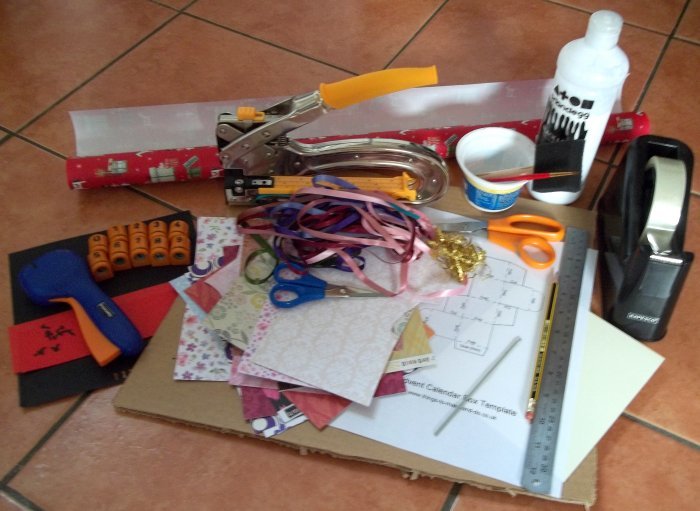
You will need:
Scissors
Pencil & eraser
Plain card (to make stronger template)
Patterned card (to make boxes)
Ruler
Thin crochet hook or something similar (to score folds on card)
Strong card & Christmas wrapping paper
PVA & spreader, glue stick or double-sided sticky tape
Number stickers, print-outs or hand drawn numbers
Hole-punch, ribbon & sticky tape
Extra decorations (optional) - glitter, ribbon bows stickers etc
What to do
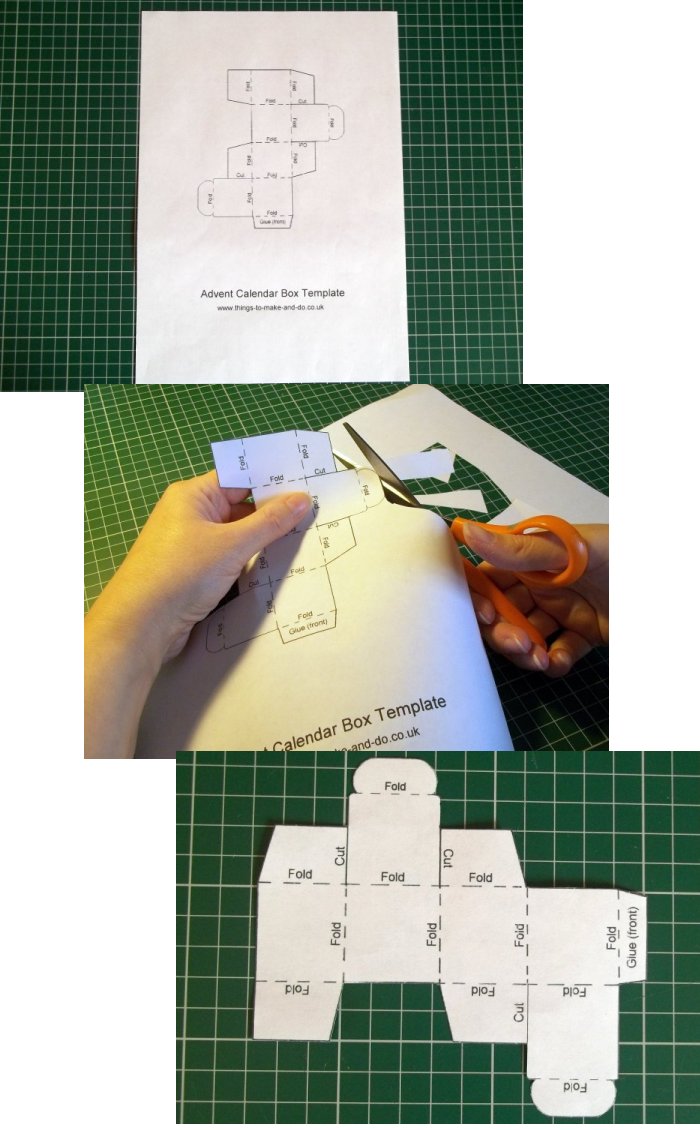
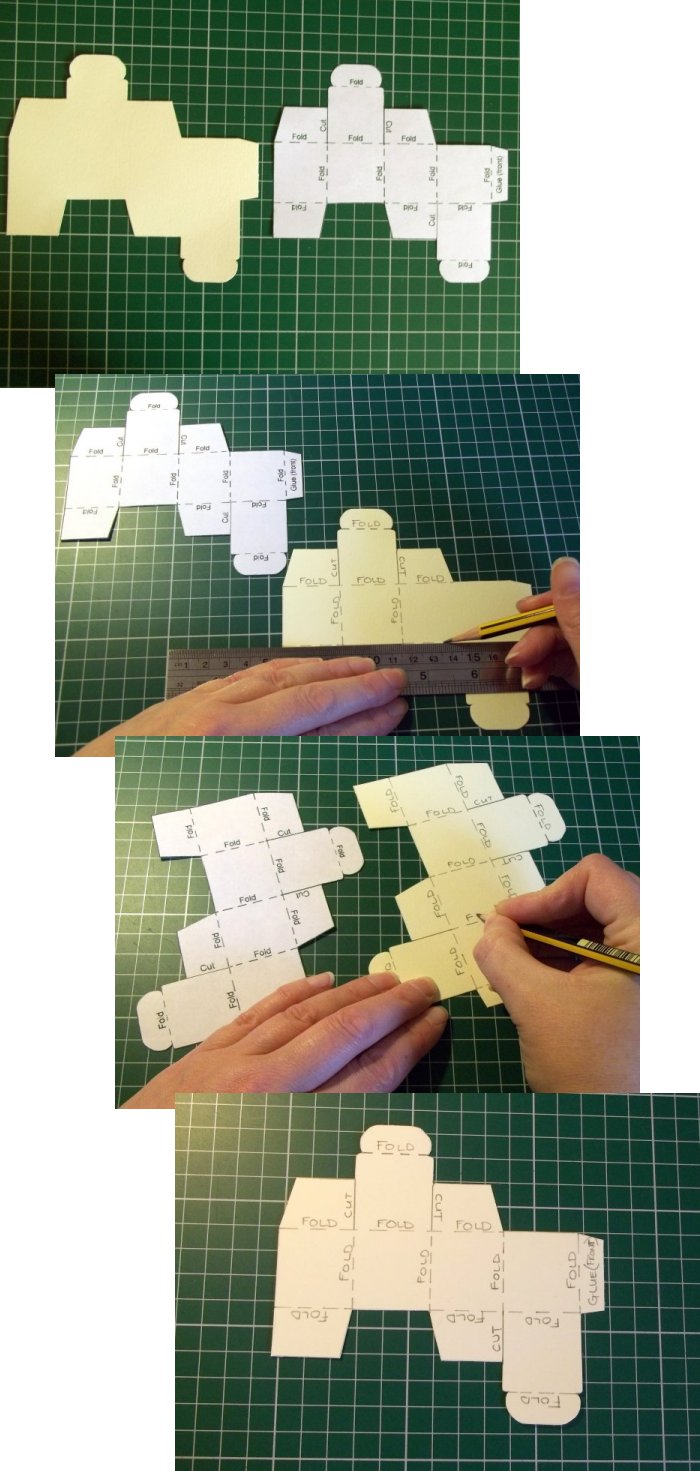
1. Print and carefully cut out the paper template.
2. Place the template onto some plain card and accurately draw around it.
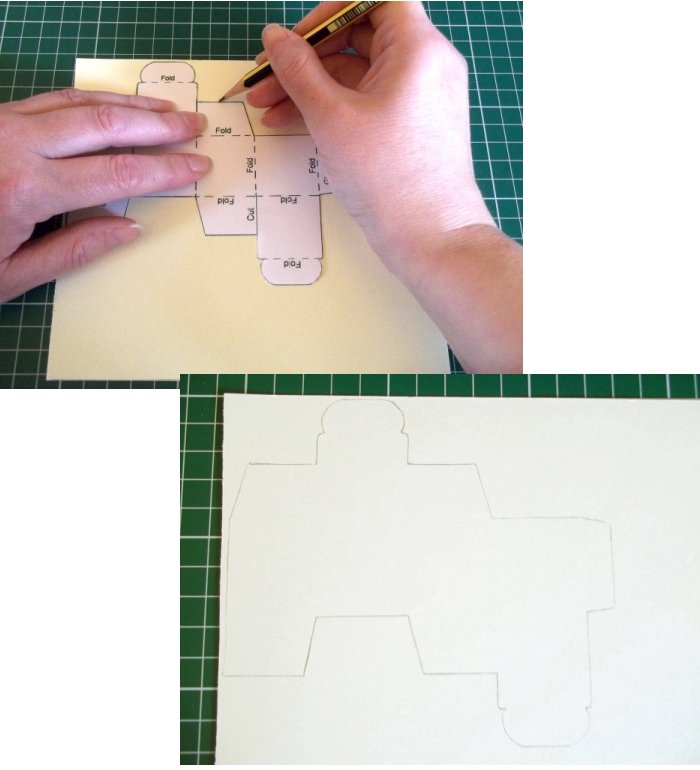
3. Carefully cut out the stronger template.
4. Referring to the paper template printout, mark and label all the fold and cut lines.
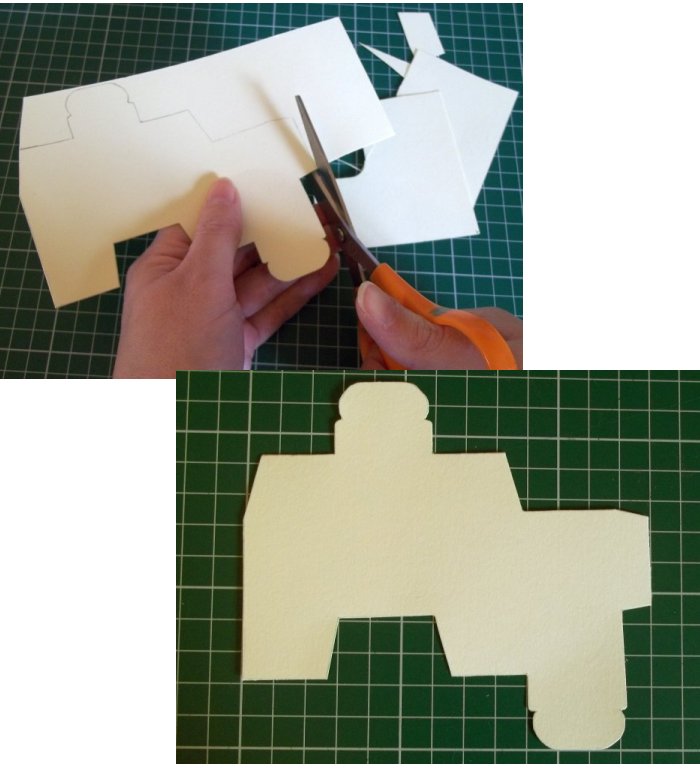
5. Place the card template on the back of some patterned card and carefully draw around it and cut out. Gently erase any pencil lines.
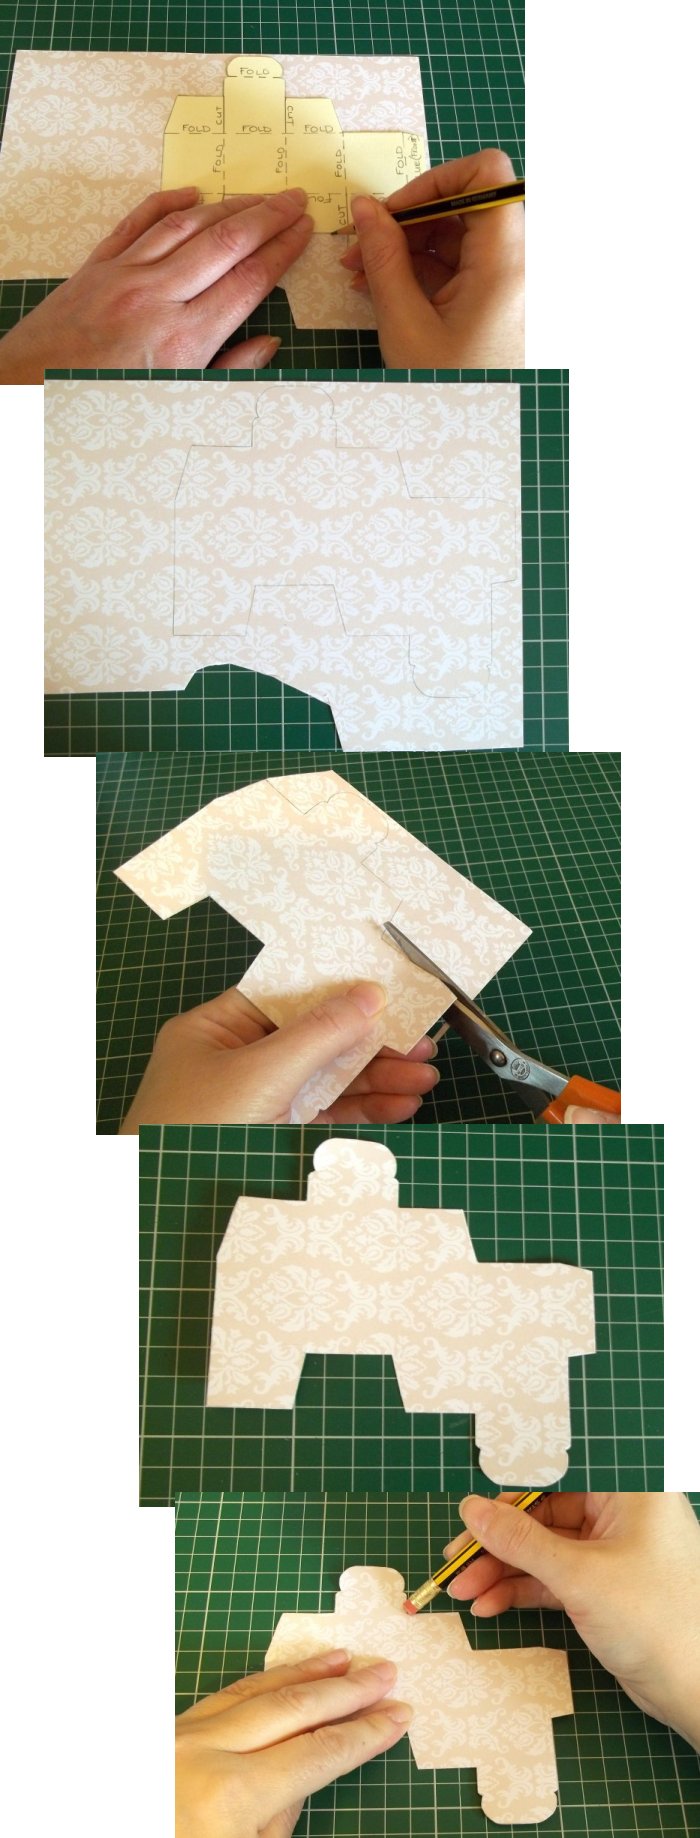
6. Using the template as reference score and press the 'fold' lines using the crochet hook and ruler, cut the three 'cut' lines, then re-press the folds.

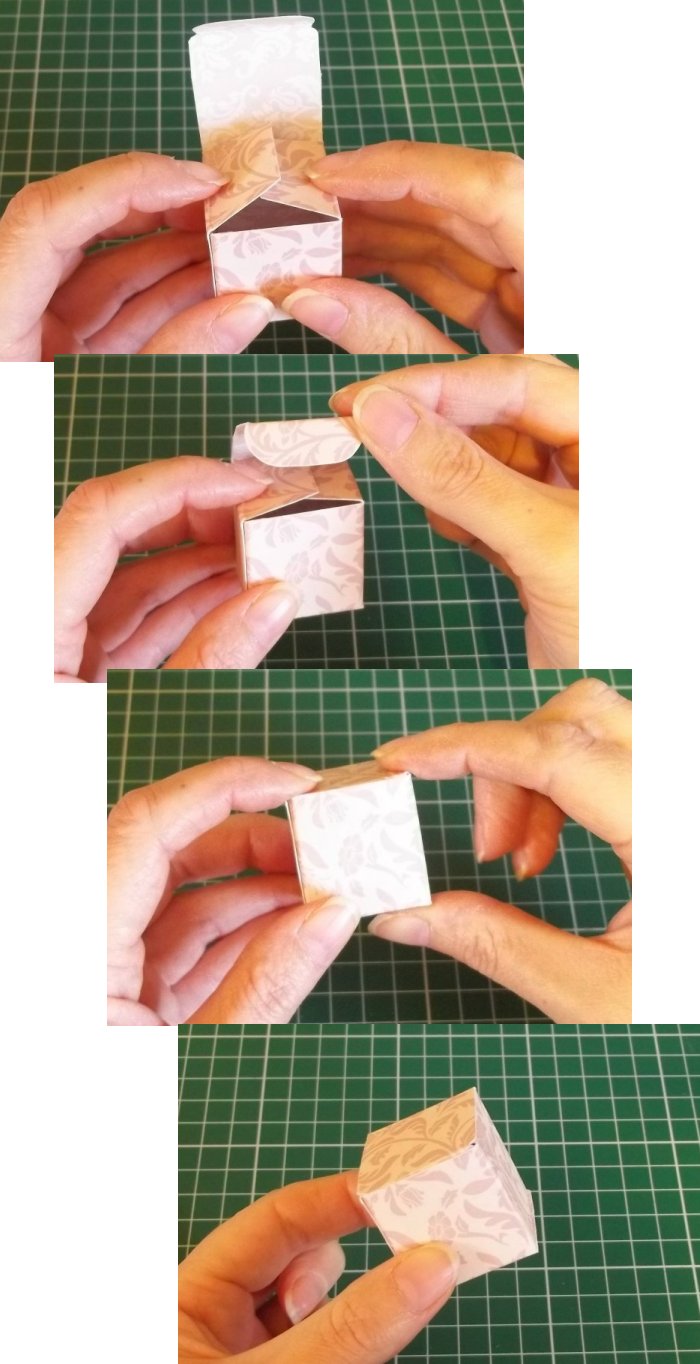
7. Spread some glue on the front side of the 'glue flap', fold the sides together to make a box shape and stick to the inside edge of the opposite side, fold in the flaps and hold for a few seconds to help keep the box's square shape while the glue dries. Open out the flaps.
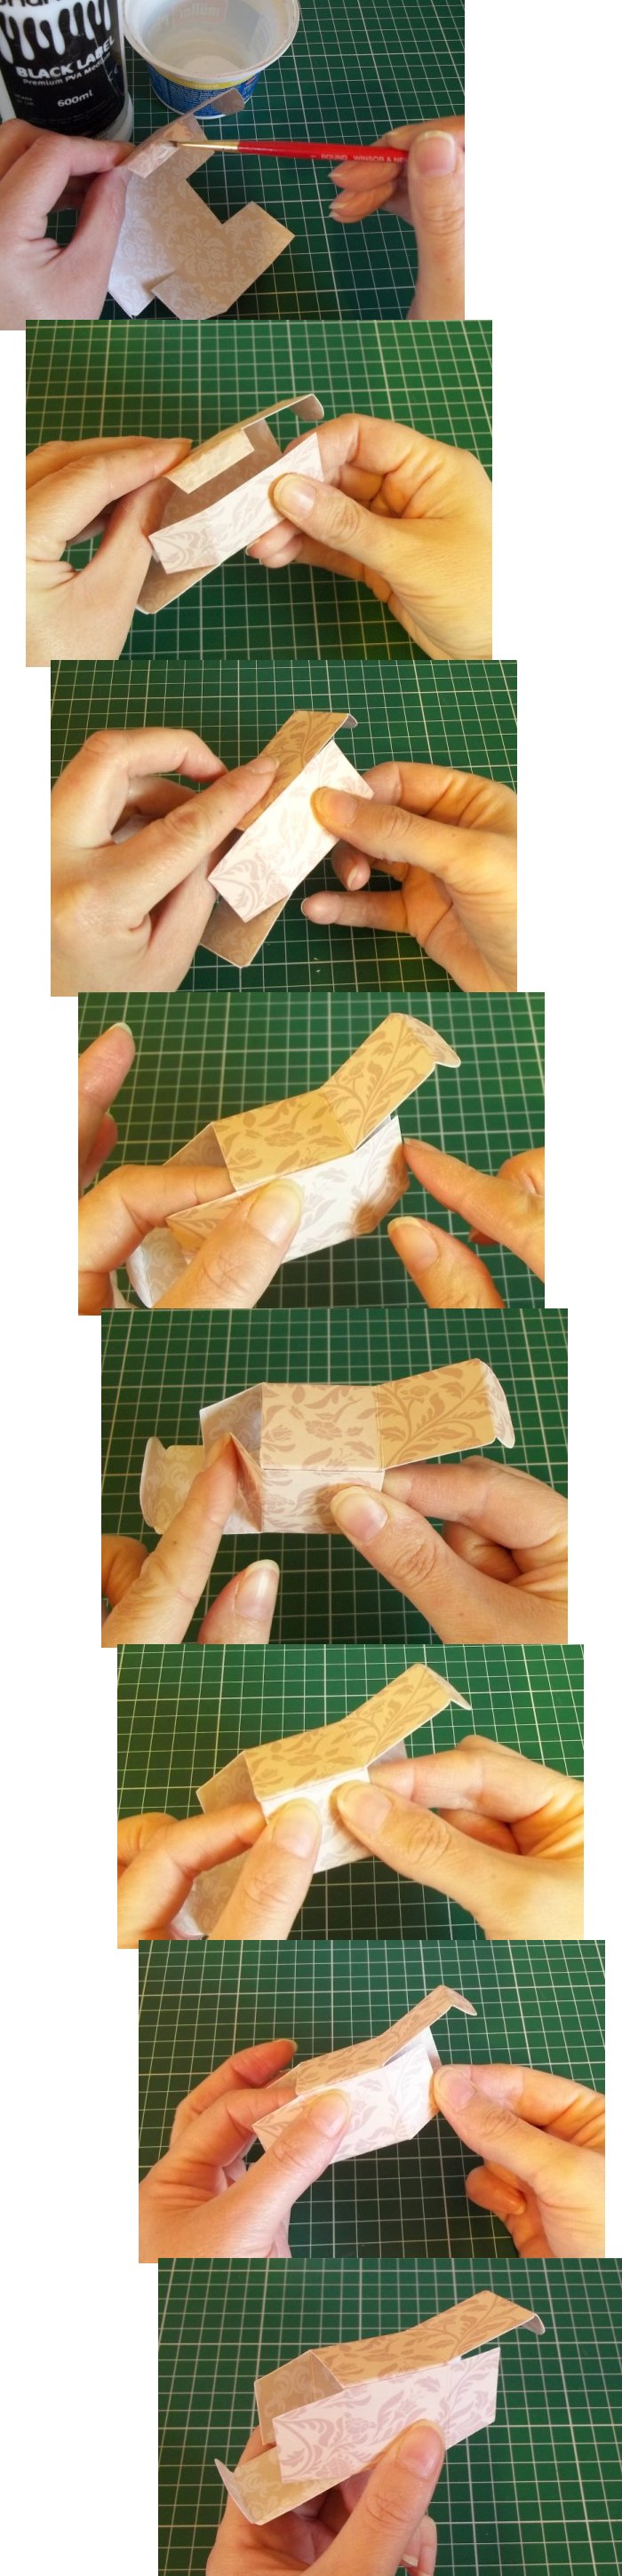
8. Decide which end is the base of the box and then tuck in the side flaps and close it. Spread a little glue on the inside (front) edge of the bottom flap and press it to the inside of the box. The bottom of the box will now not open.
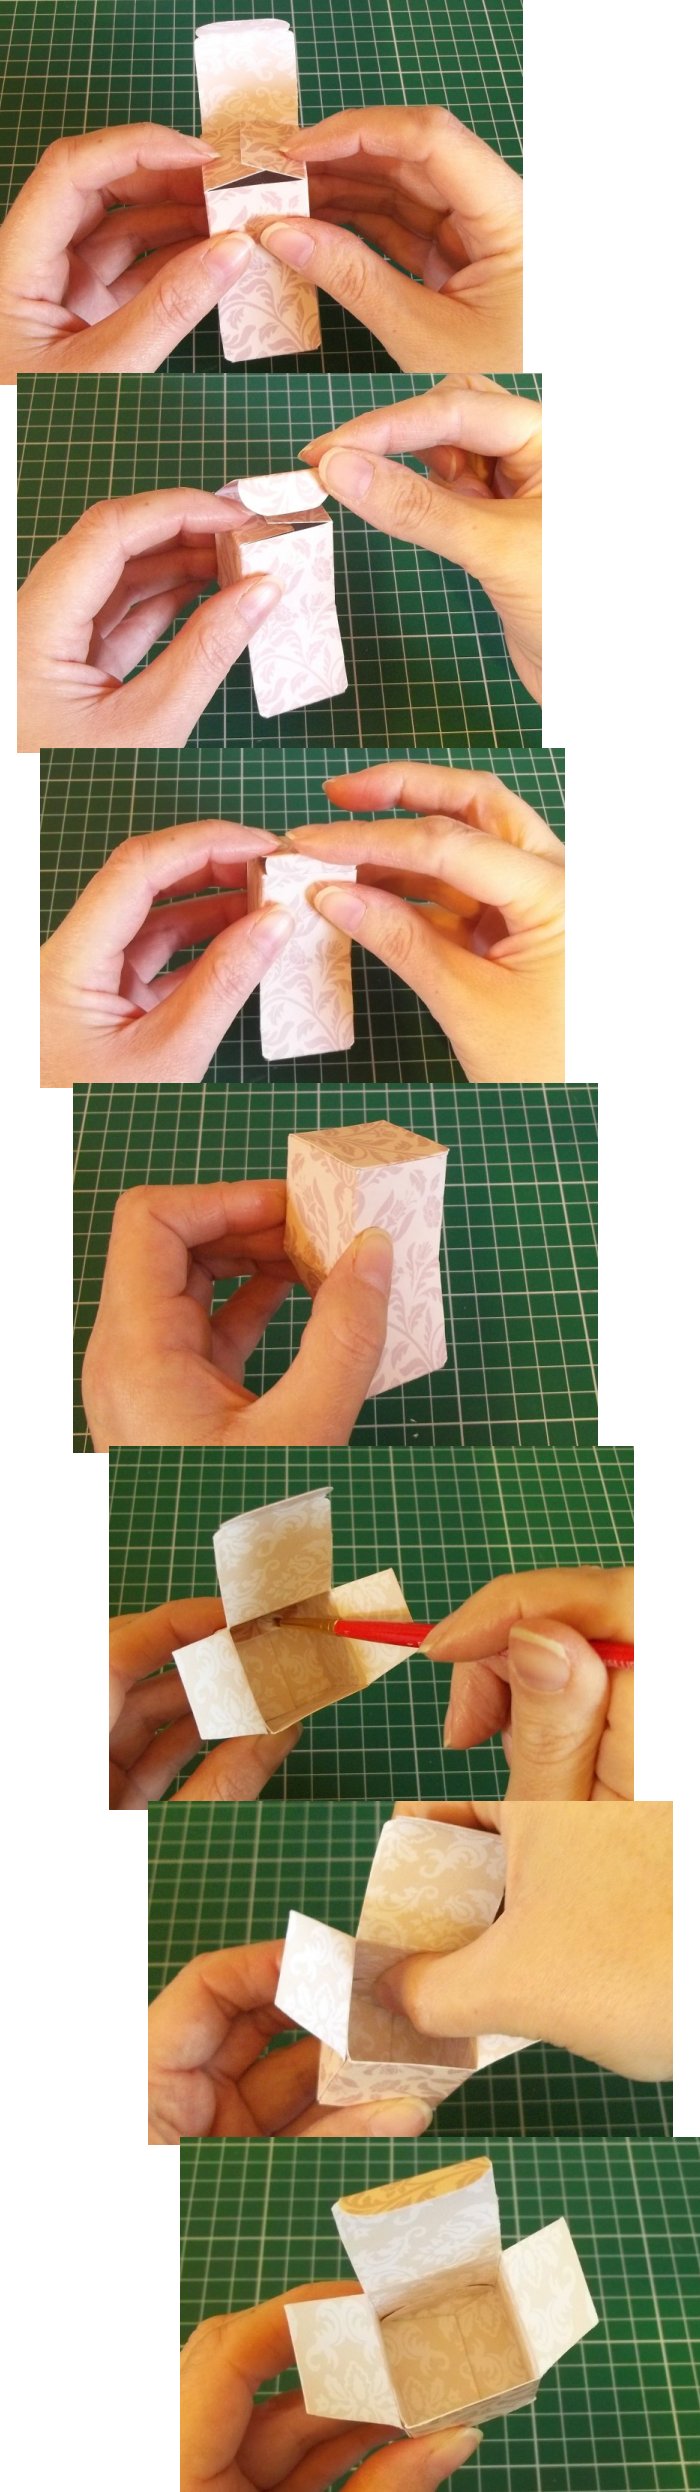
9. Tuck in the side flaps and close the box lid.
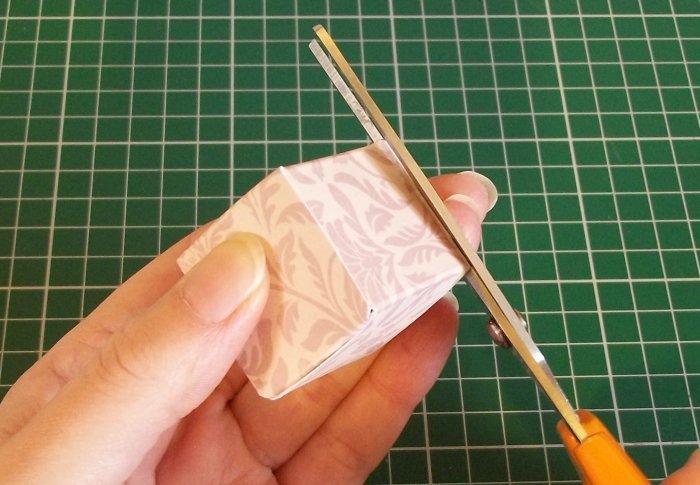
**TOP TIP - As these boxes are hand cut there is always a chance that the base or lid are a little big, not to worry, just carefully trim with scissors to match the sides. - TOP TIP**
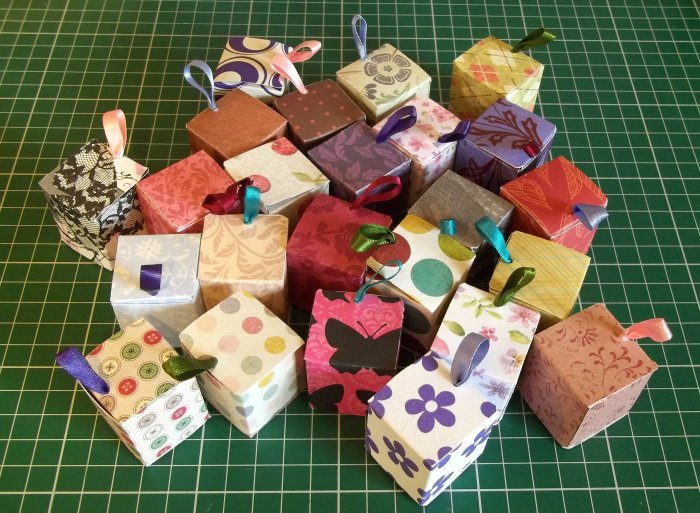
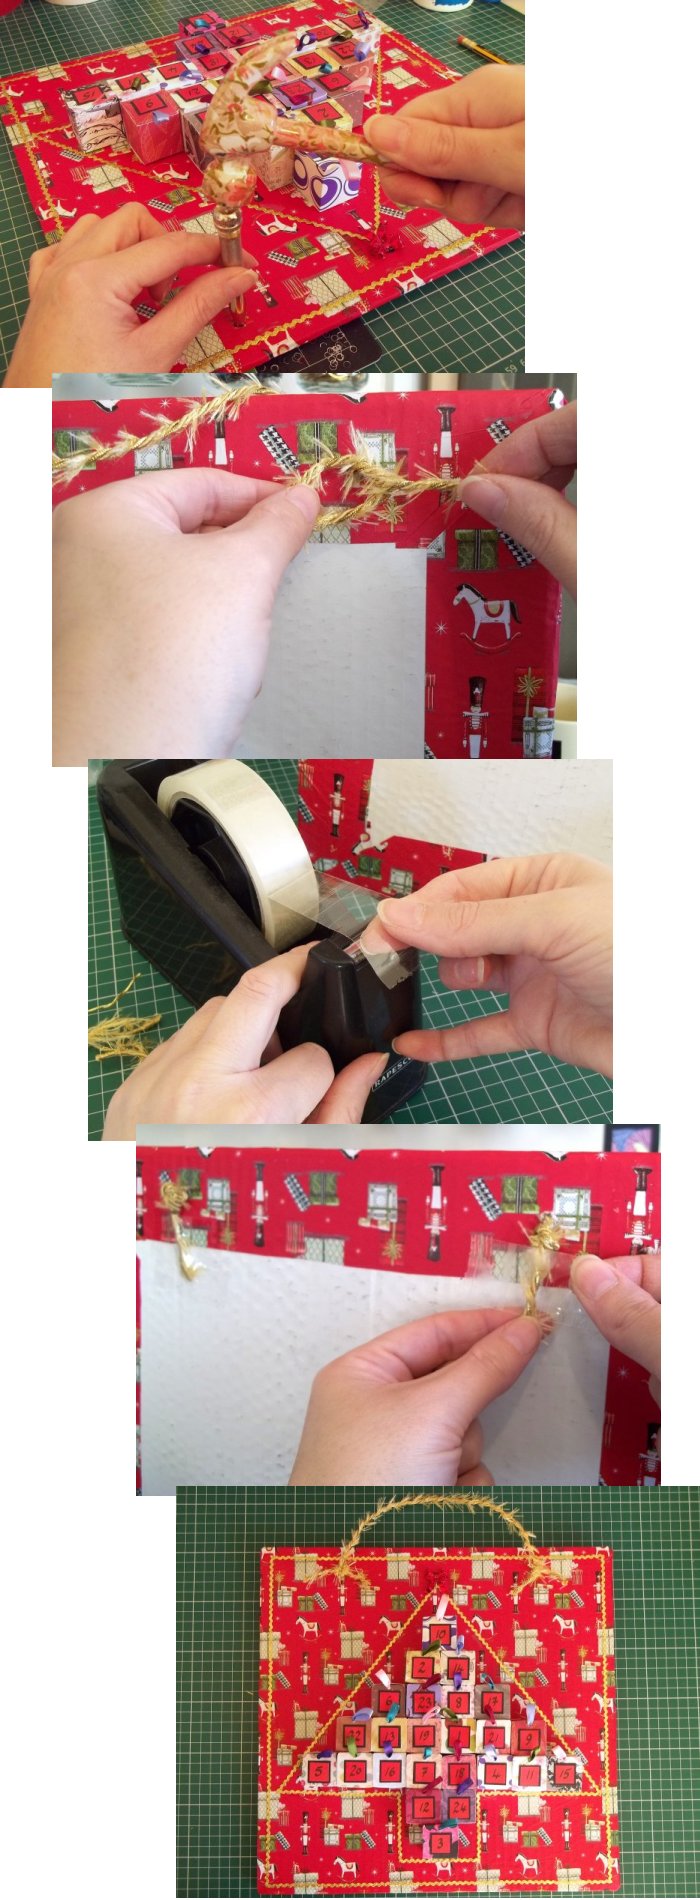
10. To help open the box once it's part of the calendar & to add extra colour, punch a small hole in the top of the box lid near the edge joining the 'tuck in' flap. Fold about 15cm of 5-7mm ribbon in half. Knot the ends together to create a small loop and then thread the loop through the hole from back to front, snip off excess ribbon and secure it to the back of the lid with a little sticky tape. You now have a small pull handle to open the box with.

11. Box number one is now complete, you just need to make another 23 for your advent calendar.
**TOP TIP - You can number the boxes now if you like but depending on your design the boxes could potentially be positioned to open from different directions. Therefore I recommend waiting until they are attached to the background, that way you can make sure that the numbers are facing the right way up. - TOP TIP**
12. When all your boxes are made arrange how you want them to look on the table in front of you. When you are happy with your layout measure the boxed area plus a bit extra for your background.

13. Measure and cut out the background from strong card (I used the bottom of a fruit & veg box from my local supermarket and cut a 13" square).
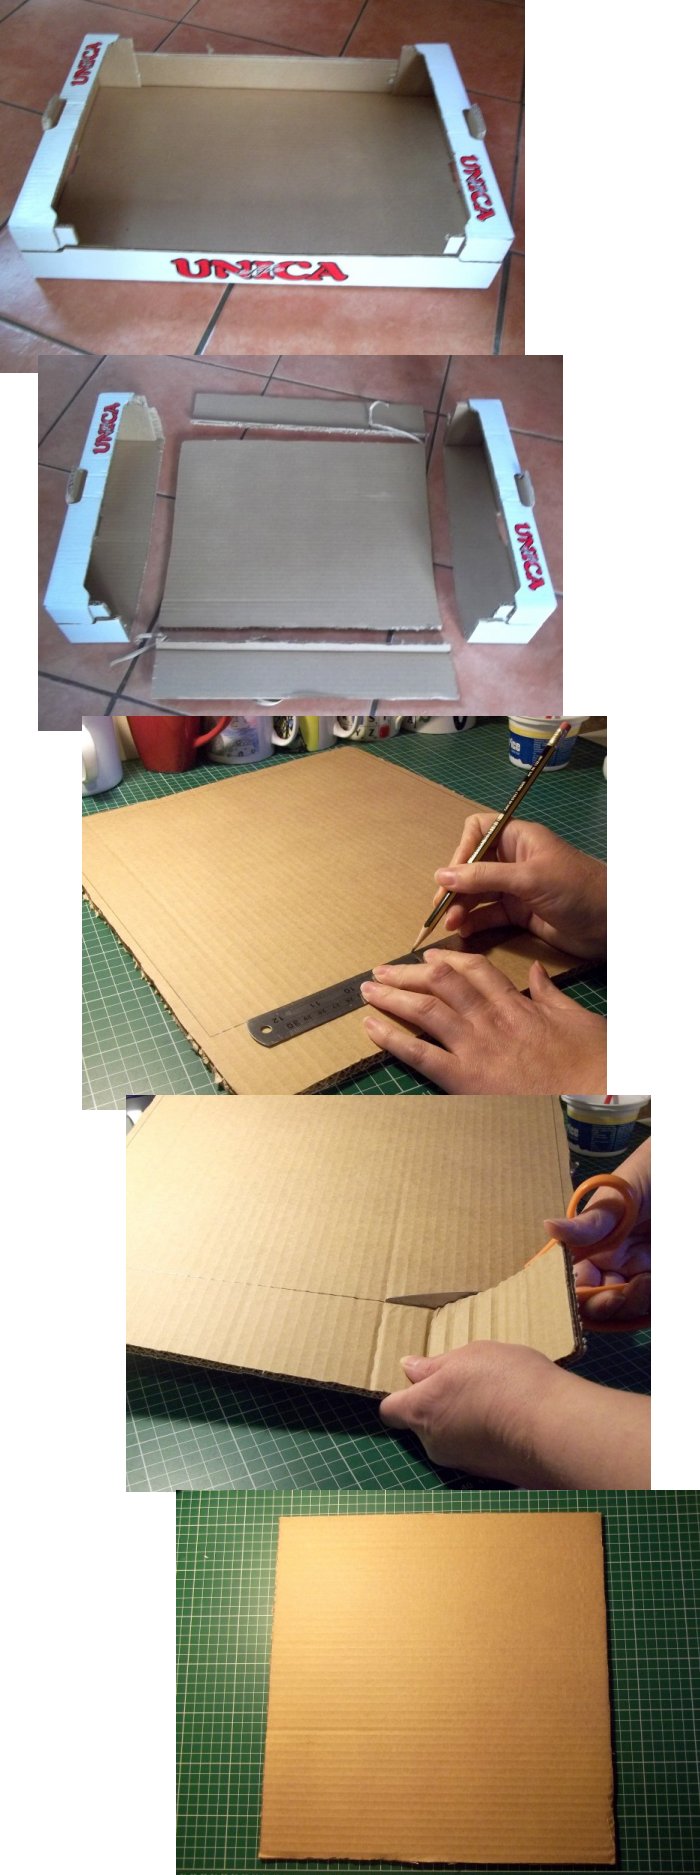
14. Cut some Christmas wrapping paper large enough to wrap around the front, sides and an inch or so of the back of the card.
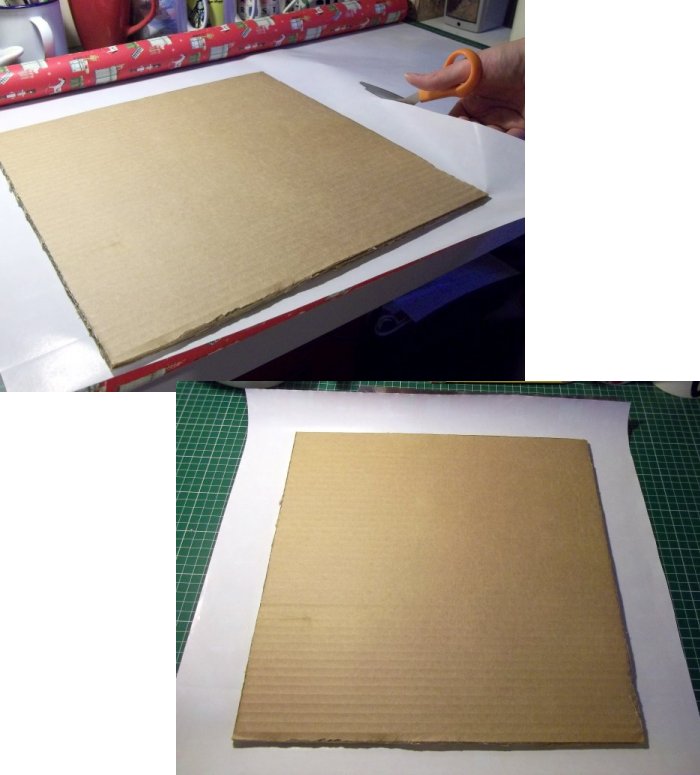
15. Spread some glue on the card, then place the card in the centre of the wrapping paper glued side down. Spread some glue on corners of the paper and fold hem over onto the card. Spread some glue on the remaining paper and wrap around the sides securing at the back. Carefully smooth any creases out with your hands and leave to dry.

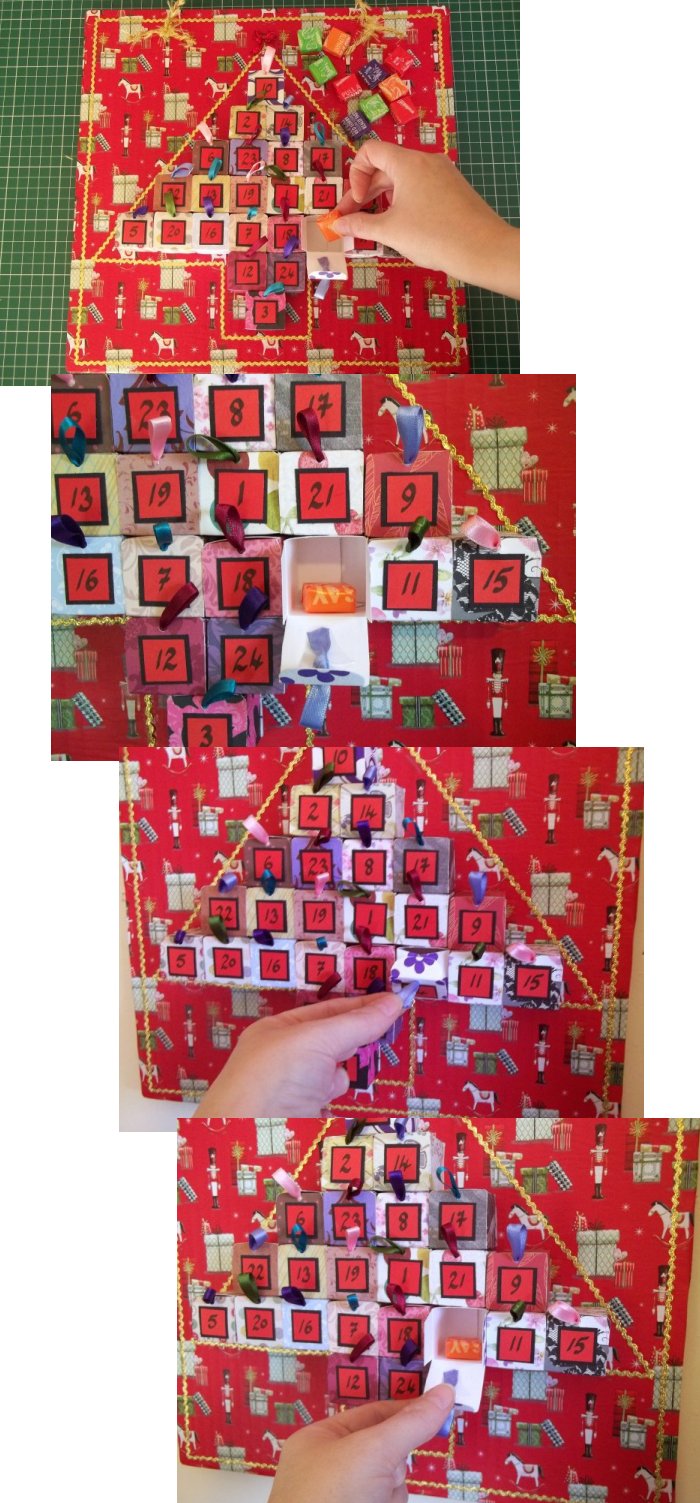
16. Arrange the boxes on the front of the covered card making sure they open in the right direction.
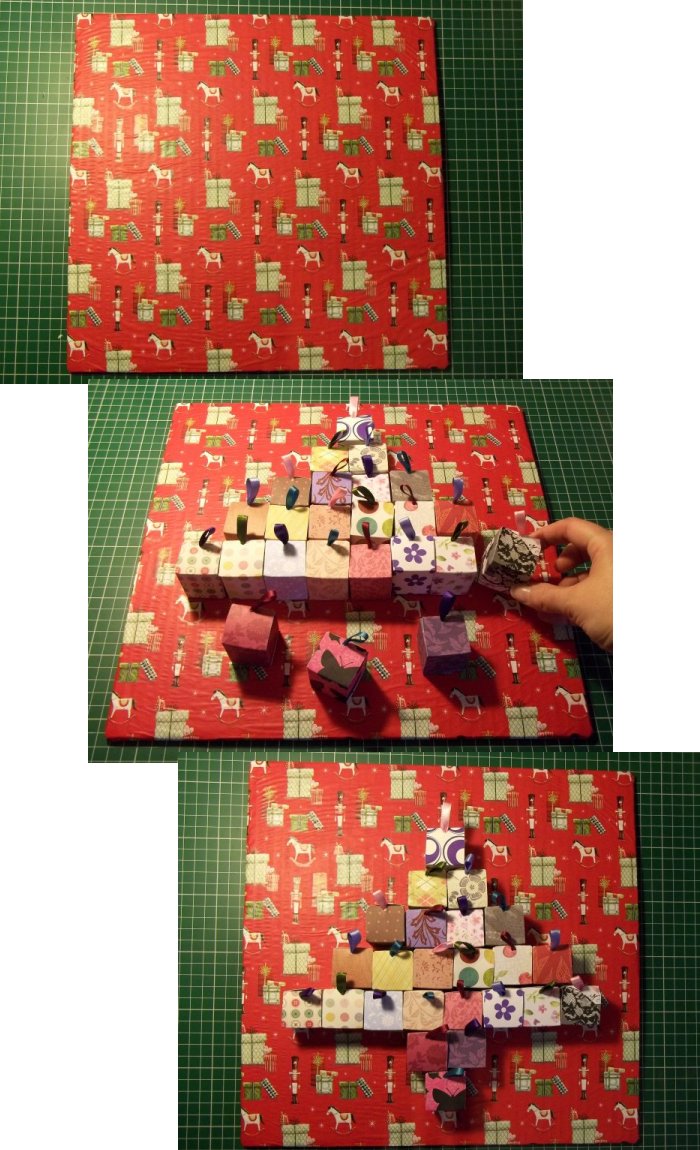
17. Glue the boxes in place to the board and to each other if they touch (be careful when positioning the boxes, I got distracted and my 'tree' ended up a little lop-sided) leave to dry.

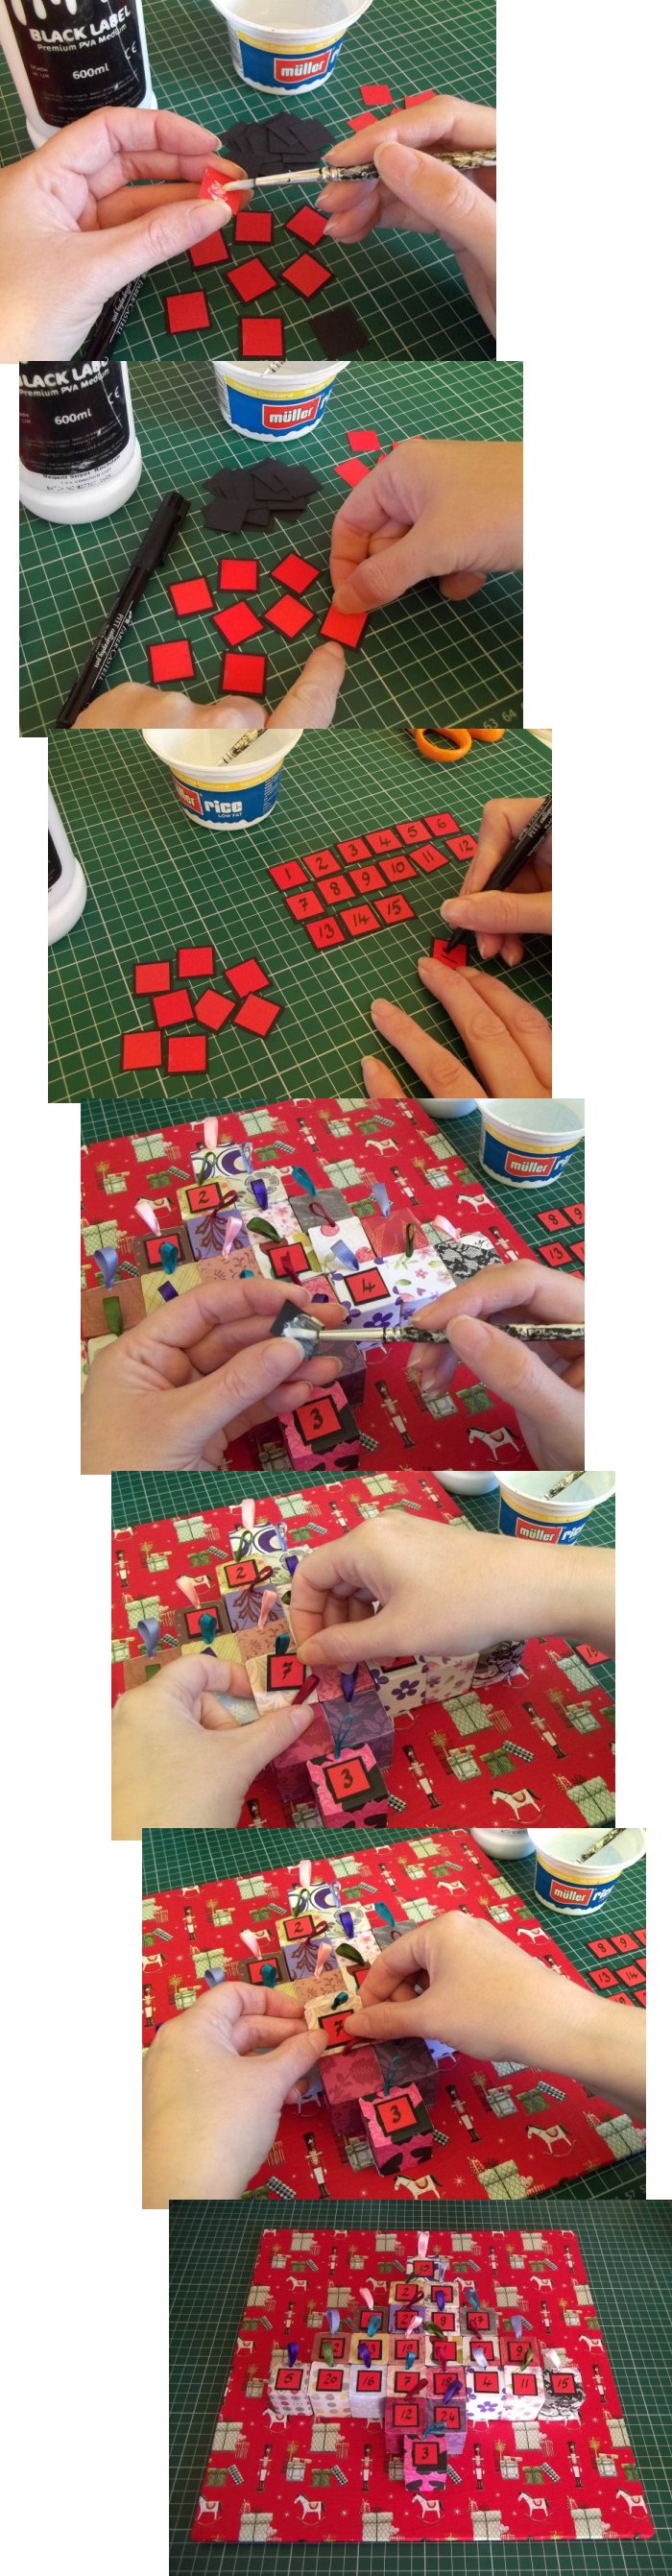
18. Number the boxes 1 through to 24. You can use stickers, print outs, or even draw your own numbers onto card/paper, cut them out and glue them onto the boxes (I cut out some red & black squares, glued them together then wrote the numbers on with black permanent marker).
19. (optional) Add any extra decorations.
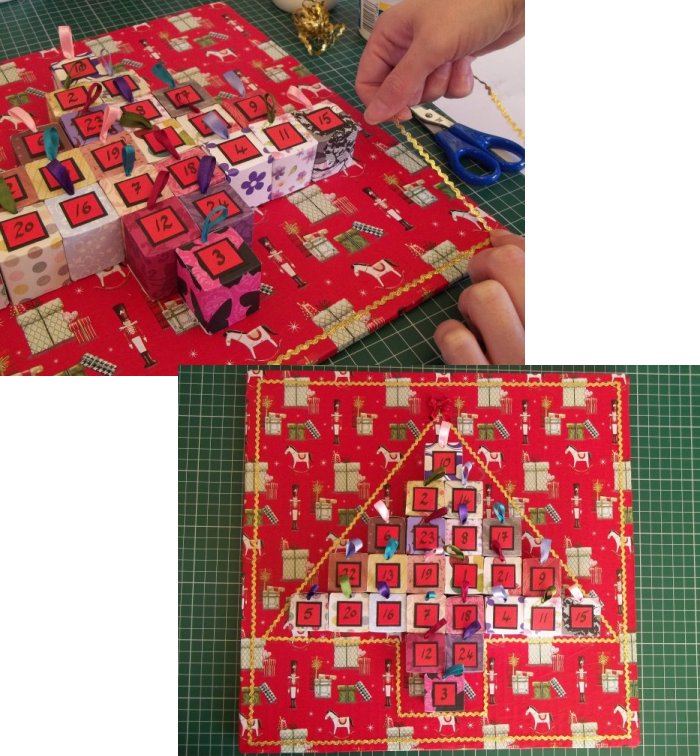
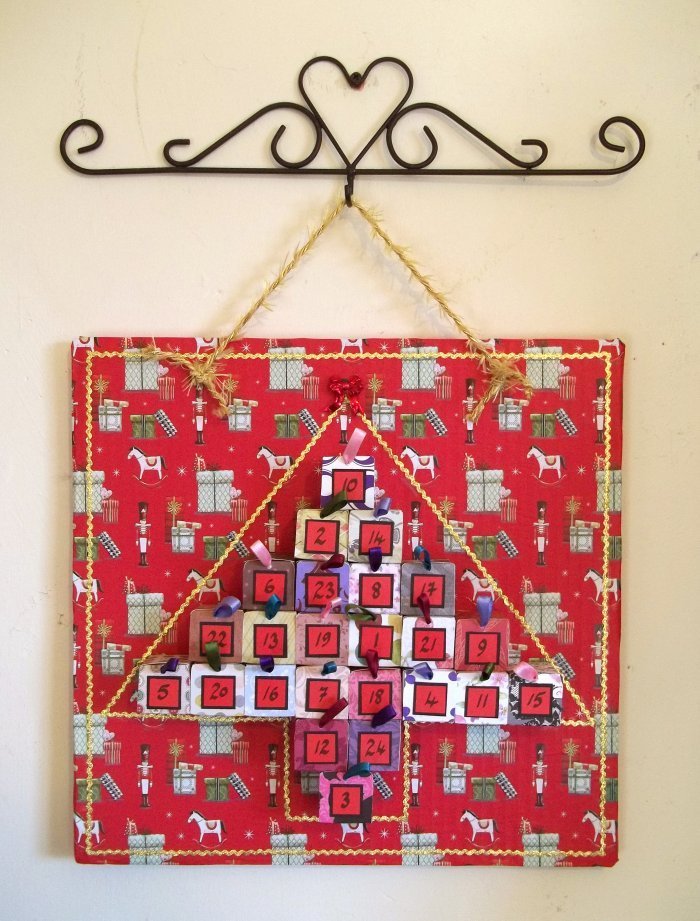
20. (optional) If you would like to hang-up your advent calendar then punch two holes equally spaced near the top of the card. Thread a length of ribbon through the holes, knotting the ends. Secure to the back of the card with some sticky tape.
21. Now all that's left is to place a small gift or sweet etc in each box and give your advent calendar to someone special.
Back to the Paper and Card projects menu...