

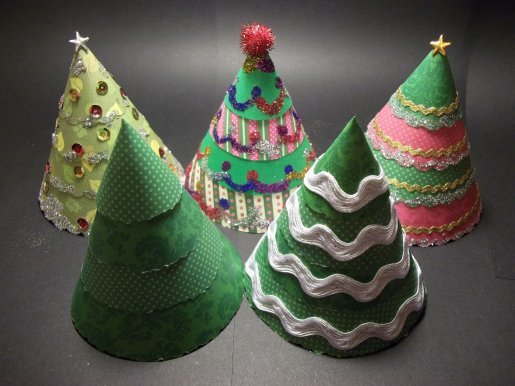
Make a Cone Christmas Tree
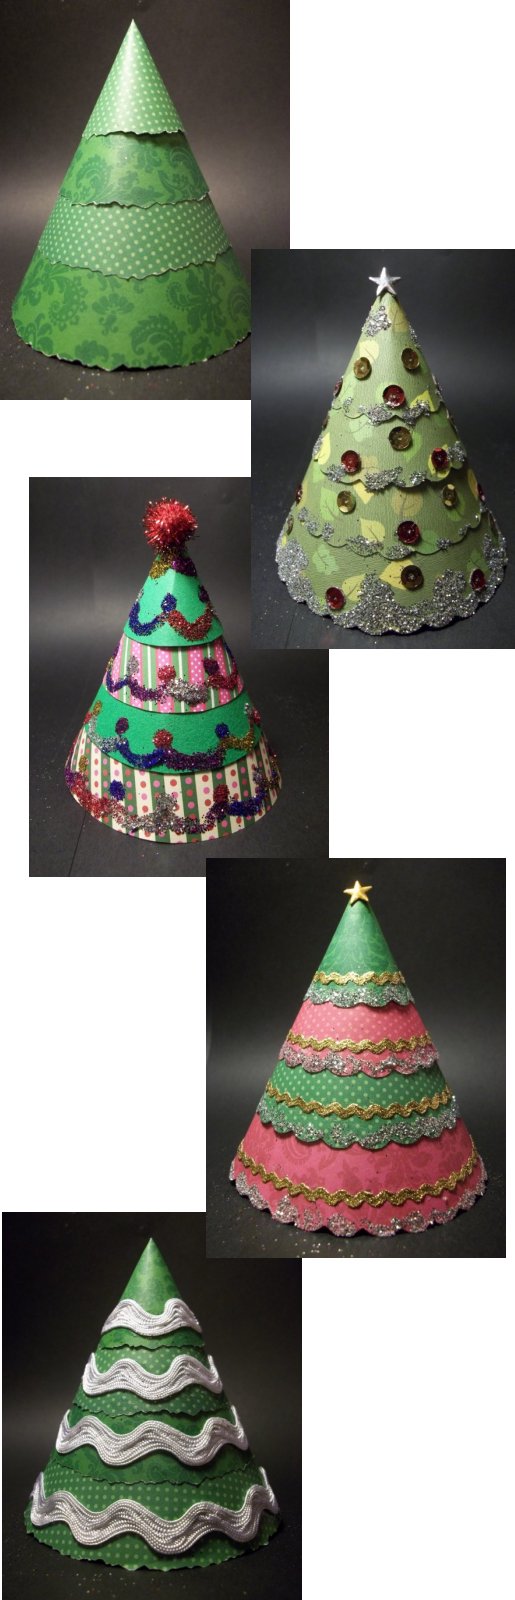
This is a great seasonal craft project for young children whether at home or in a school/group setting and can easily be completed in an afternoon. The options for decorating and personalising the trees are endless, and you'll find that several trees grouped together make a fantastic display.

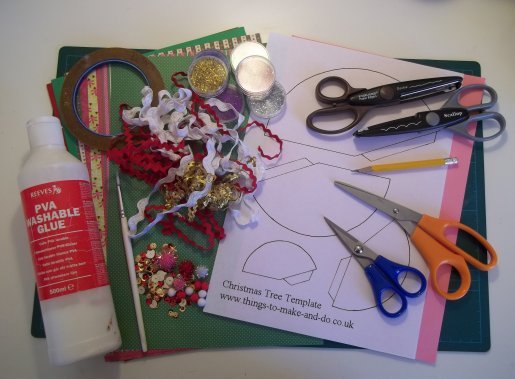
You will need:
Card (to make stronger templates)
A selection of plain or patterned paper
Scissors
Fancy edging scissors (optional)
Pencil
PVA Glue & brush/spreader
Double sided sticky-tape
Glitter, ribbon, sequins etc
What to do
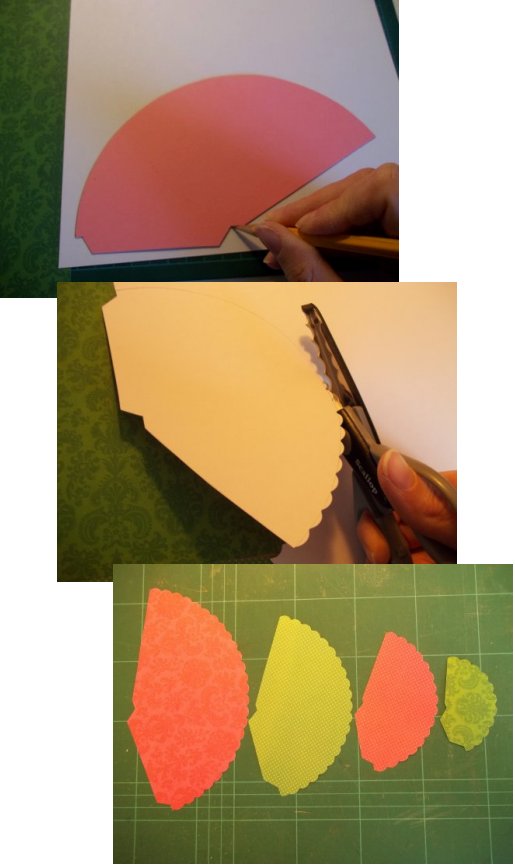
1. Download the template and cut out.
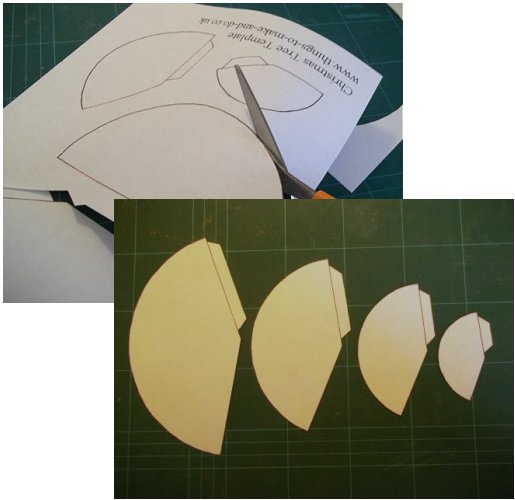
2. Draw around the templates onto a piece of card and cut out (these are your stronger templates)
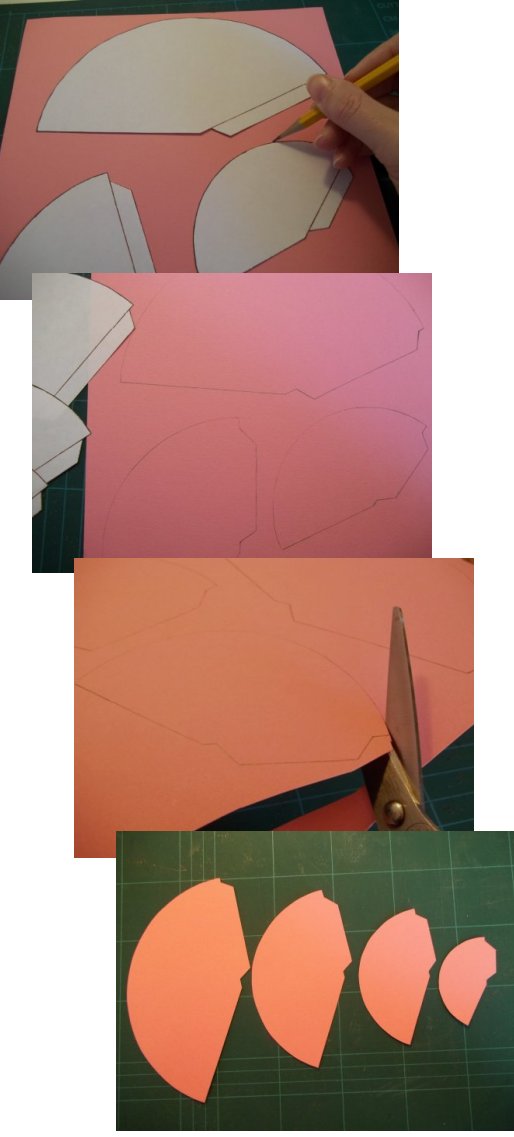
3. Draw around the templates onto the back of plain/patterned paper and cut out (optional - cut the curved edge with fancy edging scissors)
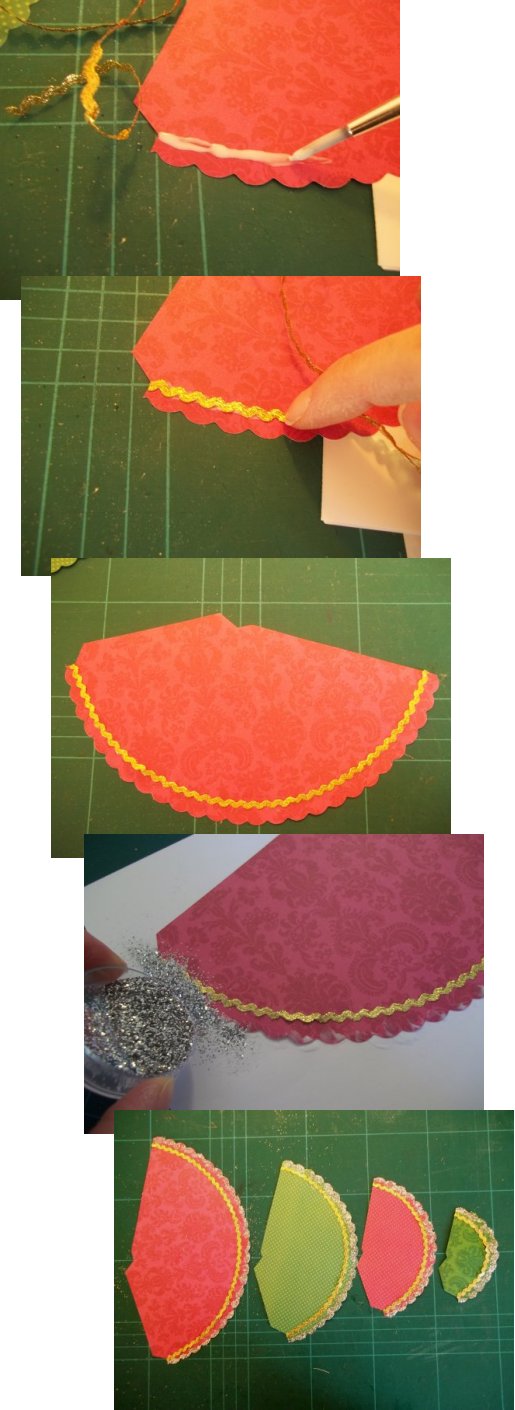
4. Decorate (optional) the curved edge of the pieces with ribbon/sequins/glitter stuck on with PVA glue and leave to dry.
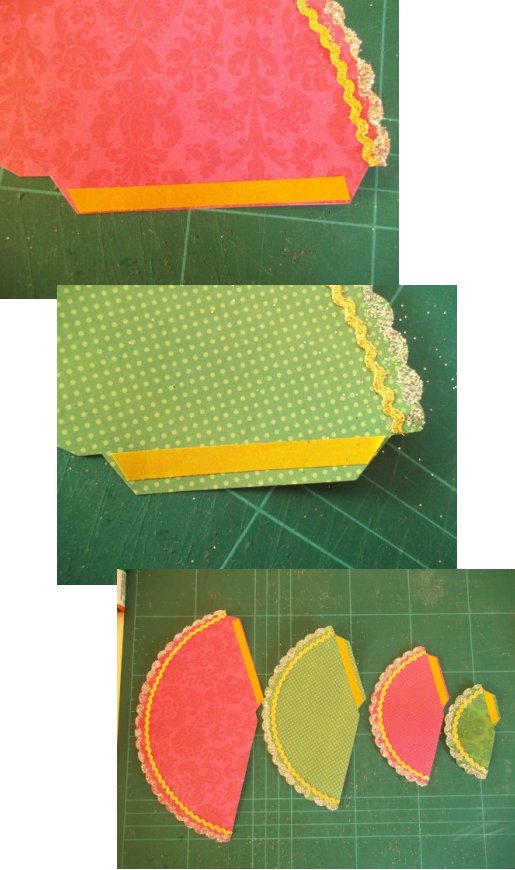
5. Place some double-sided sticky tape on the front of the tabbed edges.
6. Remove the taped backing and curl the paper into a cone shape ensuring the bottom corners line-up and the top forms a point. Press the glued tab to the underside of the paper cone.
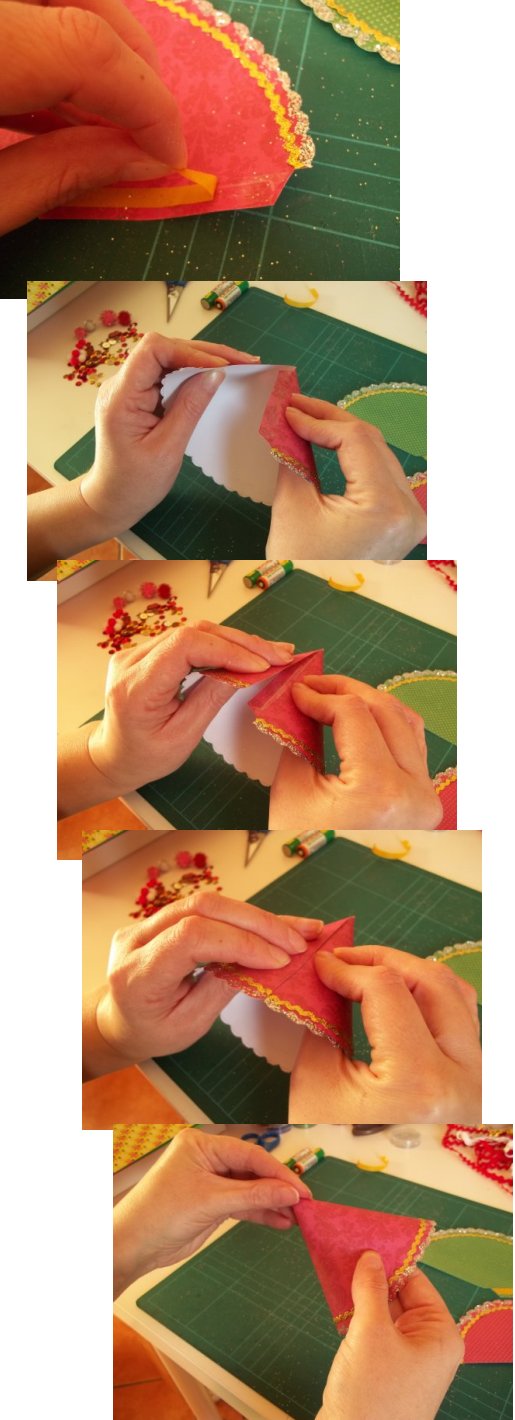
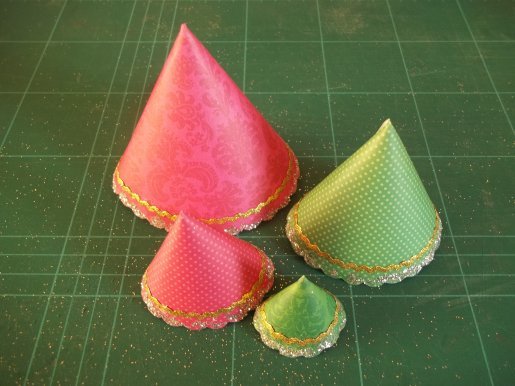
7. Make the remaining three cones in the same way. You now have four cones in different sizes.
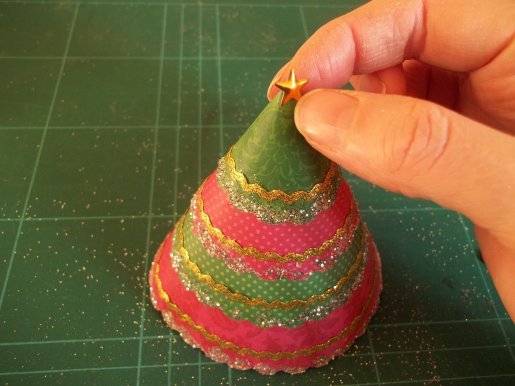
8. Start assembling the Christmas tree by using the largest cone first and ending with the smallest cone. Dab some PVA glue on the point of the largest cone and place the slightly smaller cone on top. Dab some glue on the point of the second cone and place the next smallest on top. Finally dab some glue on this cones point and place the final cone on top.

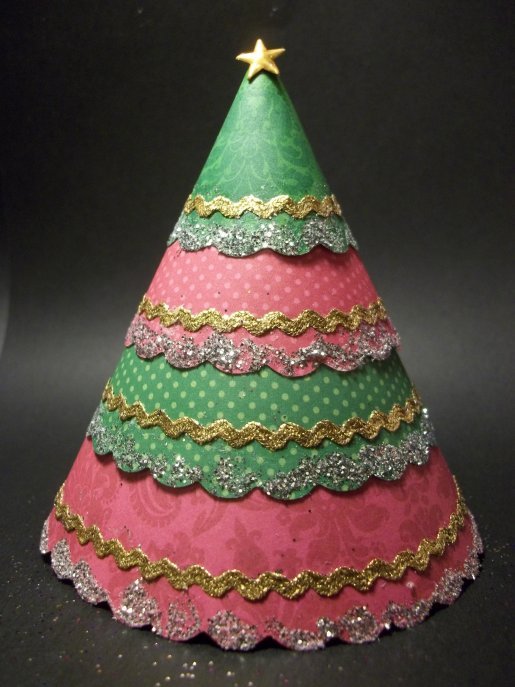
9. Add any extra decorations and leave to dry.
Back to the Paper and Card projects menu...