

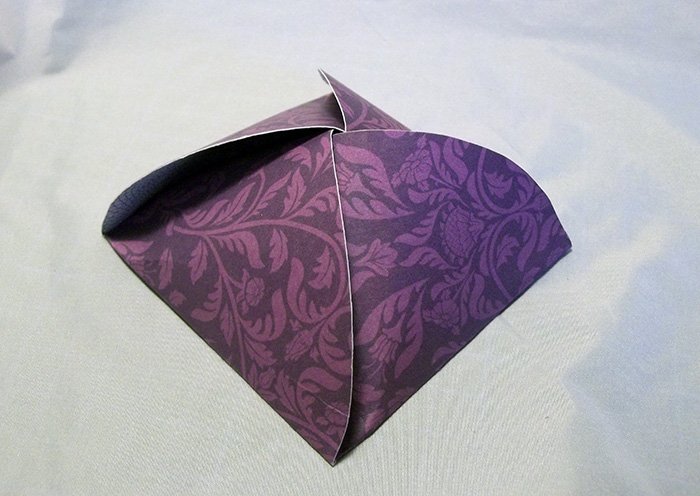
Curved Gift Box
This is a wonderfully simple gift box and is a perfect way to give a small gift. If you use double sided card (with a pattern on both sides) it will be even more impressive.

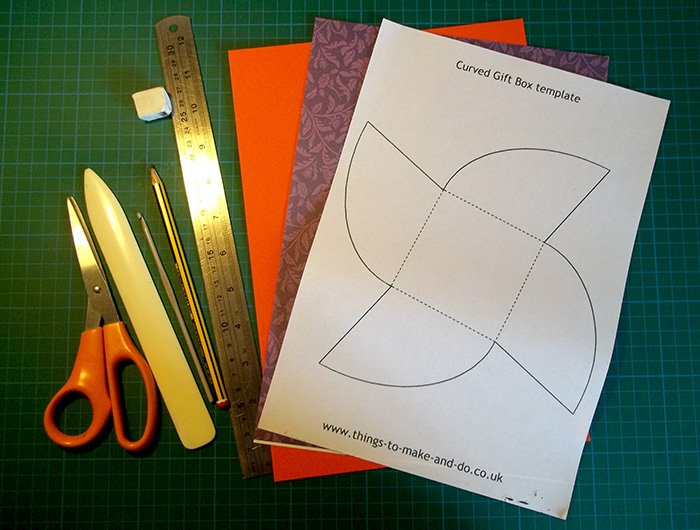
You will need:
A4 Card to make a re-usable template
A4 Card for the gift box
Pencil
Eraser
Scissors
Ruler
Scorer (crochet hook, back of blunt knife etc)
Bone folder
Cutting mat
Extra decorations (such as inks & stamps) - optional
**TOP TIP - THE TEMPLATE IS THE LARGEST SIZE THAT WOULD FIT ON AN A4 SHEET OF PAPER, FOR A SMALLER OR LARGER GIFT BOX JUST ALTER THE TEMPLATE SIZE USING A SCANNER/PHOTOCOPIER - **TOP TIP
What to do
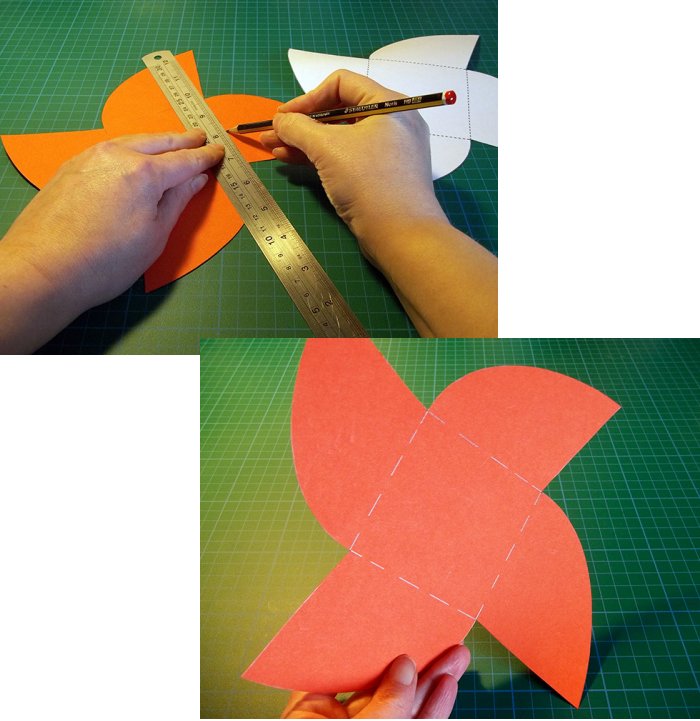
1. Download the template onto printer paper and carefully cut out.
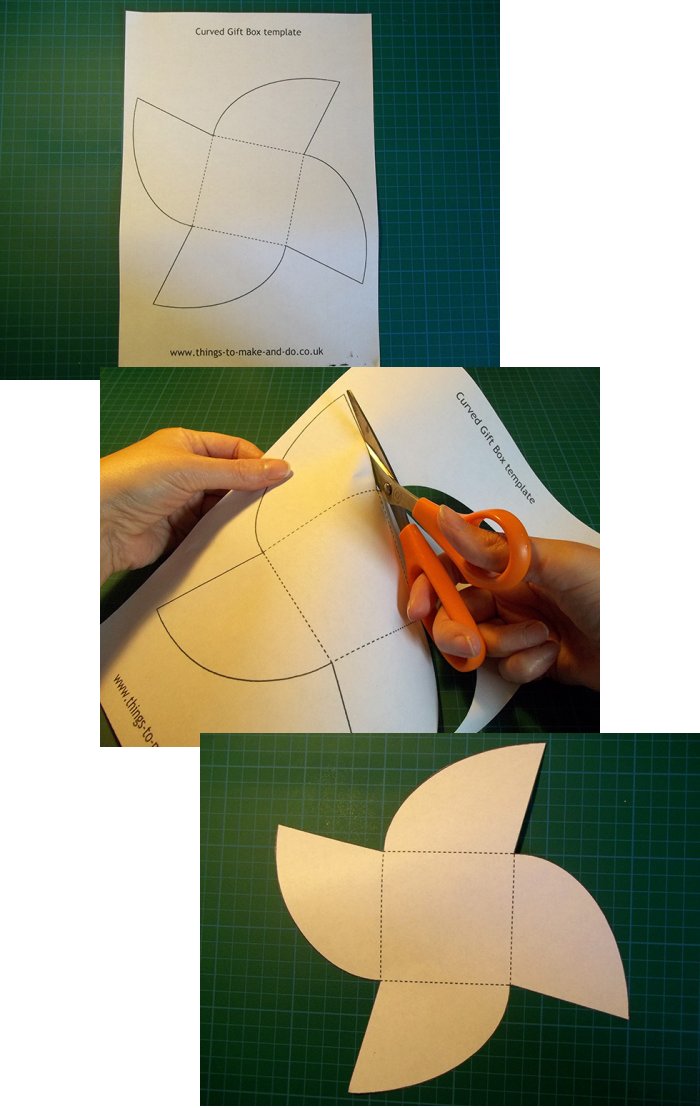
2. Carefully draw around the paper template onto some card and cut out (this will make a stronger template that can be used over and over again to make many boxes).
3. Using the paper template as a guide mark the fold lines with a ruler and pencil.
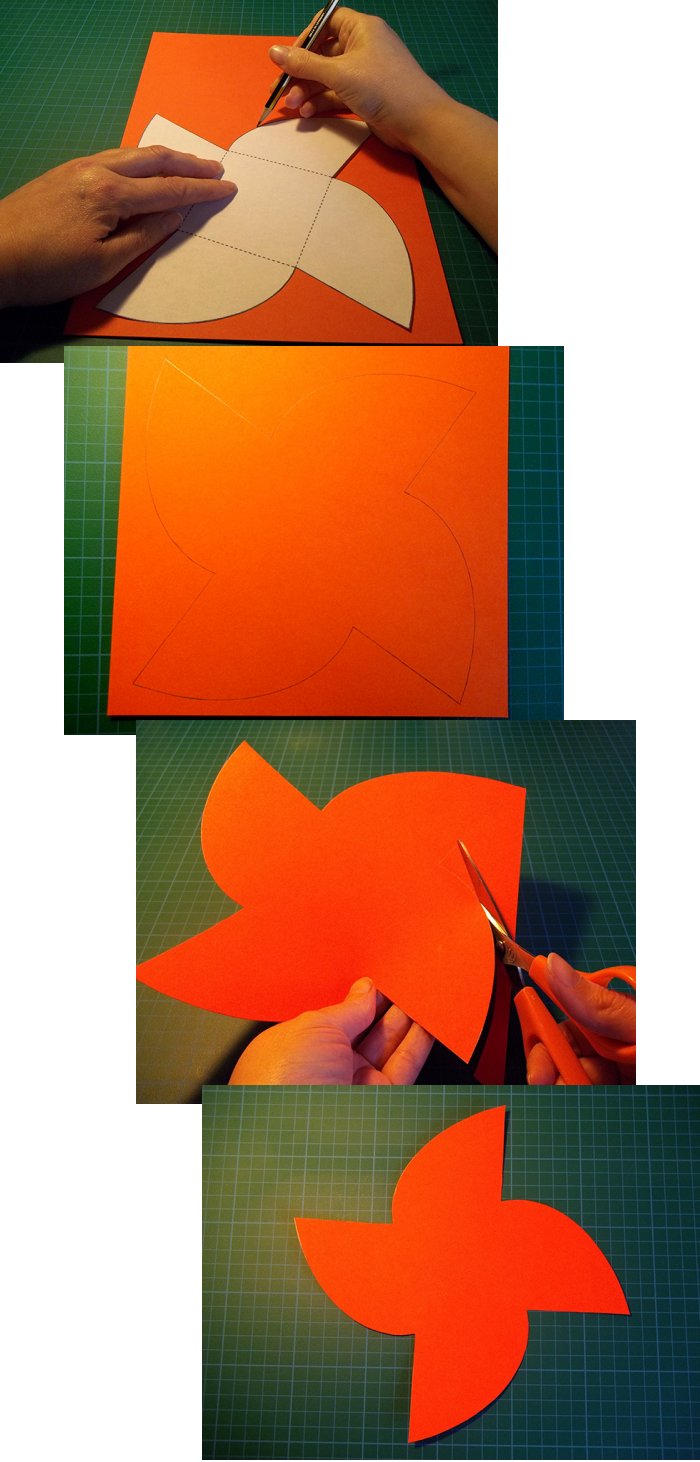
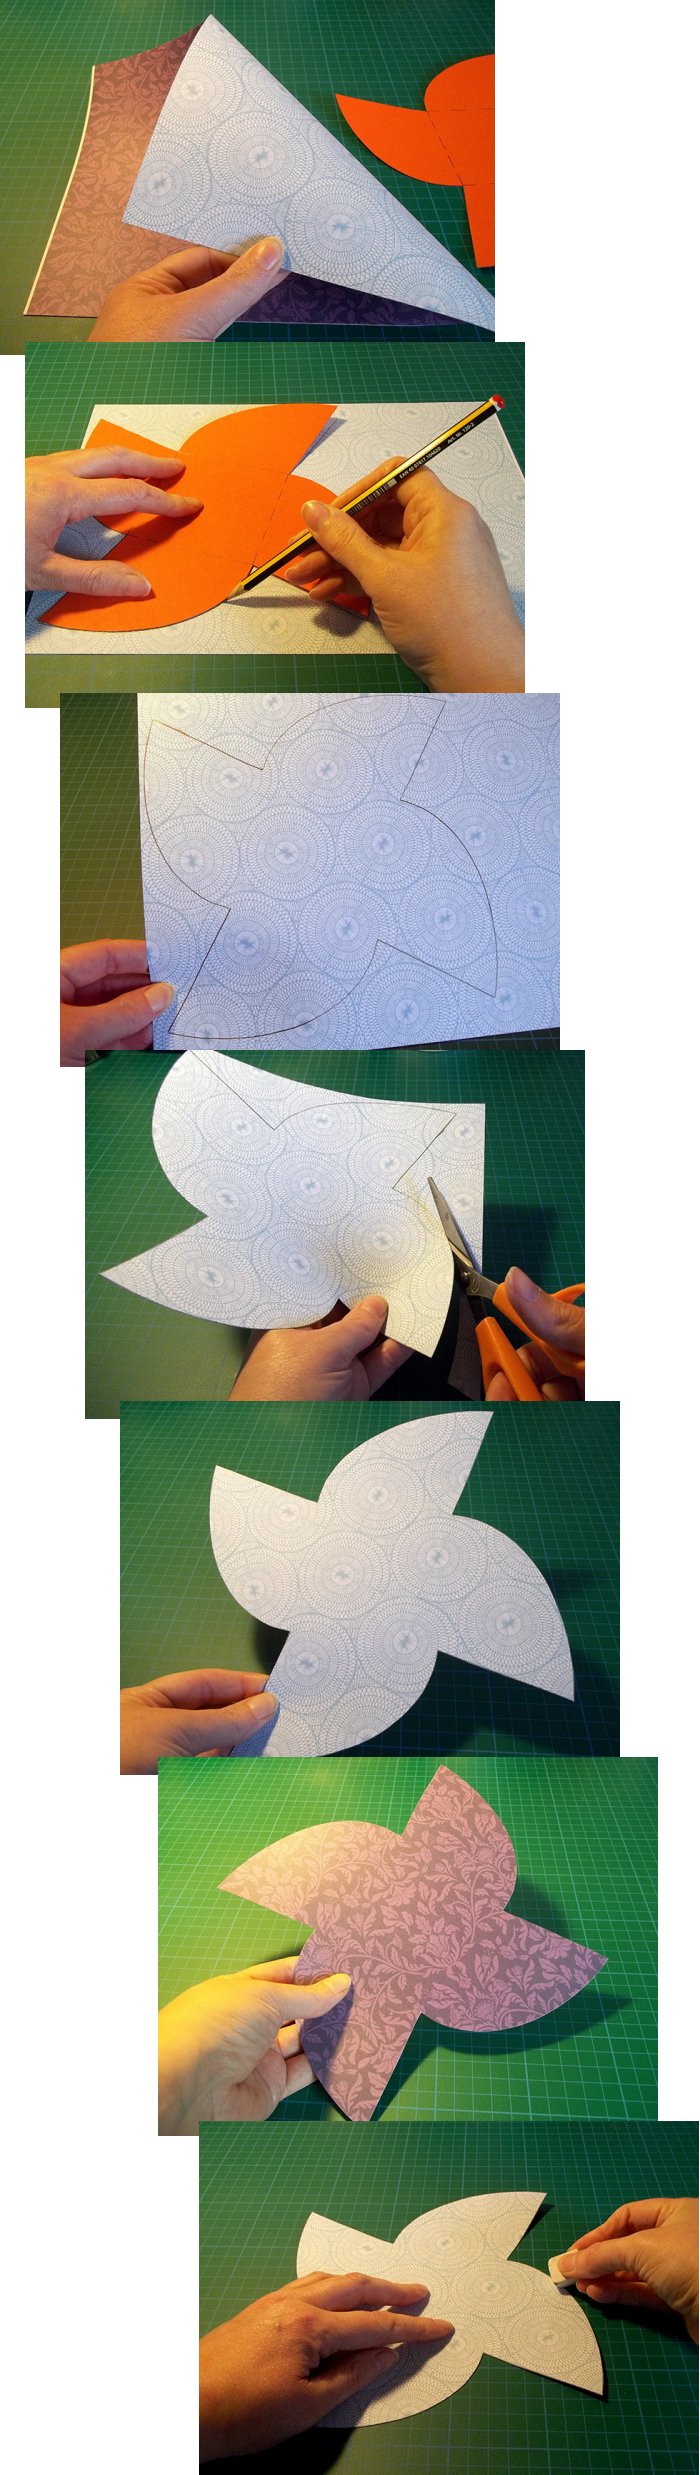
4. Place the stronger card template onto the back of the card you want to make the box out of, draw around it and carefully cut out. Rub out any pencil marks.
5. Using a ruler and the back of a crochet hook/blunt knife score the fold lines on the card using the template as a guide and lift up each side pressing it against the ruler.
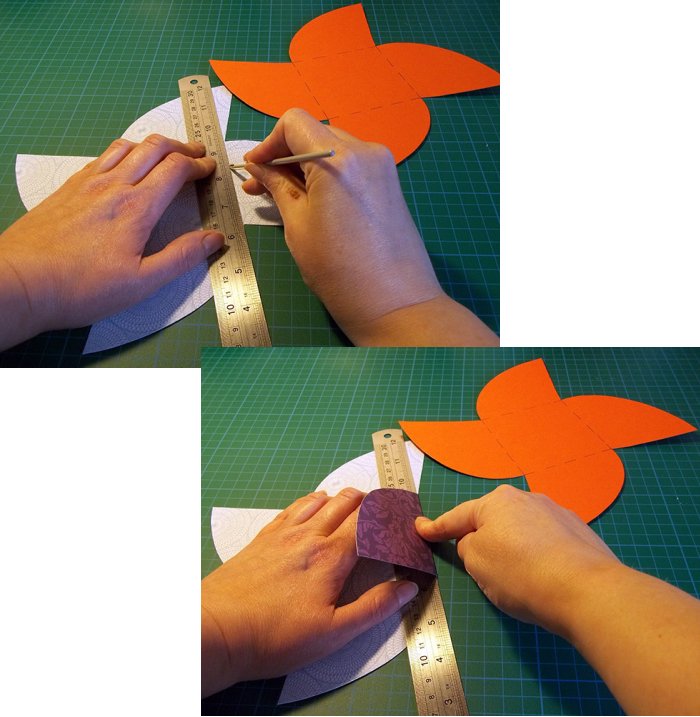
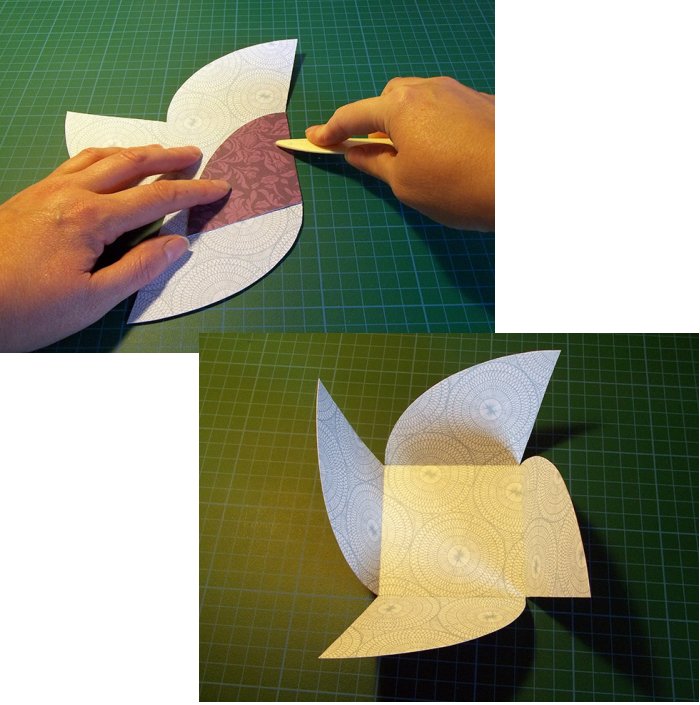
6. One at a time fold the sides in and press the fold with a bone folder to sharpen the crease.
**TOP TIP - AT THIS POINT YOU CAN ADD A LITTLE EXTRA DECORATION IF YOU LIKE - SUCH AS RUBBING OVER THE EDGES WITH A SPONGE AND DISTRESS INK OR STAMPING A DESIGN ON TOP OF THE CARD- TOP TIP**
7. Place your small gift in the centre of the box.
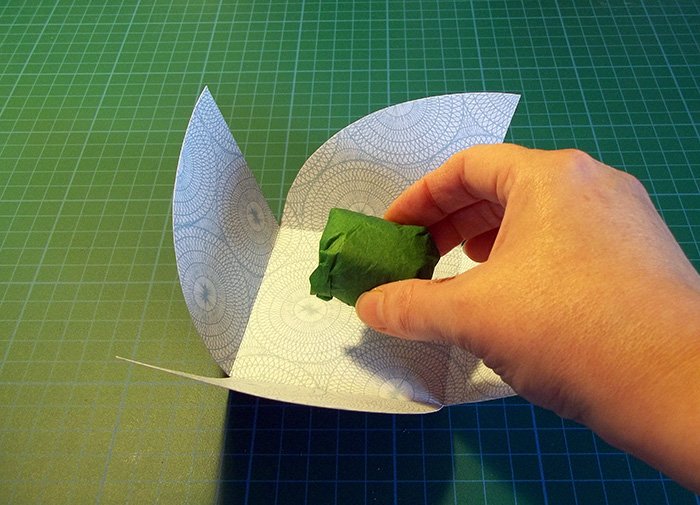
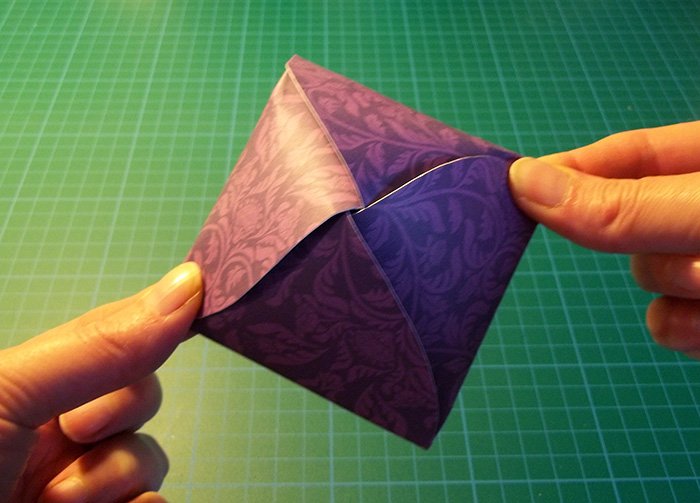
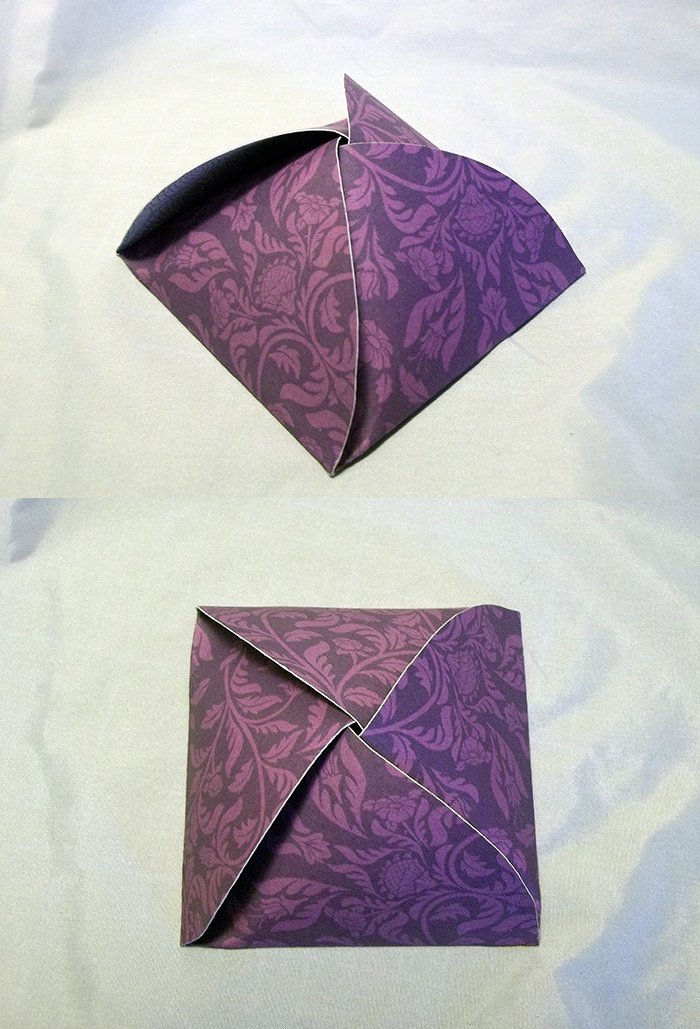
8. To close your box fold in one side, then fold in the side on the left which will lie on top of the first side. Fold in the next side on the left which will lie on top of the second side. The final side will secure the box, fold it up and tuck it underneath the first side.
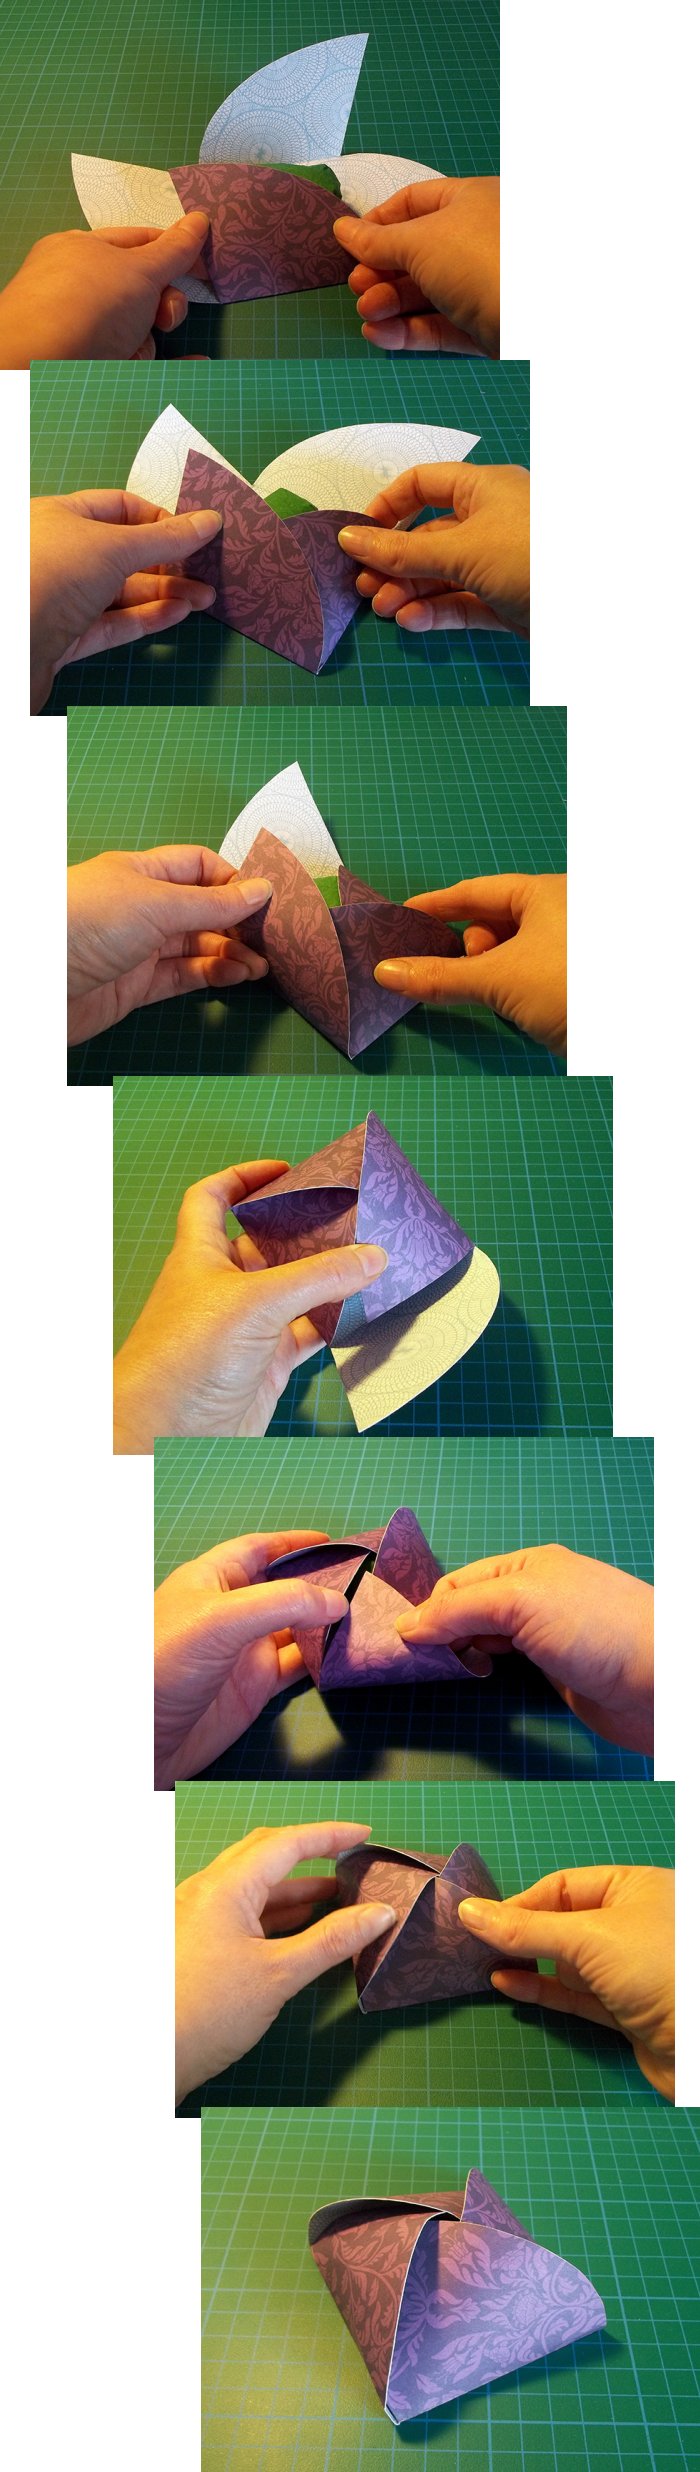
**TOP TIP - TO HELP THE BOX CLOSE MORE TIGHTLY PINCH THE CORNERS WITH YOUR THUMB AND FINGER - TOP TIP**
Back to the Boxes menu...
Back to the Paper and Card projects menu...