
One piece books
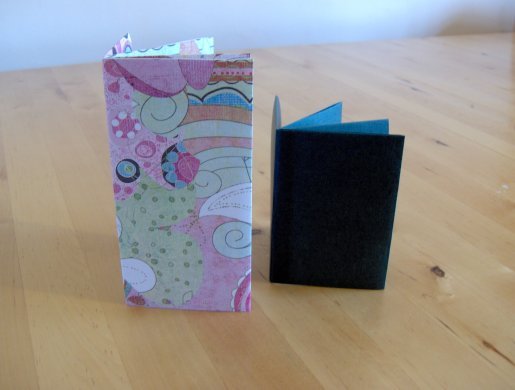
This is a great book to make as its made using only one piece of paper or card, so its really handy it you need an easy project for a rainy afternoon. Once youve made one I guarantee that youll make many more. The basic book can be made from any size paper or card, the size of the finished book depends on the size of the piece of paper or card, Im going to use an A4 sheet of card and a 12 x 12 piece of paper, the type used for scrapbooking, this will give you an idea of the different size books you can make. Once the basic book is made you can then decorate it in anyway you like with stamps, stencils, paints, stickers, script, etc. Let your imagination run wild and have fun.

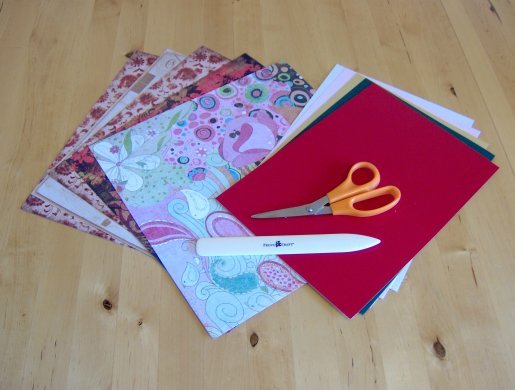
You will need:
Bone folder or the back of a knife or ruler
Scissors
Double-sided sticky tape or PVA glue (optional)
Stuff to decorate you book with
What to do
1. Place your card face down on the table. Fold together the two long sides if using an A4 sheet of paper/card and press the fold using your finger or bone folder etc. If using a square sheet it then place two opposite sides together and press the fold.
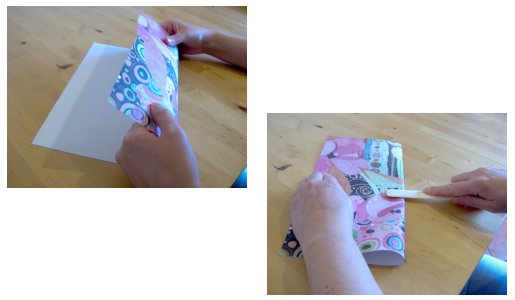
2. Open the sheet out and fold together the other two sides leaving about 2 or 3mm at the top and press with your finger or bone folder etc.
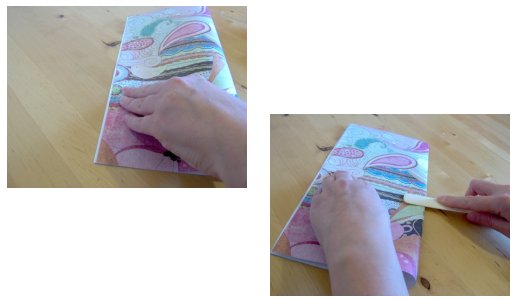
3. With the folded side closest to you fold this over to meet the opposite open side and press again to make a crease.

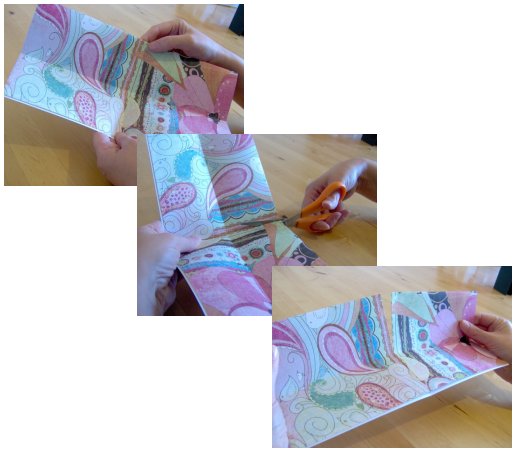
4. Open the paper/card where you last made a crease, the original paper/card should now be folded in half and you will see two other creases, one long one that goes from left to right and a crease that is in the middle of the paper/card and goes from top to bottom through the longer crease. Cut or tear the paper/card following the crease that goes from top to bottom starting at the folded edge and stop cutting when it reaches the other fold line in the centre (cutting will give a neat, crisp finish and tearing will give a more rustic edge to the paper, all the edges can be given a rustic feel to them by rubbing back and forth with the blades of your scissors, be careful when doing this as they are sharp).
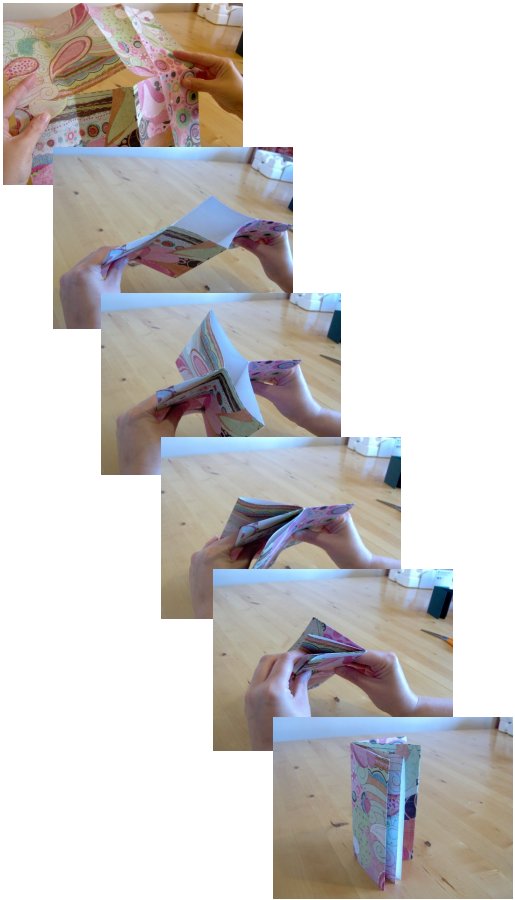
5. Open out the piece of paper/card fully and you will see the hole that is now in the middle like a mouth. Fold the sheet in half using the creases already made and hold at the left and right hand side, the hole in the centre should make a diamond shape. Push both sides towards the centre this will close the hole and if you fold at the creases it will make a four page small book. (the pages have open sides to them, these can easily be closed with some double-sided sticky tape or a little PVA glue.)
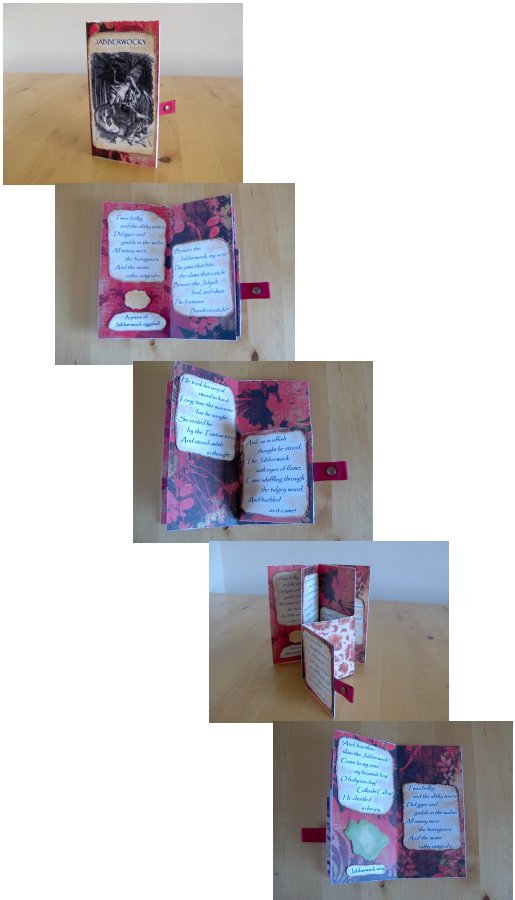
6. Your book is now ready to use. You may like to decorate it with stamps, stencils, and script or you may like to add some photographs for a small photo album keepsake (a great gift idea). Here's a book that Ive made to give you some ideas. I based it on the poem 'Jabberwocky' by Lewis Carroll. I stuck on pictures and verses from the poem, and even added a small pull-out section. Why not see what you can add - the only limit is your imagination! These books make great personalised gifts too - any scrapbooking techniques will work with them.
And here's some pictures showing how we made one using an A4 piece of card.

Back to the Books projects menu...
Back to the Paper and Card projects menu...