

Craft Foam Mosaics

Mosaics are a beautiful, colourful art-form that has been around for centuries. The tessarae (mosaic tiles) traditionally used are smalti (cut from marble), while today many artists and crafters often use vitreous enamel tiles or other materials that are hard, solid pieces requiring heavy duty tools and protective equipment in order to cut them safely... using an alternative like craft foam is a safe and fun way try out mosaics.
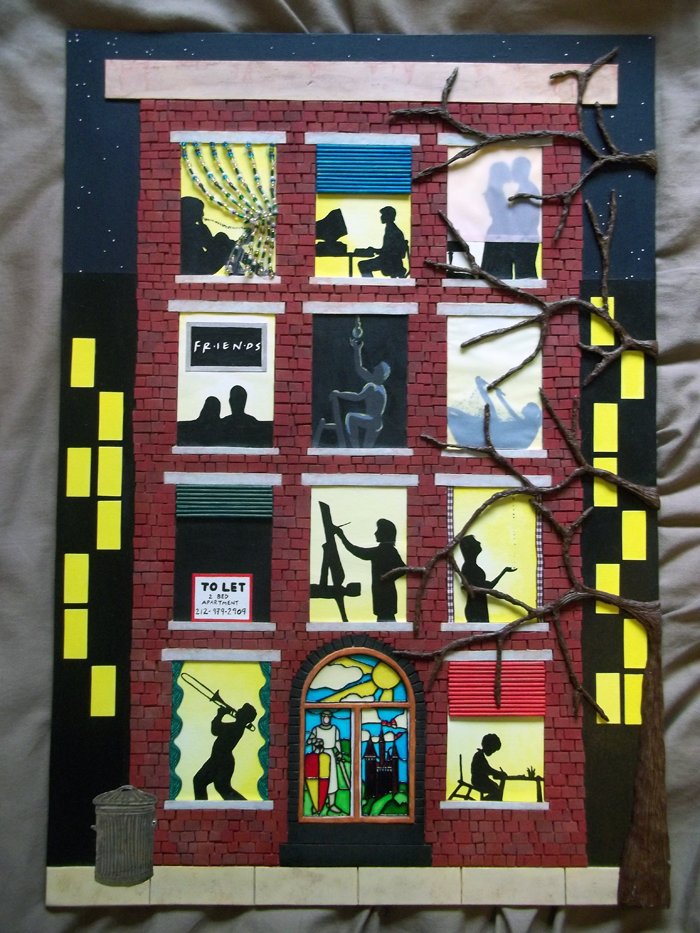
The first time I used craft foam as a form of mosaic I was on an arts course where the brief was to make a mixed media picture. I cut a piece of MDF, drew on my design which was an apartment building scene and then used craft foam for the building and pavement sections (pictured below). I loved the assignment! The craft foam was so effective and really easy to use, it occurred to me that it was a great material for introducing children to mosaics, I had so much fun with it though that I don't see why adults can't have fun with it too... happy crafting!
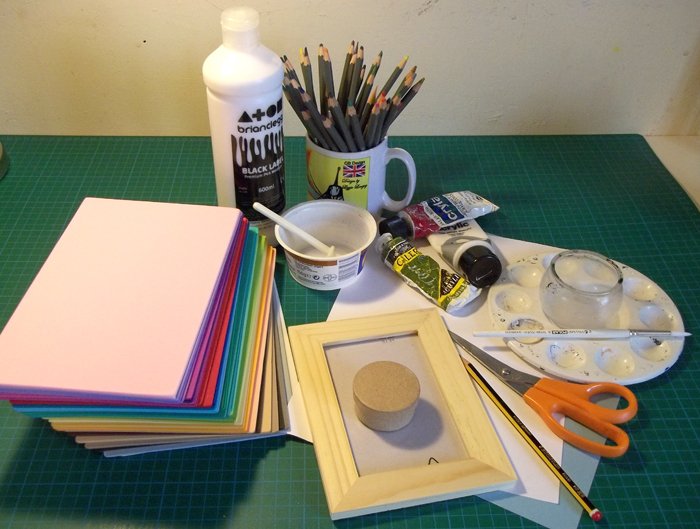
You will need:
Paper and pencil & eraser
Coloured pencils
Card (to fit inside picture frame)
Craft foam in a variety of colours
Scissors
PVA glue and glue brush/spreader
Acrylic paint (optional)
Tweezers (optional-handy for placing very small pieces)
What to do
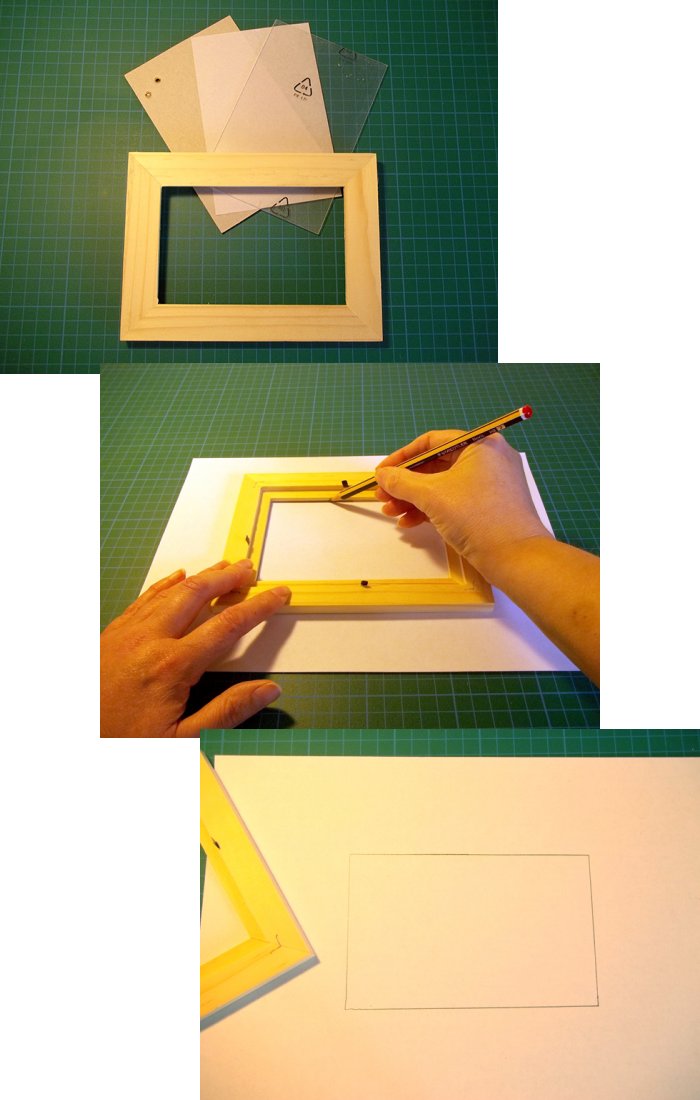
1. Dismantle your picture frame (or take the lid off the box) and onto some paper draw around the inside edge of the frame (or around the box lid). This will give you a template of the space for your mosaic. (The step-by-step pictures for the box will be shown towards the bottom of this page.)
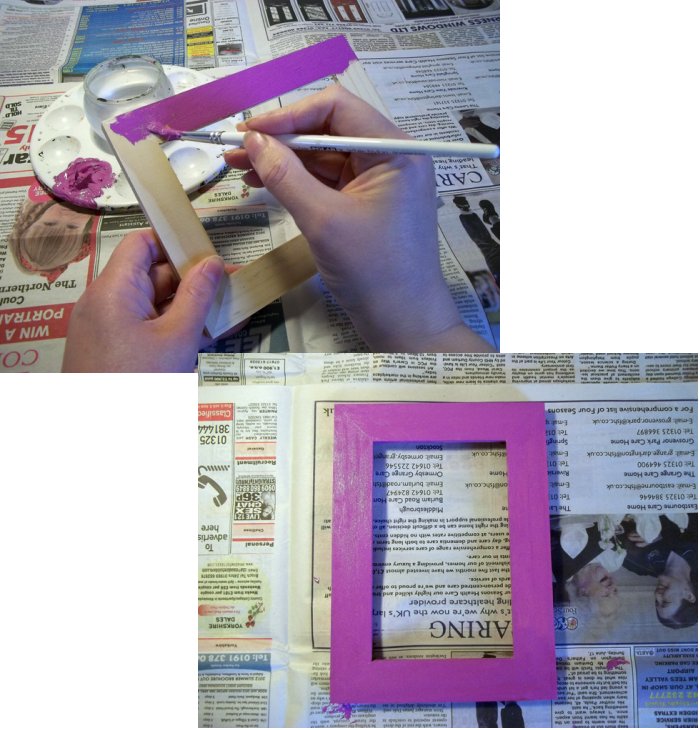
2. (Optional) If you would like the frame/box to have a specific background colour then paint it now and leave to dry (you may need to sand the frame or use a primer, it depends what the surface is).
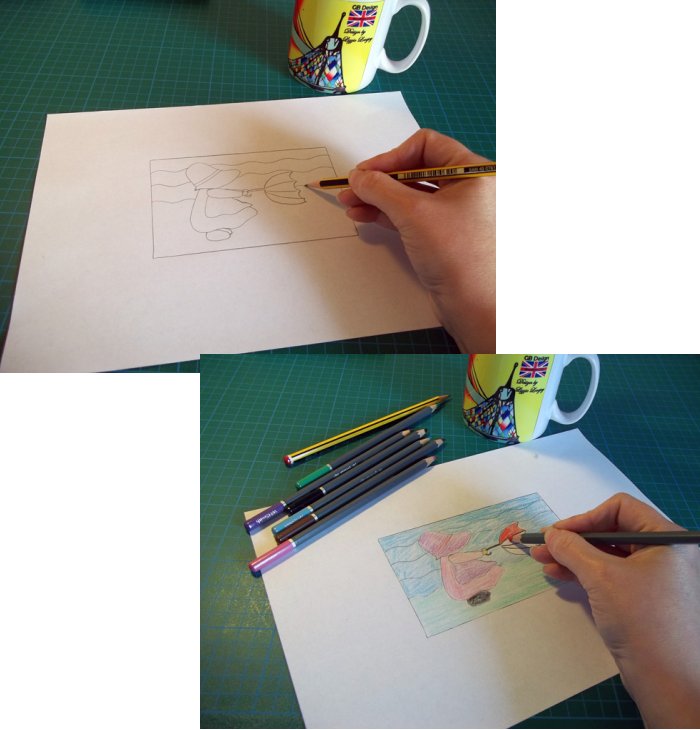
3. Design your mosaic by drawing a simple picture/pattern onto the paper template and colouring it in.
**TOP TIP - Colouring in the picture is a great trial run, if you don't like the colours then you can always change them when you come to cut up and stick on the foam mosaics - TOP TIP**
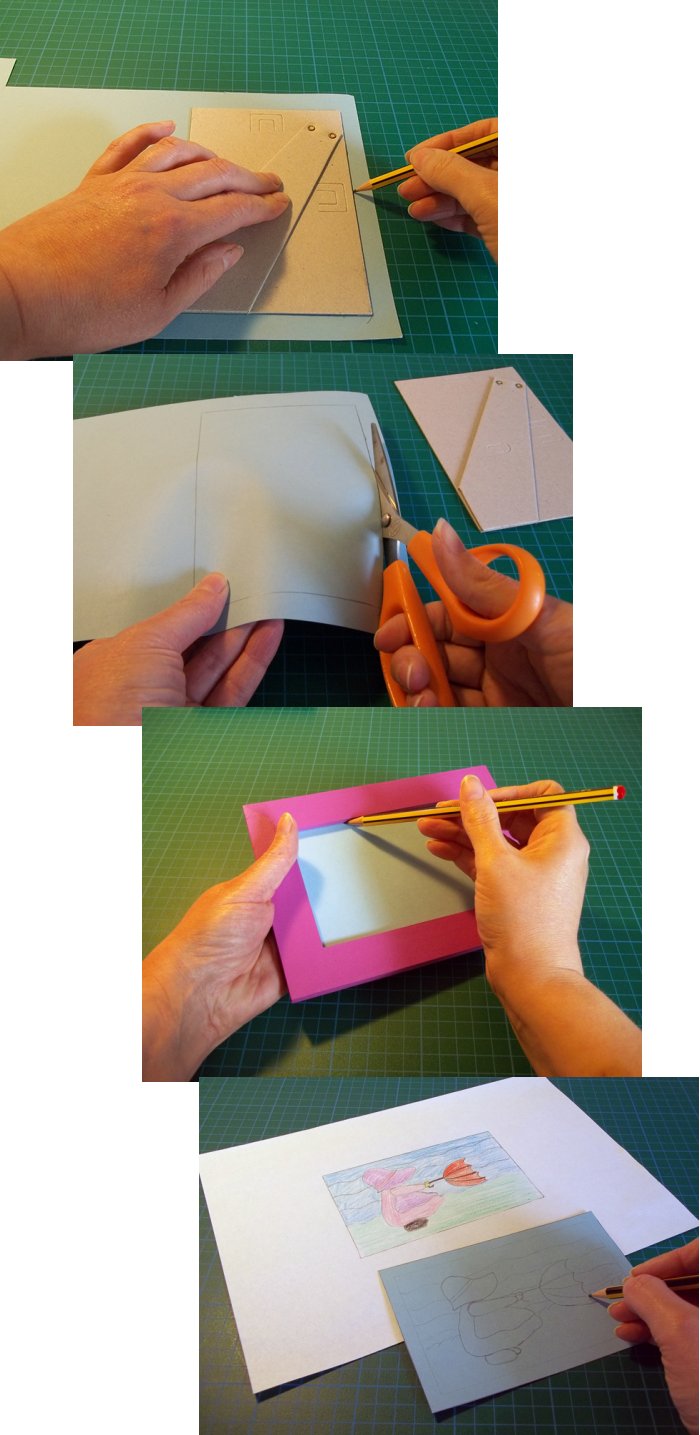
4a. (Frame) Using the backboard as a guide, cut a piece of card to fit in the frame, then lightly draw around the inside edge of the frame (the mosaic must stay inside this line). Lightly copy the basic outlines of the design onto the card to act as a guide.
***OR***
4b. (Box) Lightly copy the basic outlines of the design onto the box lid to act as a guide.
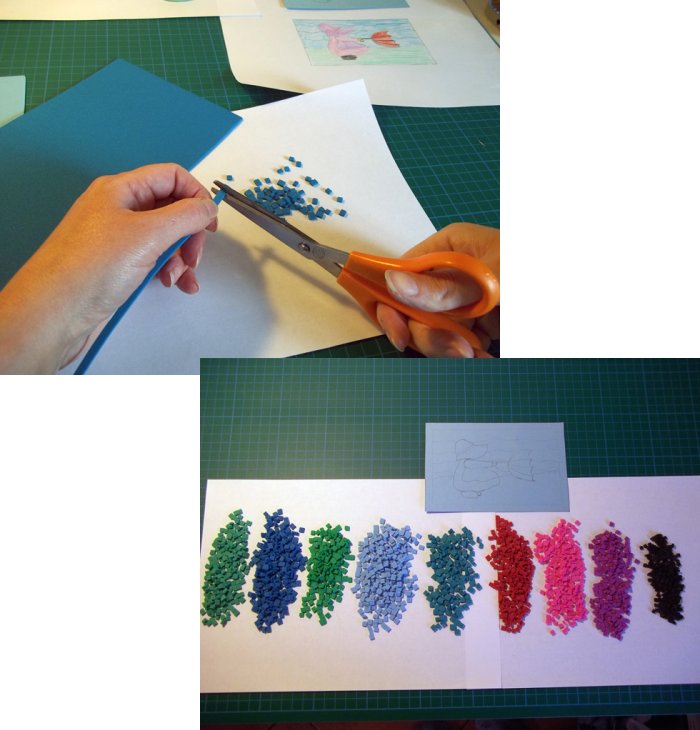
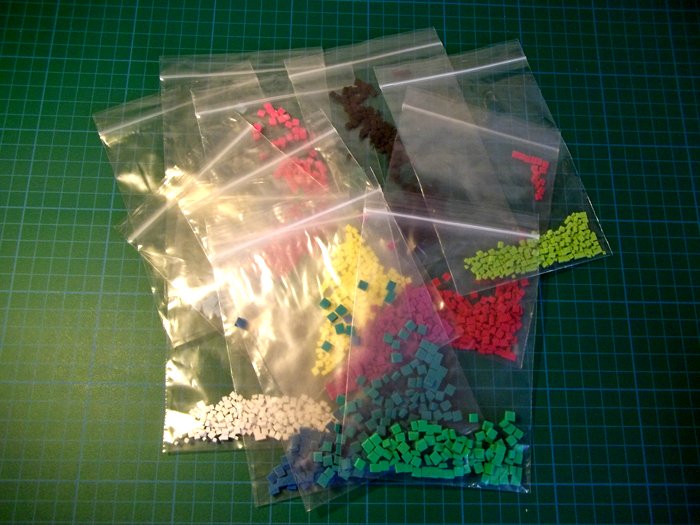
5. Cut the craft foam into squares/shapes (the size of the squares will depend on the design).
**TOP TIP - Cutting up the craft foam into squares can be time consuming, preparing them in advance will mean you can go straight to the gluing stage.and the great thing about using craft foam as mosaic is that they can be very easily trimmed to fit a gap or an unusual shaped space too - TOP TIP**
6. Using your coloured picture as a guide, glue the mosaic pieces into position leaving a small gap between each one. Don't worry if you can see any glue - PVA glue dries clear.
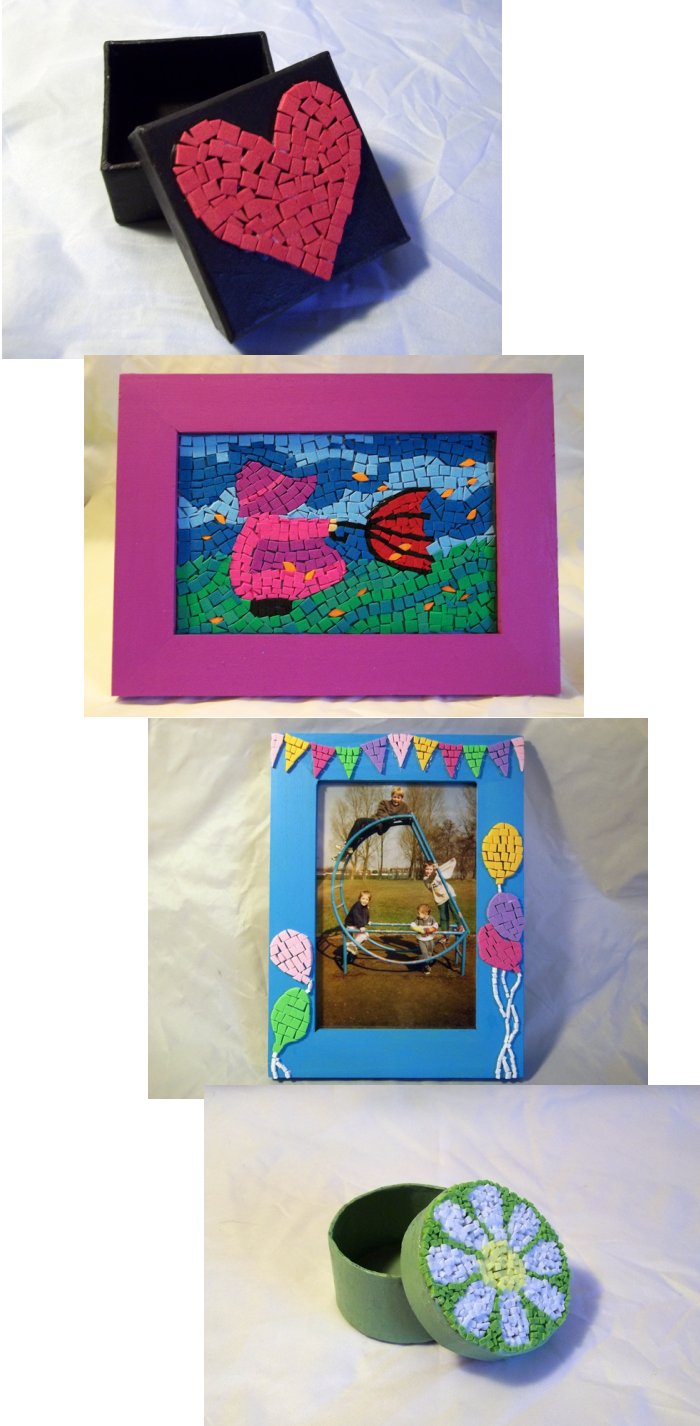
**TOP TIP - Another option is to mosaic the actual picture frame too, or just mosaic the frame and add a photo or a drawing for the picture (examples at the bottom of the page) - TOP TIP**
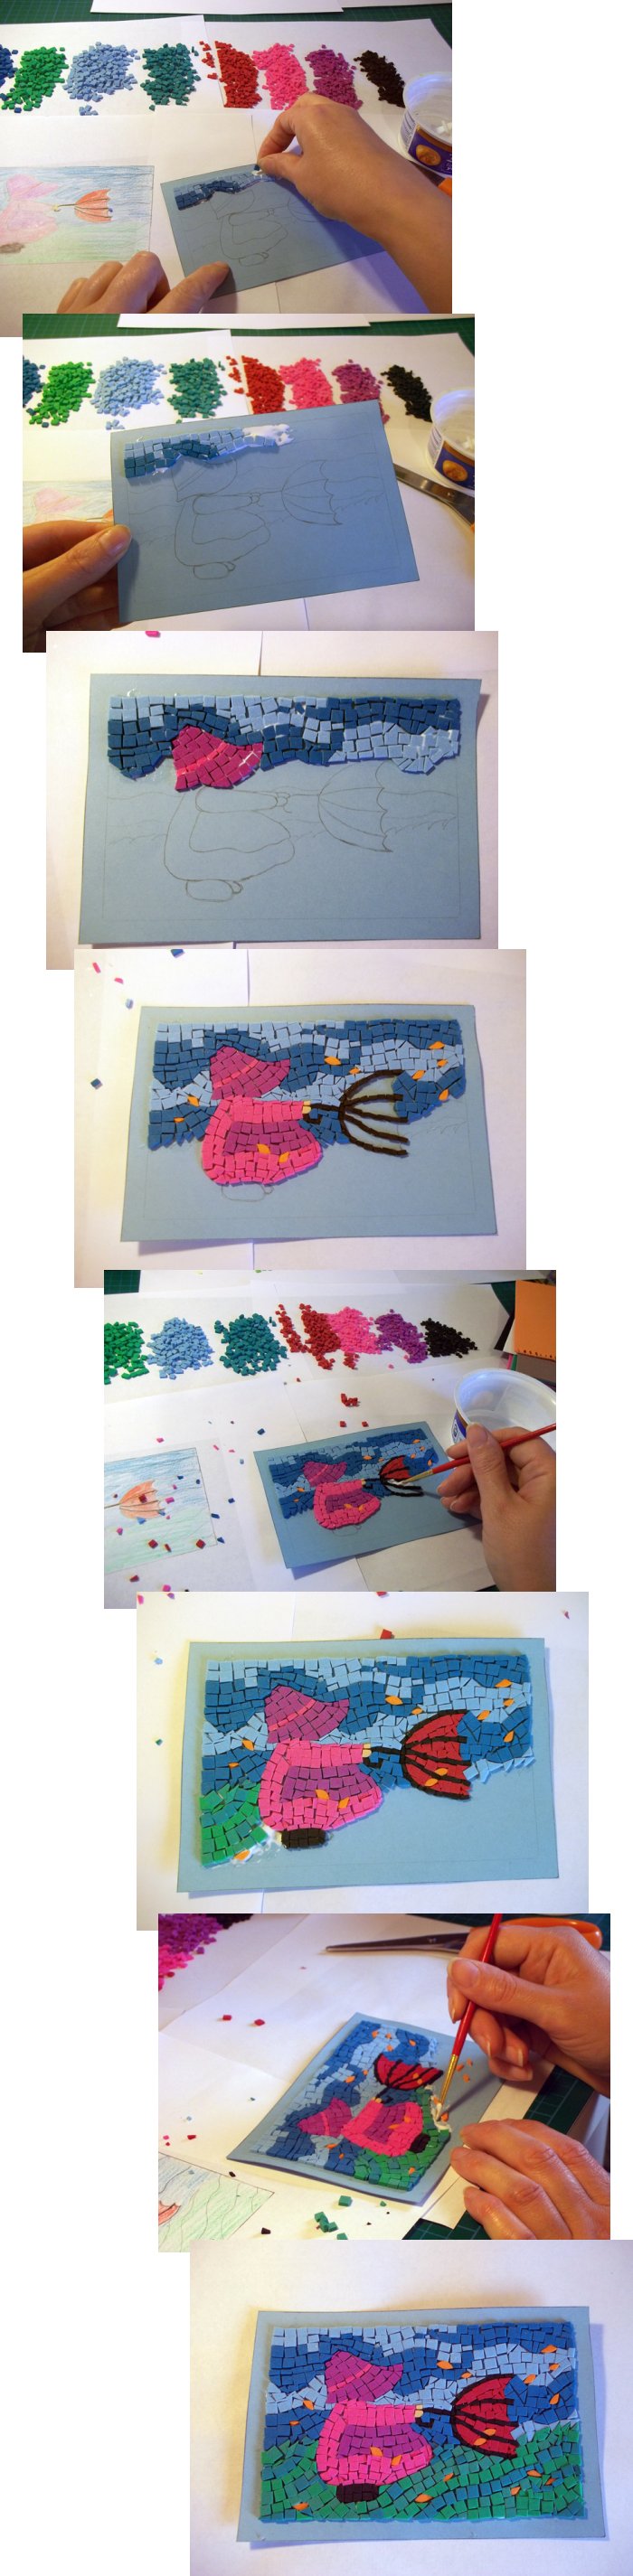
7. Leave to dry then re-assemble the frame complete with picture (put lid on the box).
...and here's the step-by-step pictures of the box...

**TOP TIP - Small plastic tubs or plastic bags are a great way of storing the cut up foam squares/shapes, ready to use another day - TOP TIP**
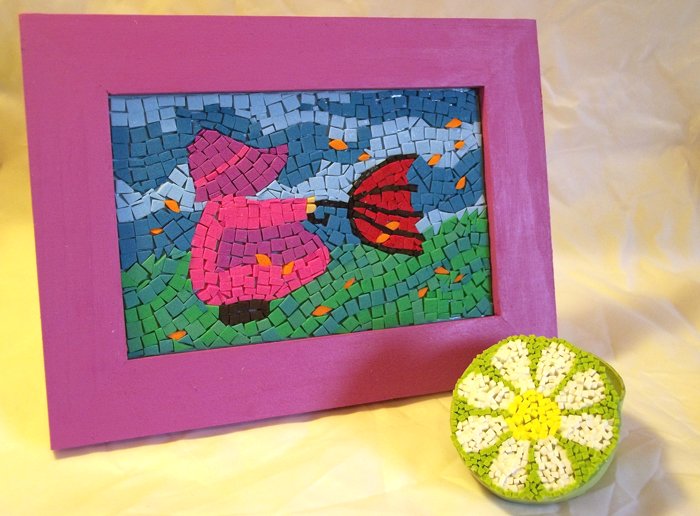
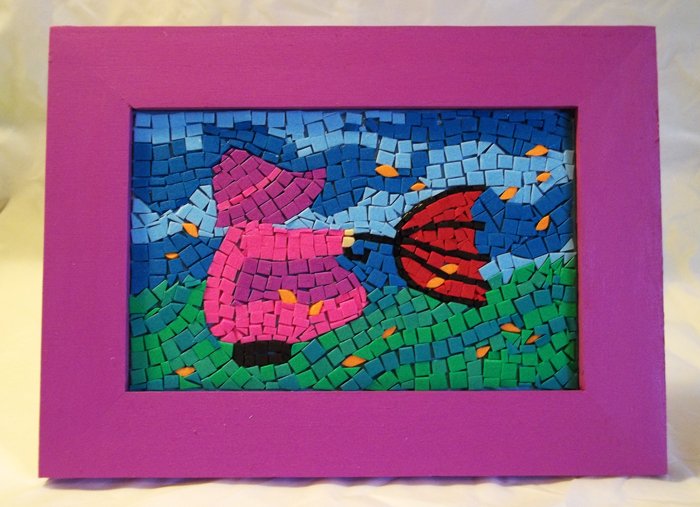
...and here's the end results:
Back to the Painting and Pictures menu...