

How to Shabby-Chic Furniture


I love the distressed shabby-chic look of furniture that has had a make-over. It is a great way to give old furniture a new lease of life or to give the impression of age to a new piece. Charity shops and sale/auction rooms are great places to pick up a bargain, even better if friends or family are having a clearout.
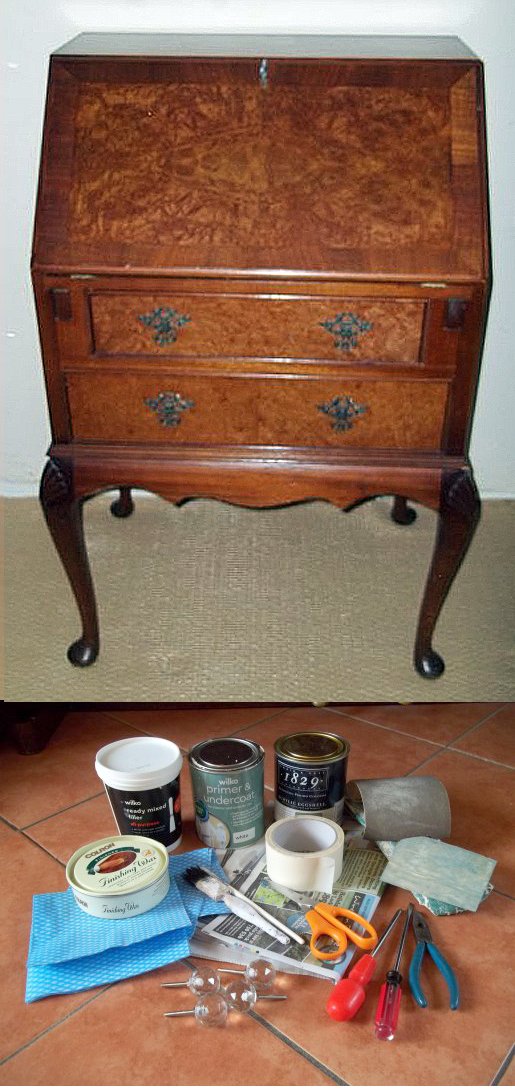
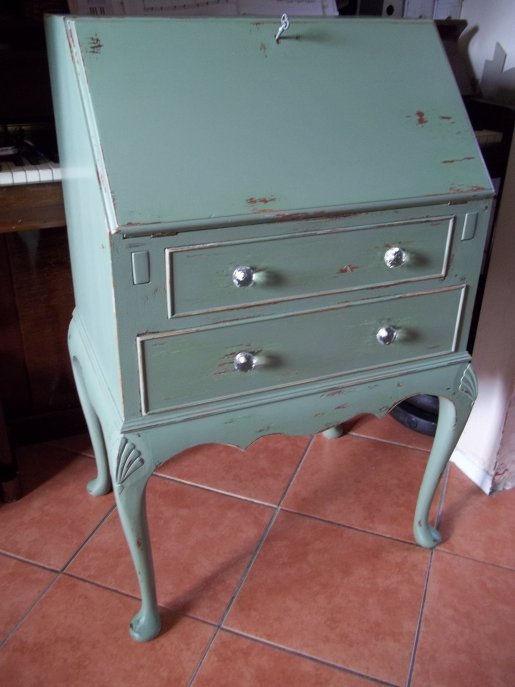
I'm using a bureau in this project that I spotted at in a local charity shop and which my husband bought me as a surprise.
I have listed the materials I used for this project, you may not need to use all of the items listed, or you may need to use something different depending on what the piece is you are shabby-chicing or the effect you are trying to achieve. I often have a vision in my head and work to that or I find my original idea changes during the process.
The most important thing to remember is that customising furniture is a personal experience, with each piece being unique. Just have fun and enjoy the results.
You will need:
Newspaper (to protect your floor)
Selection of tools (pliers, screwdriver etc)
All purpose filler (if removing old handles etc)
Selection of sandpapers
Several lint free cloths
Masking tape and scissors
Primer/undercoat (optional but will provide a sturdy base for the paint)
Paint (water-based acrylic eggshell is ideal as it is quick drying and hardwearing)
Paint brushes of various sizes (a fine brush is handy for painting around hinges etc)
New handles (optional)
Non-coloured furniture wax (eg beeswax)
What to do
1. If you are changing the handles etc on your piece of furniture it is best to remove the old ones before painting.
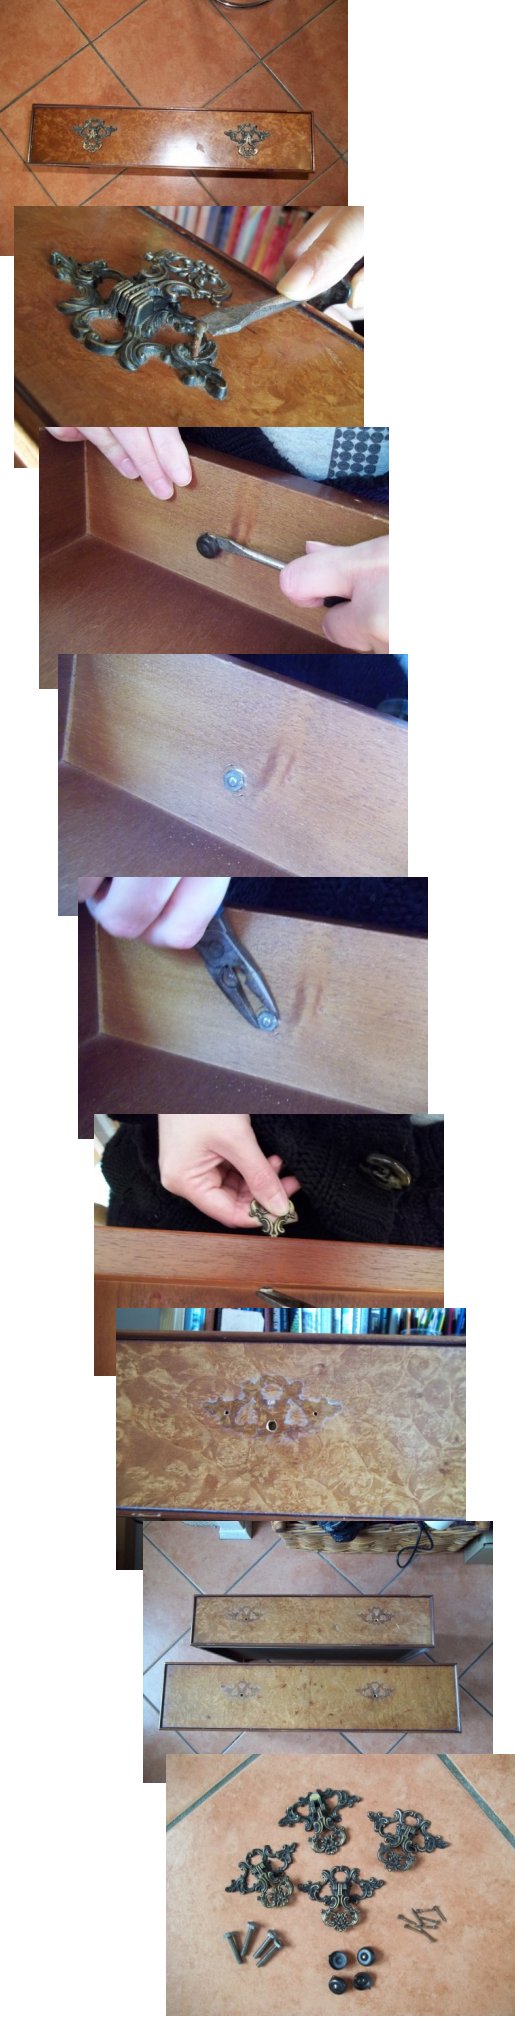
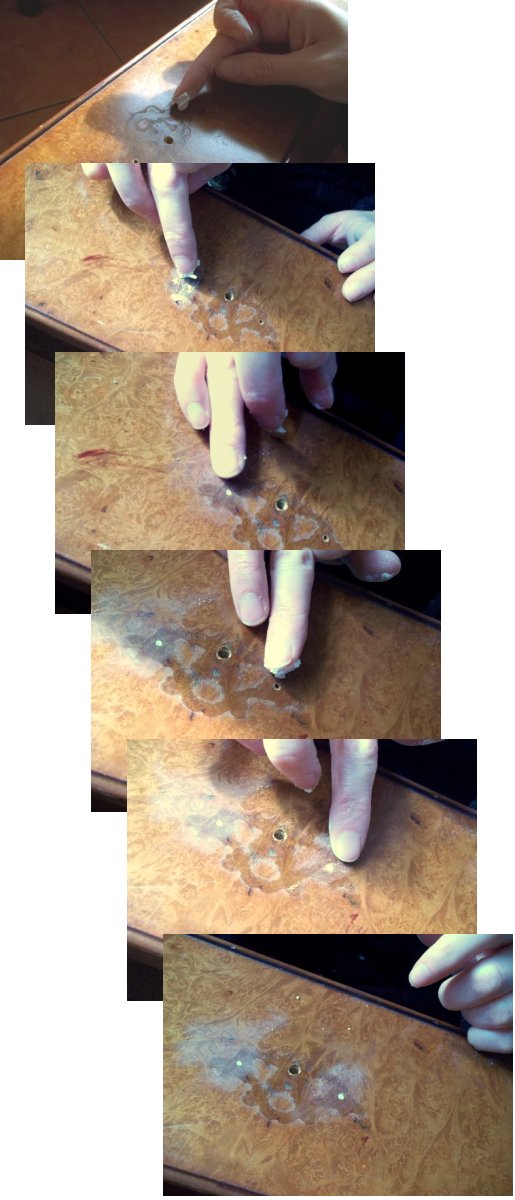
2. Fill any holes left by the old handles, but remember to leave the hole where the new handle will fit. Leave to dry.
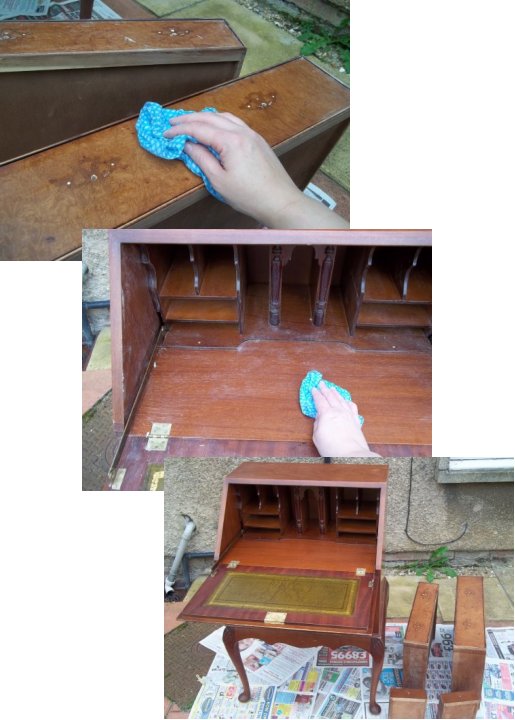
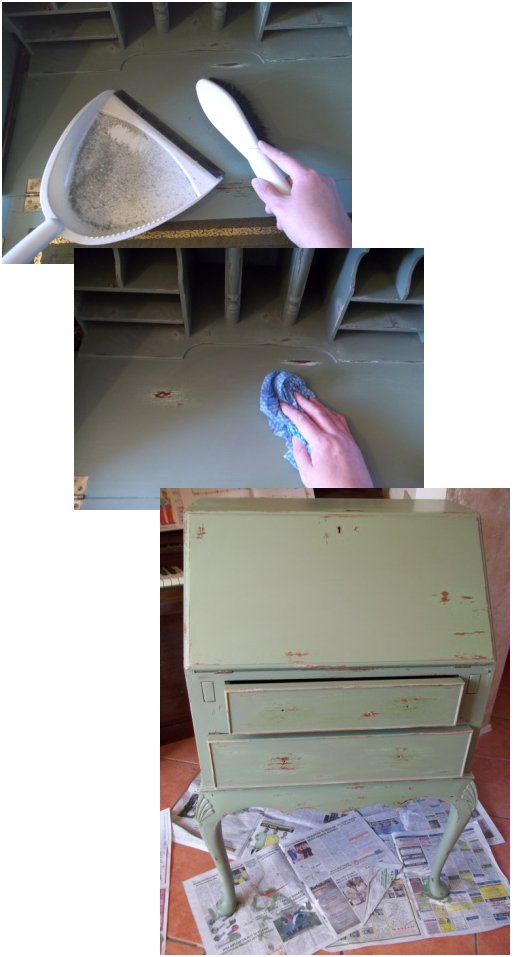
3. Protect floor with newspaper. If your piece of furniture is painted you may wish to remove the old paint with paint stripper otherwise key the surface with fine grade sandpaper (use a fine sandpaper as you don't want to lift the grain, you just want to roughen/key the surface to that it will take the paint). Always work in an area that is well ventilated, the weather was dry and warm the day I sanded my bureau so I took it outside and worked on it in the back garden in a shady area (never work in direct sunlight).
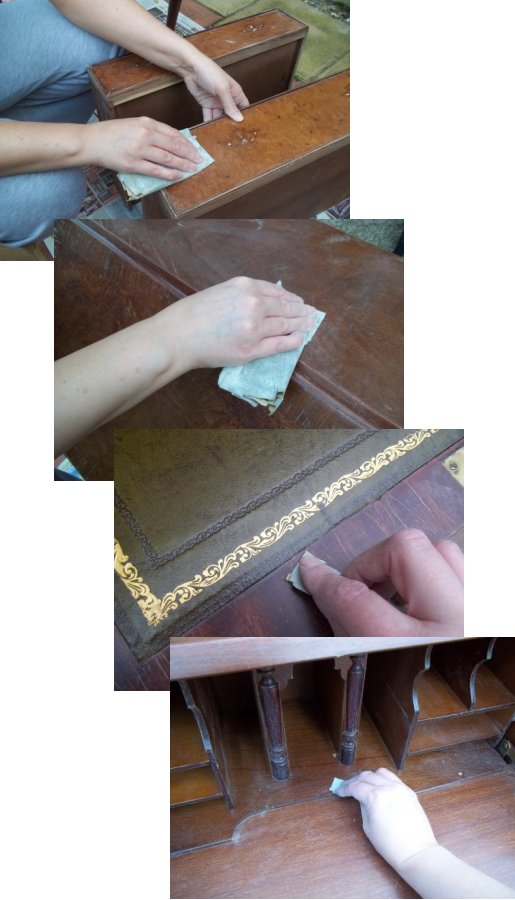
4. Wipe with a damp (not wet) cloth to remove dust etc. Leave to dry.
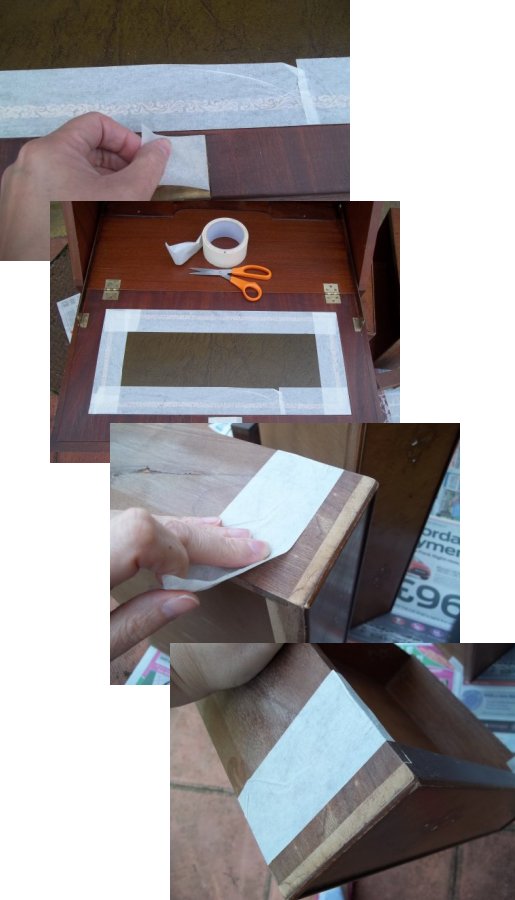
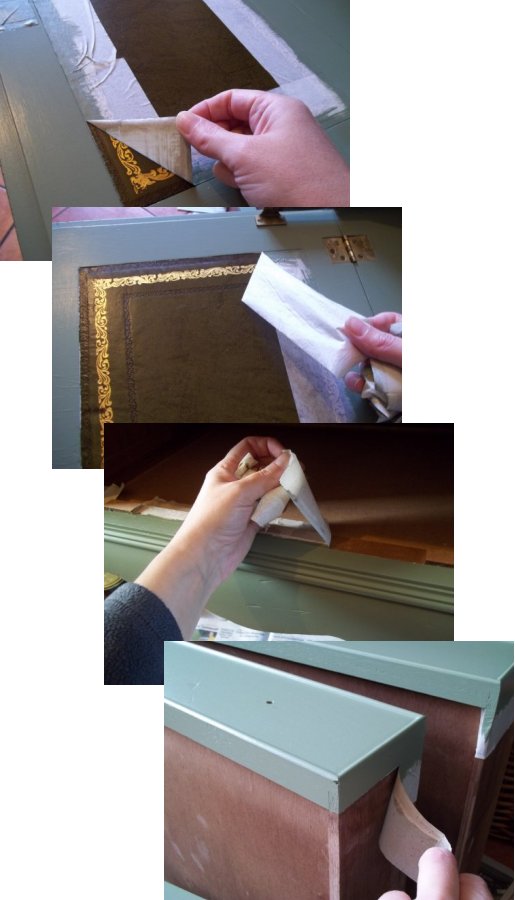
5. Protect areas not to be painted with masking tape.
6. Paint piece with primer and leave to dry (as I'm painting a bureau I need to paint it in two stages;
Stage One: The inside of the bureau and the drawer fronts (leave to dry)

Stage Two: The outside of the bureau (leave to dry)
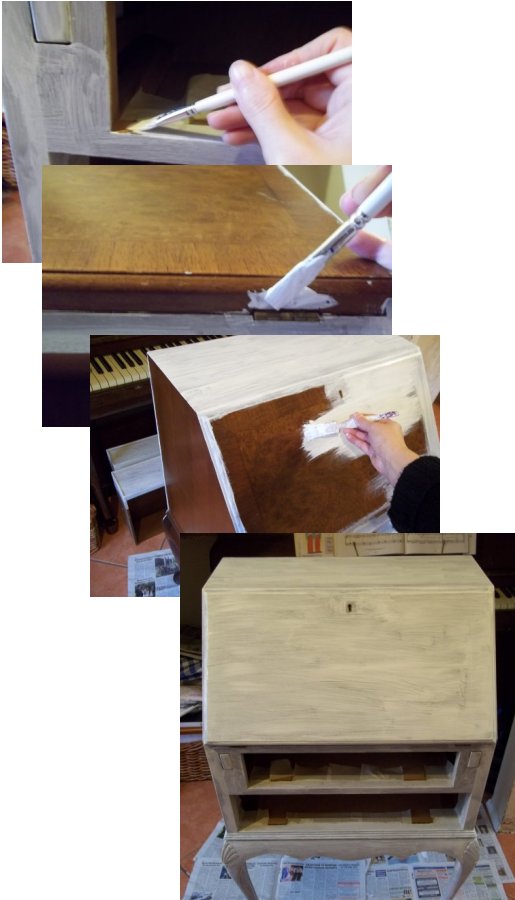
Don't worry; your piece of furniture will look a bit messy at this stage with only the primer on as an undercoat. You will see a big difference once you start to apply the paint.
(It is sometimes difficult to find a primer the same colour as your chosen paint, for this reason some people chose to omit this stage. I prefer to prime as it provides a sturdy base for the paint and will make it more hard wearing. I have primed my bureau in white which is the most common colour for primer, this way you can see the effect achieved when distressing using a different colour primer to the top coat paint. Also my bureau was dark in colour and by priming with white first it made it easier for the colour to cover it.)
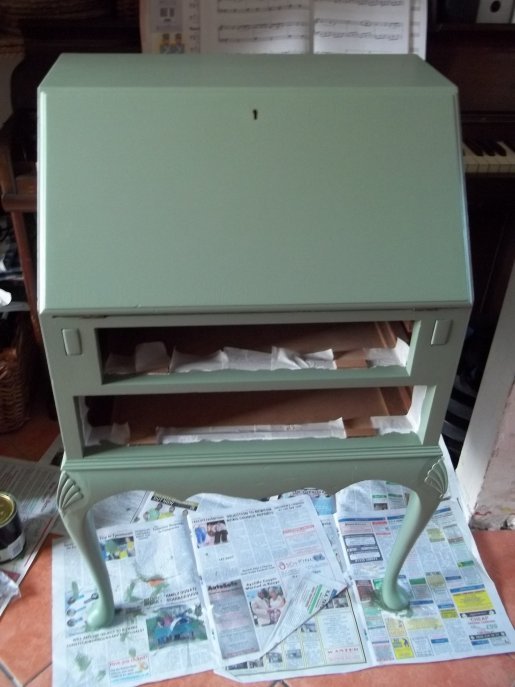
7. Paint with chosen coloured paint and leave to dry (follow directions on the tin). Two or three thin coats may be required for the best coverage of paint and to help your piece be more hardwearing. Again I needed to paint the bureau in two stages, leaving it to dry thoroughly between coats and before starting the next section;
Stage One: The inside of the bureau and the drawer fronts (leave to dry)
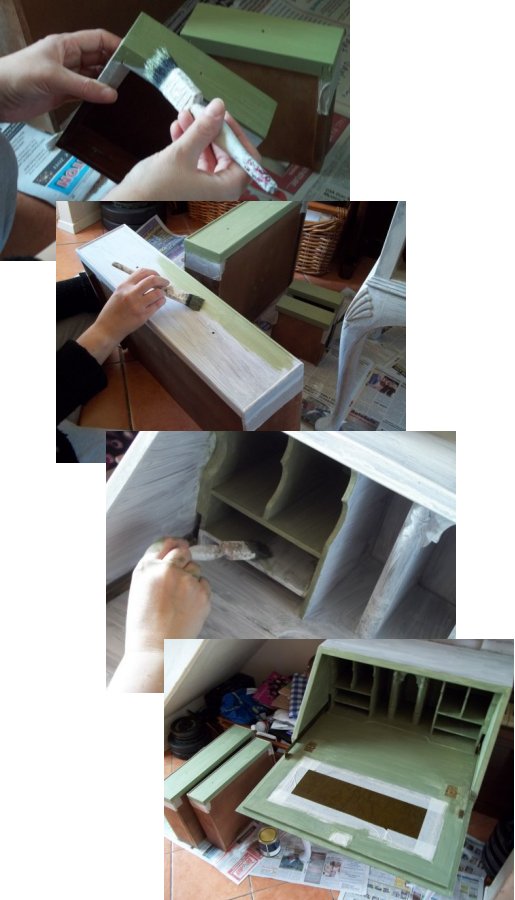
Stage Two: The outside of the bureau (leave to dry)
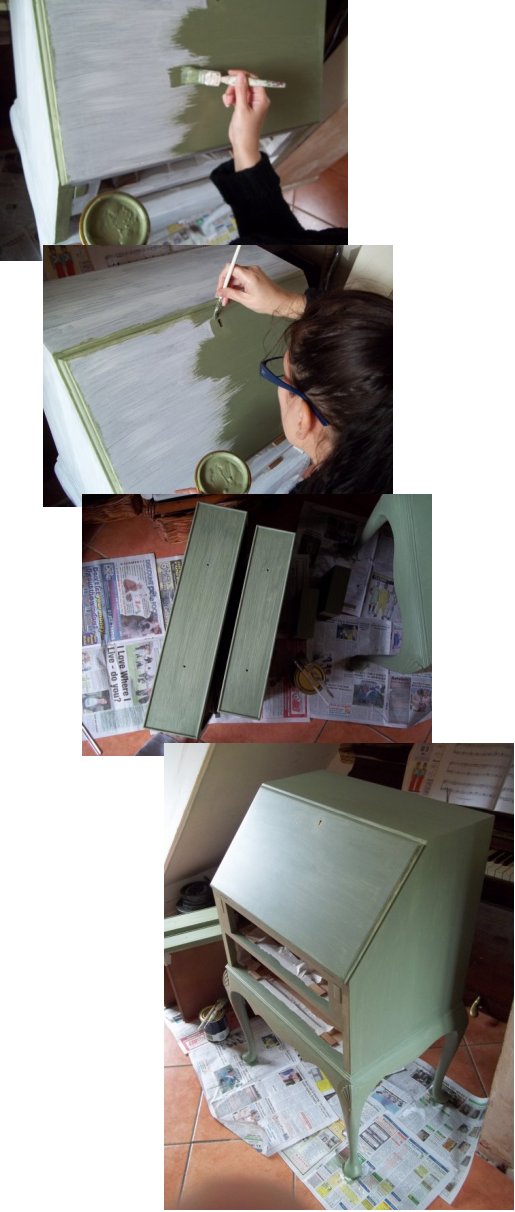
Repeat the two stages again. I painted the bureau three times.
8. Leave to dry thoroughly.
9. Carefully remove any masking tape.
10. Now is the time to have a bit of fun. Distress your piece of furniture by rubbing off with sandpaper some of the paint revealing the wood beneath. Start with a rougher sandpaper than we used to key the surface earlier and then go over it with a finer sandpaper (like we used earlier), this helps the distressed areas to blend in more naturally. Think about where your piece of furniture would naturally get the most wear and tear and start sanding there. While distressing keep standing back to view your piece, this will help you to decide which areas you want to distress.
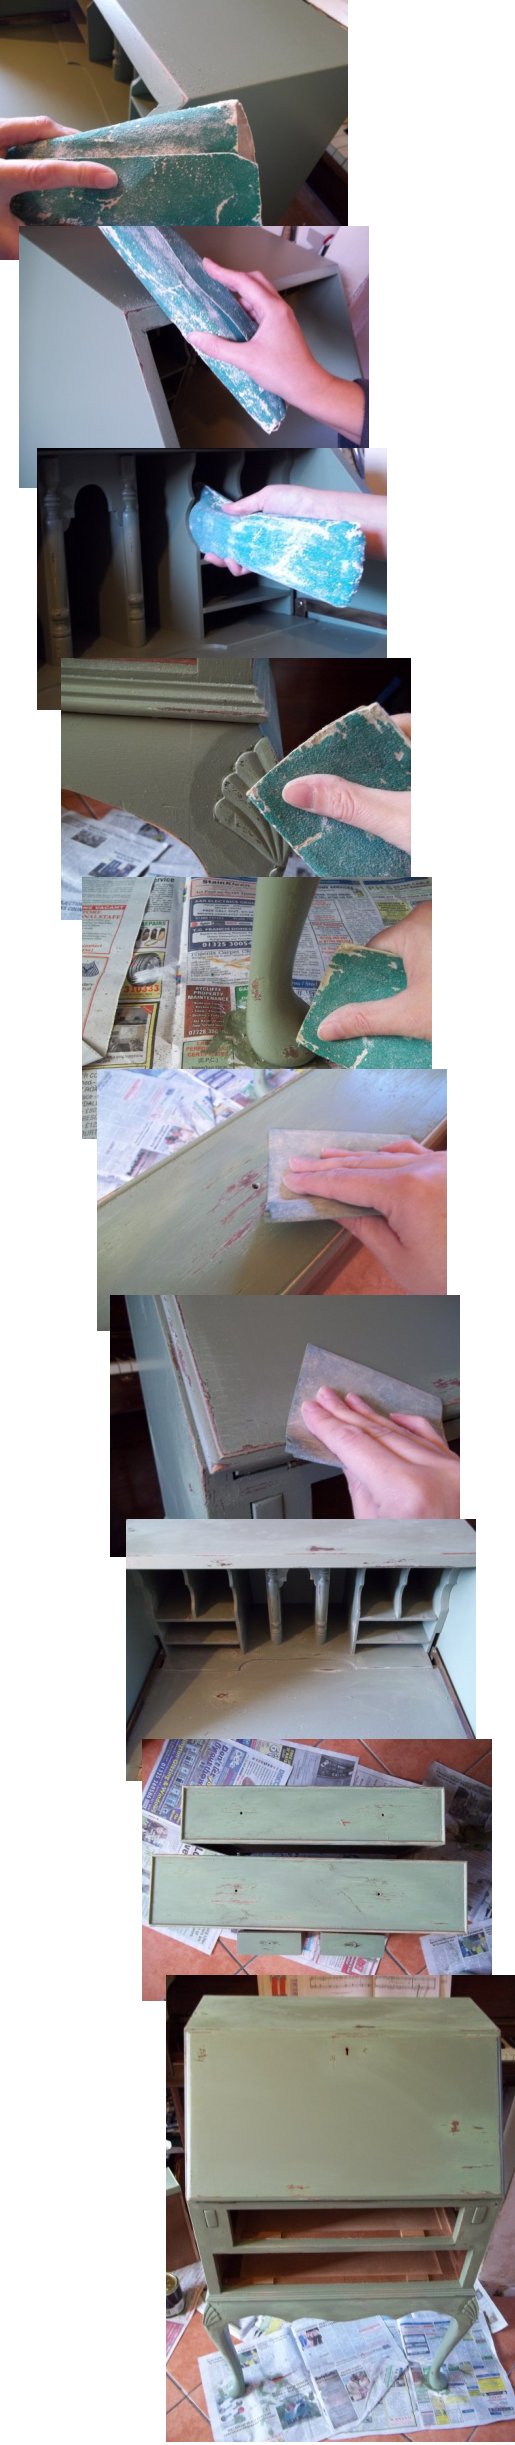
11. Wipe with a damp (not wet) cloth to remove dust. Place the drawers back in position and view your piece, if you think it needs a little more distressing then now is the time to do it before the waxing stage. When you are happy, take the drawers back out, wipe with a damp cloth and leave to dry.
(Don't worry that you may be able to see some fine sanding scratches, the wax covers them.)
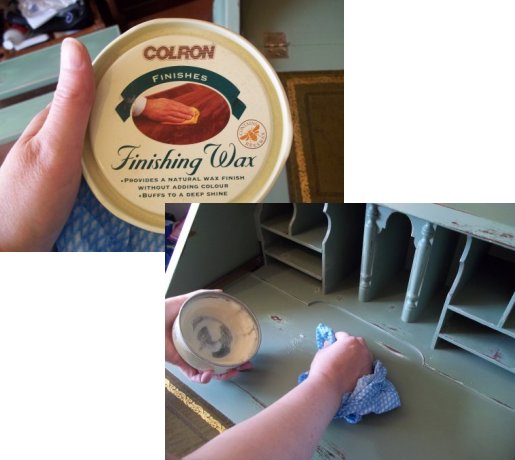
12. Apply a thin layer of furniture wax all over your piece of furniture; especially where there is exposed wood and leave until touch dry (always follow directions on the tin).
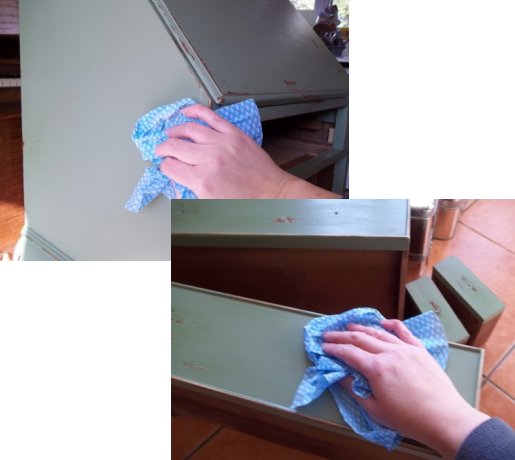
13. With a clean cloth buff (rub) the piece of furniture all over (it should not feel sticky). To provide continual protection for your piece of furniture, wax every so often (this depends on how much your piece of furniture gets used, for example a chair that gets constant use will need waxing more often that a mirror that just hangs on a wall)
14. If you are using new handles, attach following the directions that accompany them.
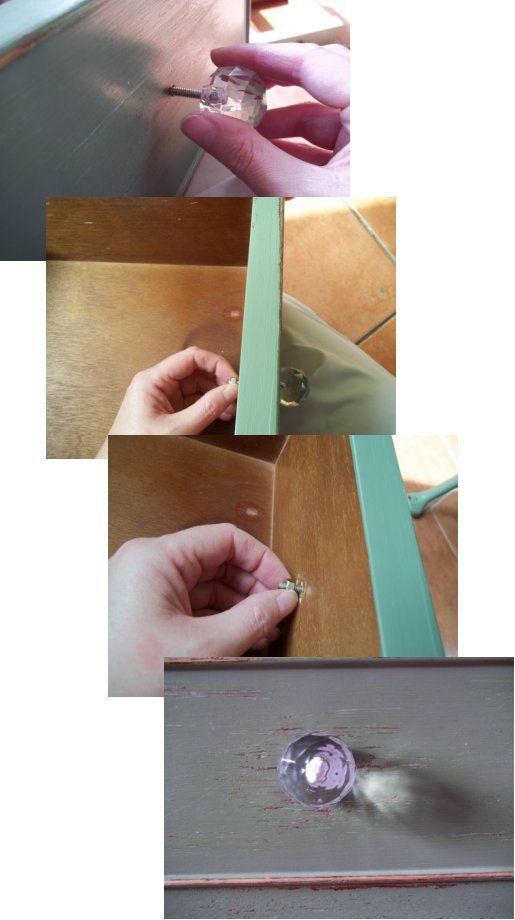
15. Stand back and admire all your hard work.don't be surprised if you find yourself scouring charity shops and sale rooms for your next project to shabby chic.
Back to the Other Stuff projects menu...