

How to Make Reversible Fabric Bunting
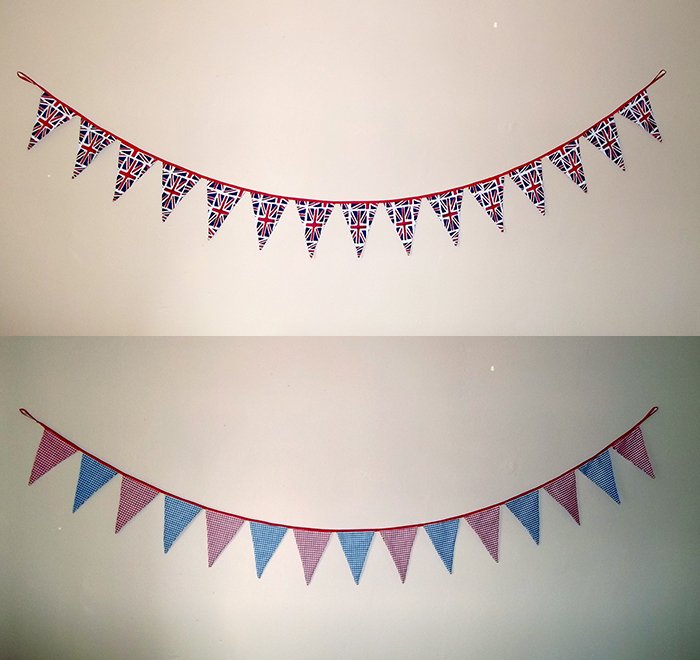

Bunting never goes out of fashion, especially here in Britain, it is based on a simple design & really easy to make and by having themed fabric on both sides you get two looks for the price of one. Bunting doesn't just have to be for summer parties, your chosen fabric theme can be especially for girls, boys, Christmas, Halloween, Weddings.you can even make it to match your décor and hang bunting in your home all year around. Originally bunting was made in the colours of your countries flag, so in honour of this tradition I've made mine from red, white & blue fabric.
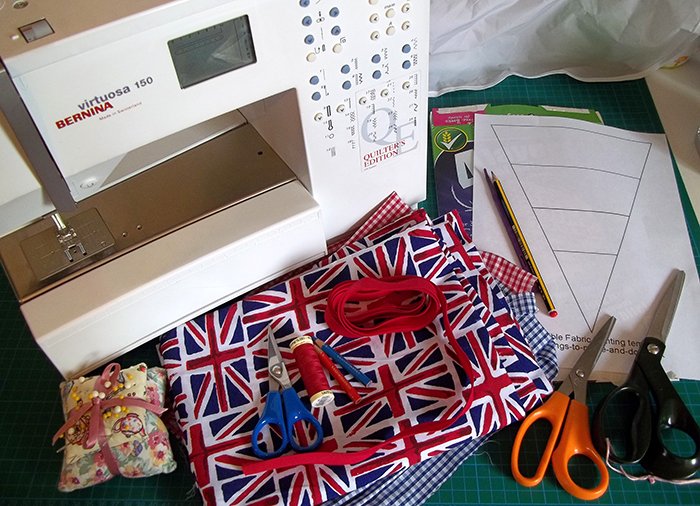
You will need:
Card/cereal box to make a re-usable template
Pencil
Scissors (for paper & card)
Sewing machine (optional)
Basic sewing equipment (needle, pins, fabric pencil, fabric scissors etc)
Fabric (for one side of bunting)
Fabric (for the other side of bunting)
Bias binding or ribbon
Thread (to match or contrast with fabric & bias binding)
Ruler or tape measure
Iron & ironing board
What to do
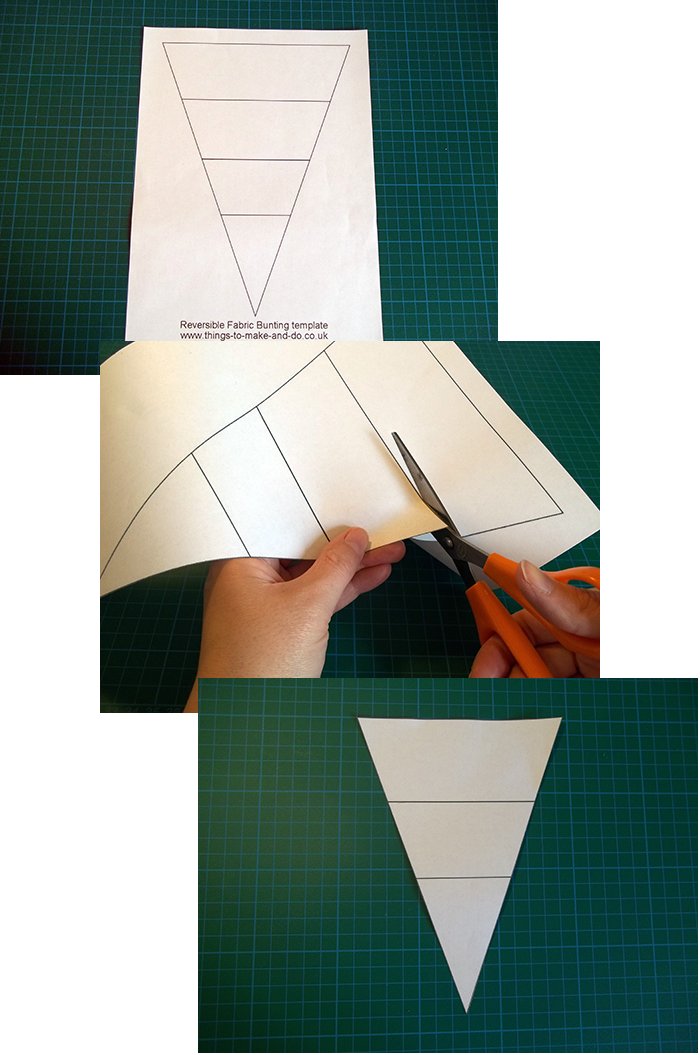
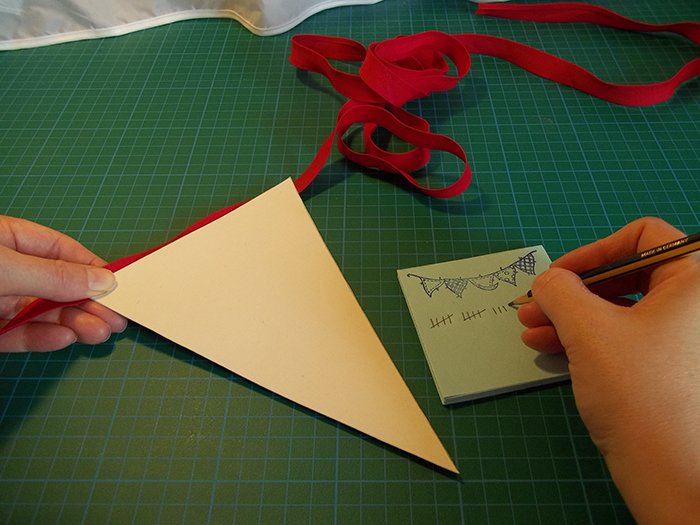
1. Print out the triangle flag template below (or draw your own), the template provides four different size bunting flags. Cut out the size flag you want to use for your bunting.
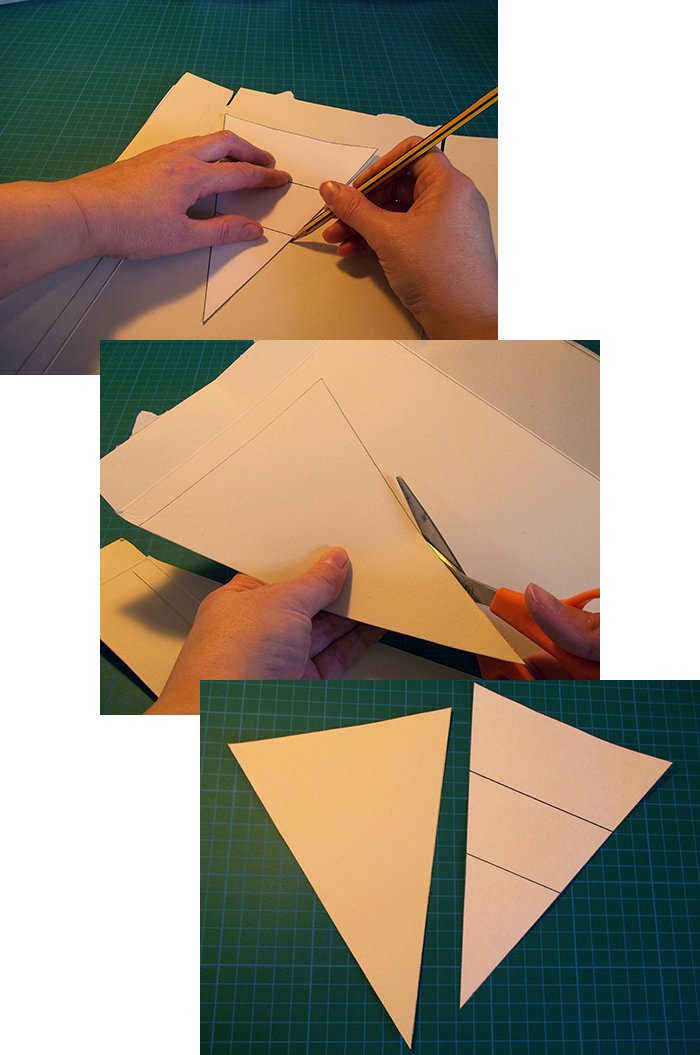
2. Carefully draw around the paper template onto some card and cut out (this will make a stronger template that can be used over and over again).
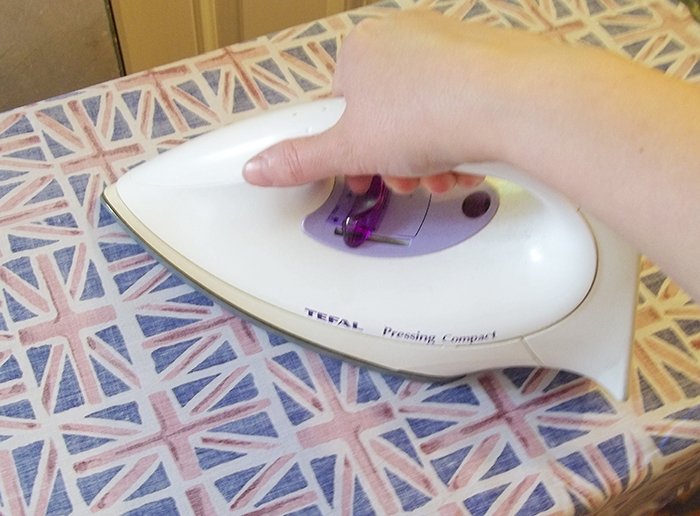
3. Iron the fabric.
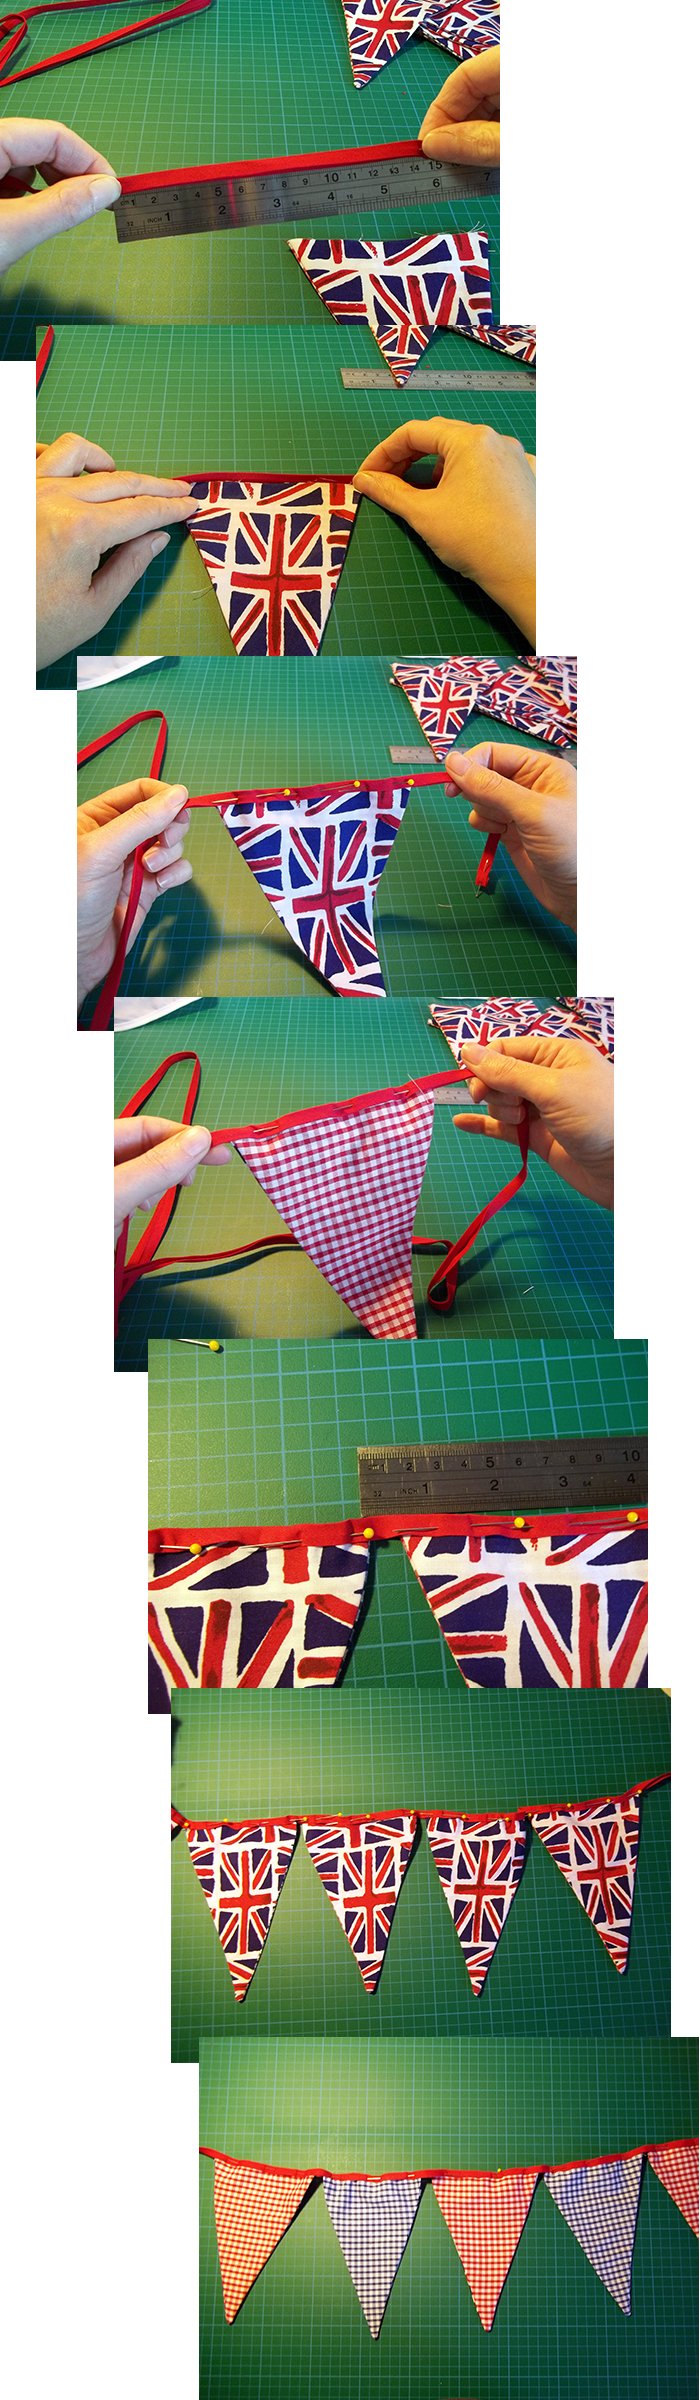
4. Work out how long your piece of bunting will be and how many flags you will need (this will depend on how long your piece of bias binding/ribbon is and which size flag template you chose).
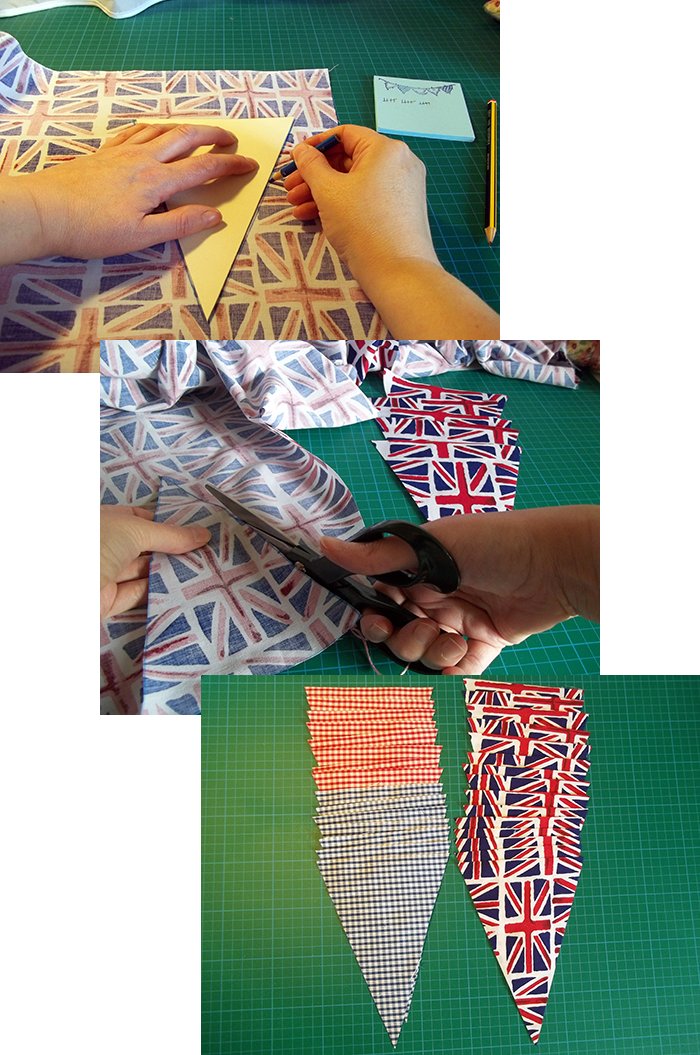
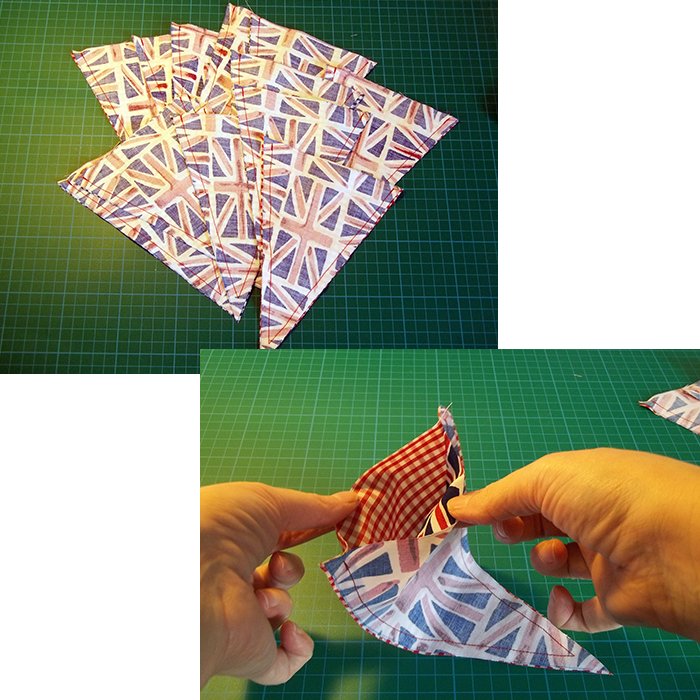
5. Using the template draw (on the wrong side of the fabrics) and cut out enough flags for the front and back of the bunting (two for each flag, one design for the front and a different design for the back).
6. With right sides facing pin together a front and back for each flag.
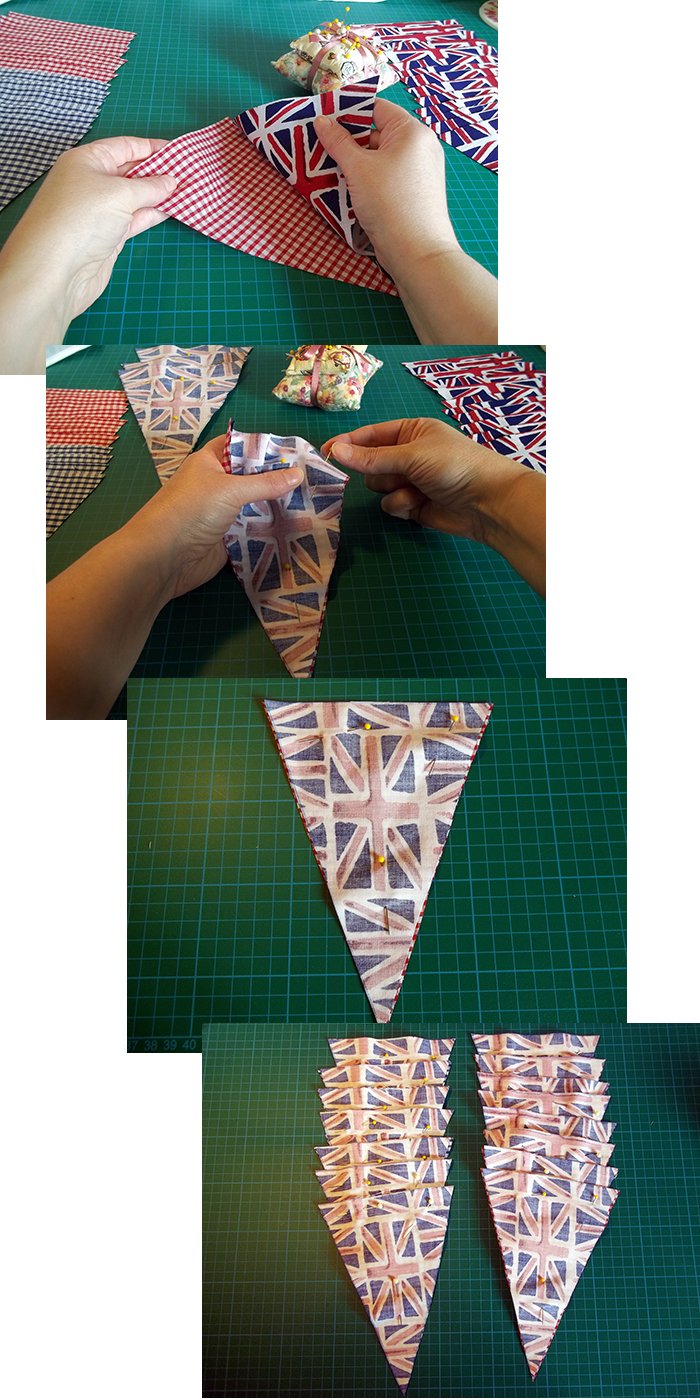
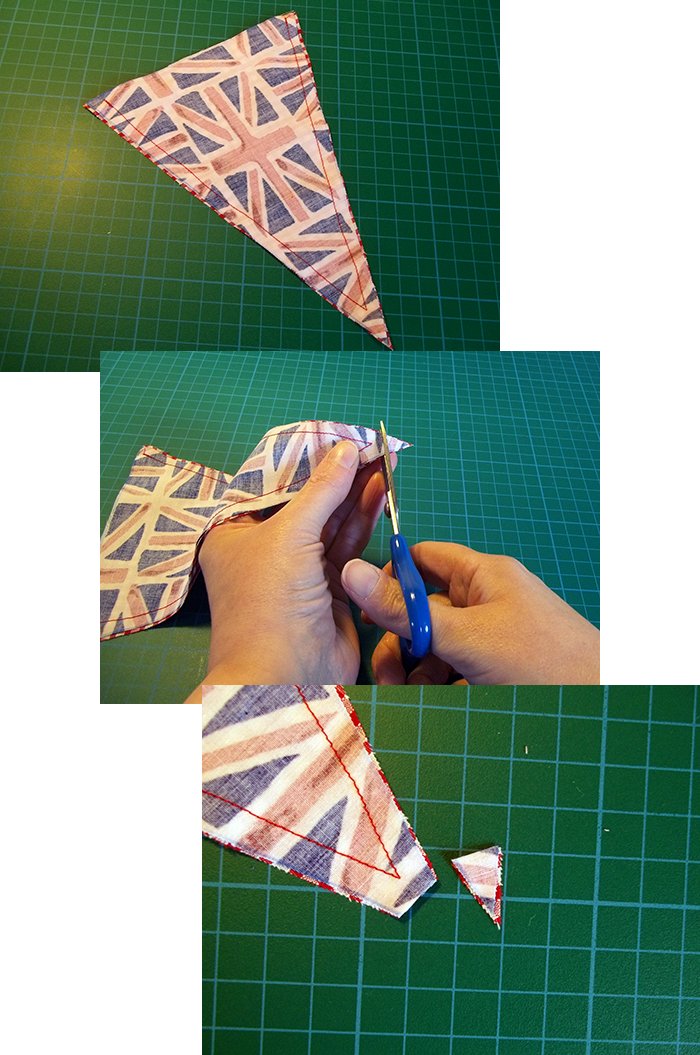
7. Using a ¼ inch seam and backstitching at the beginning & end (to secure stitches) sew along the two long sides of each flag (leave the top seam open) and snip the threads.
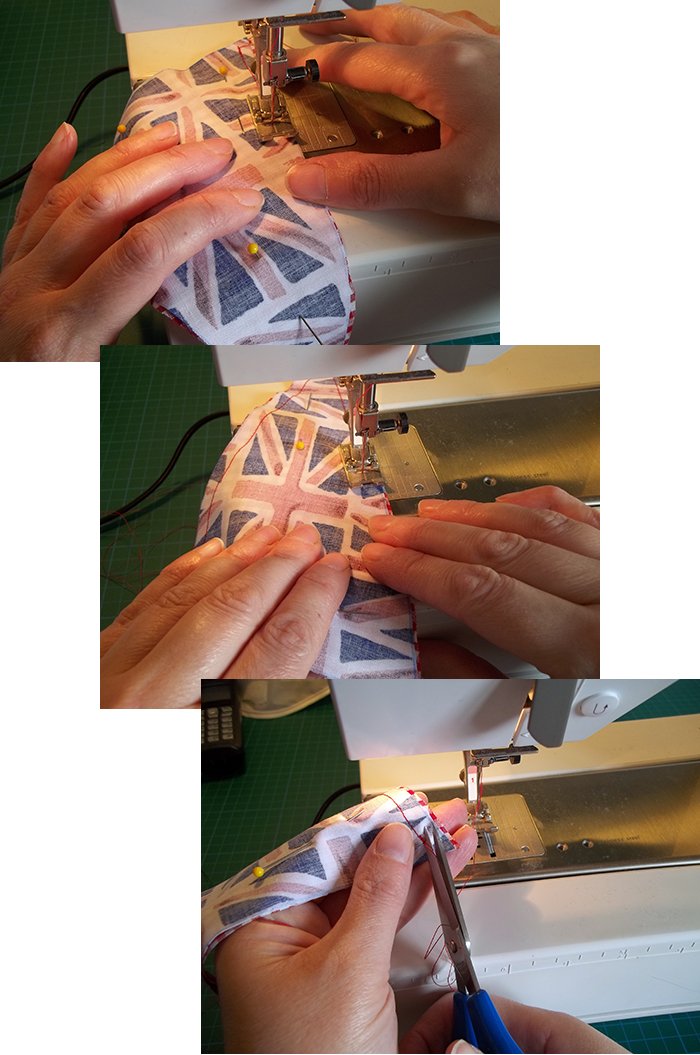
8. Take out the pins and snip a little off the point to reduce bulk (do not cut too near the stitches).
9. Turn the flags right way out, carefully poke out the point (I use 'that purple thing' from Cotton Patch, but a good alternative is a knitting needle).
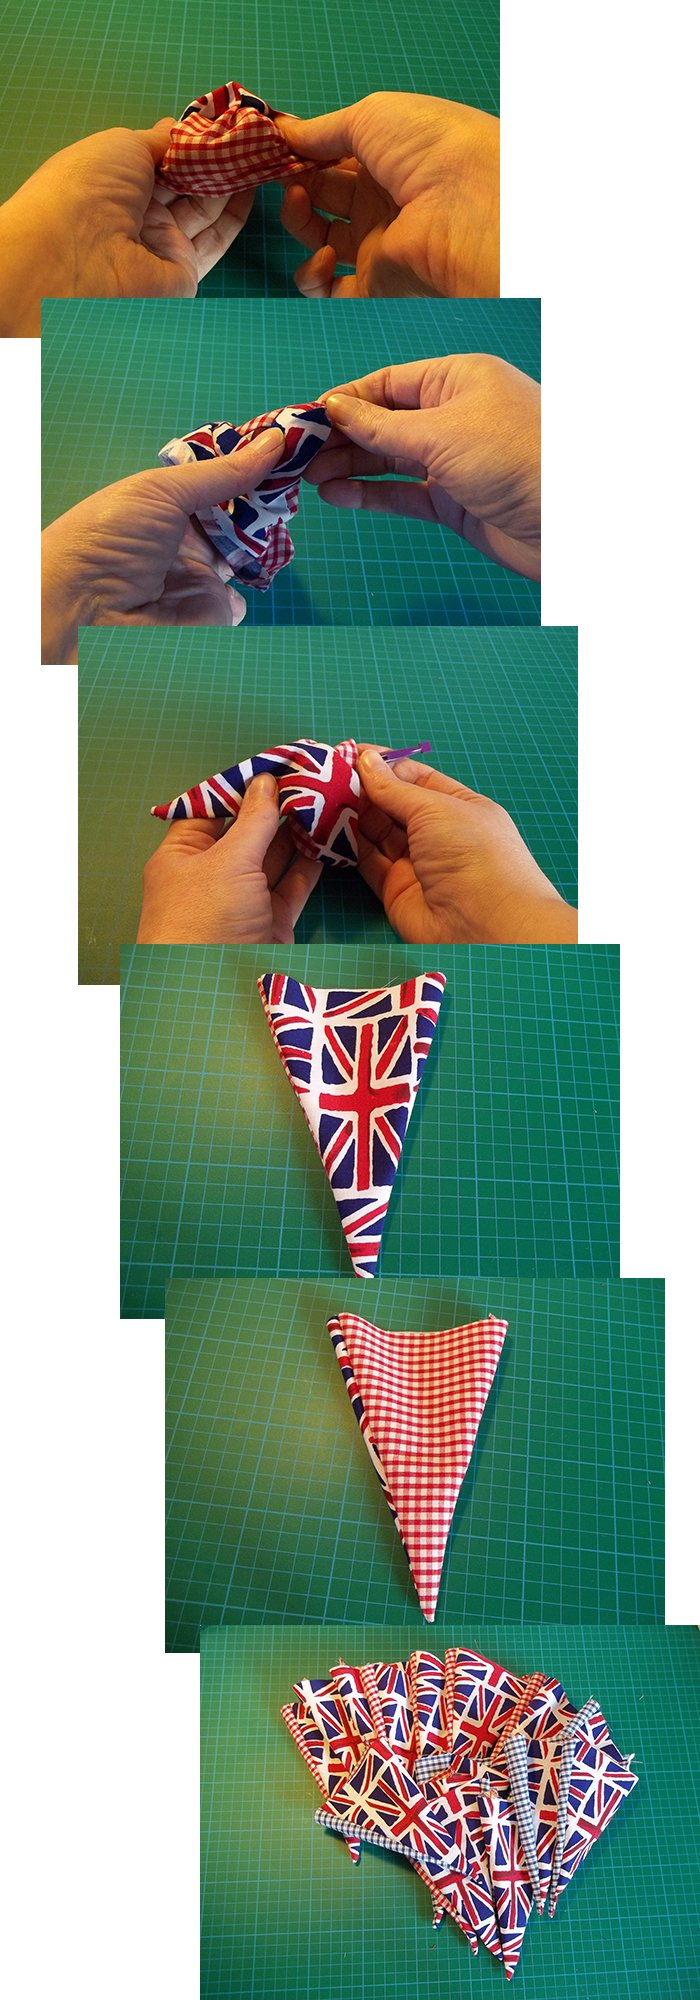
10. Iron the flags.
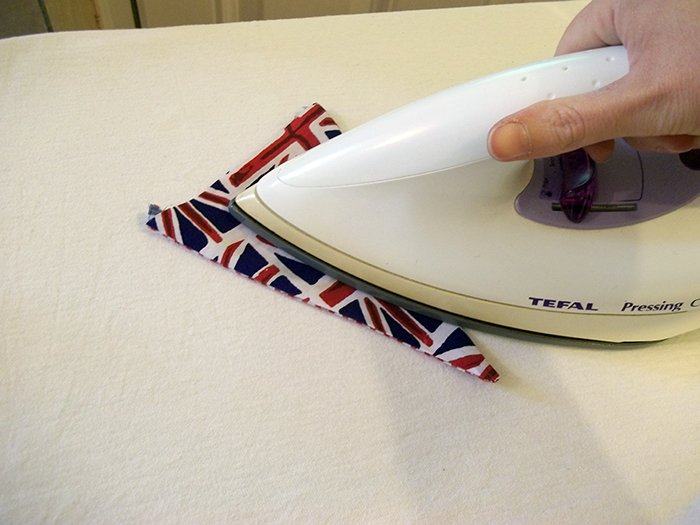
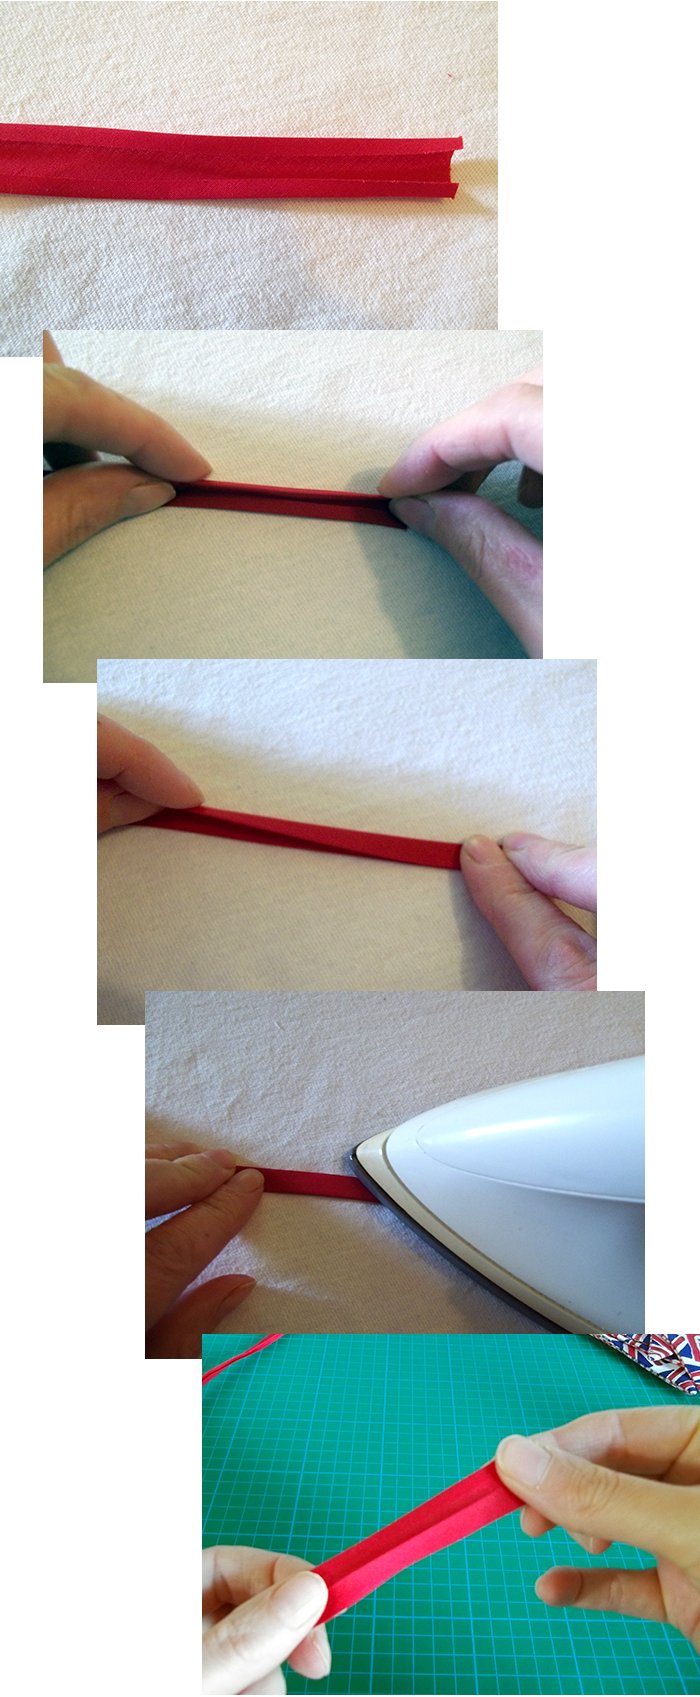
11. Carefully and accurately iron the bias binding/ribbon in half lengthways (be careful not to have your iron too hot if you are using ribbon). You should have a crease down the centre point.
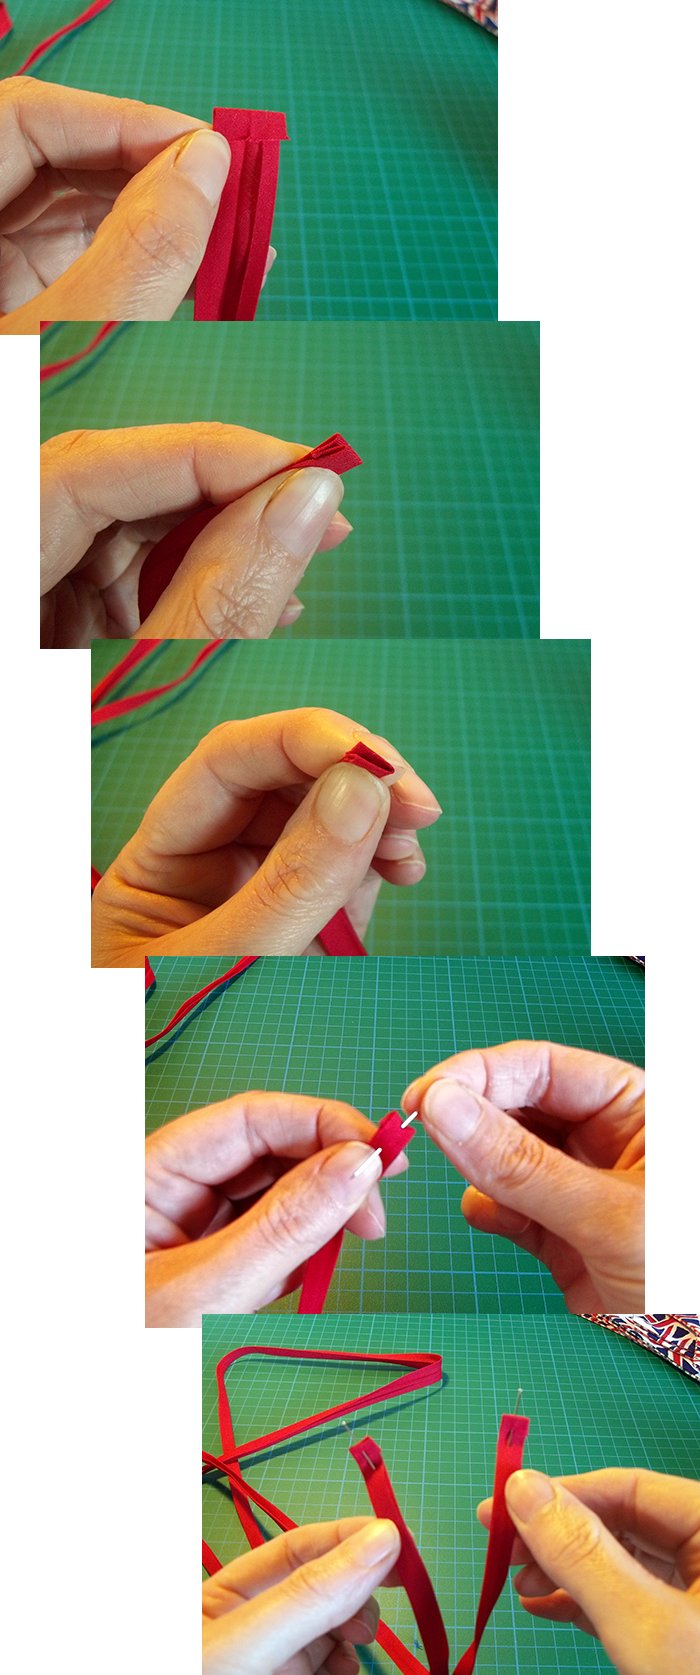
12. Turn the ends of the bias binding/ribbon in a little, fold in half and pin in place.
13. Trim the seam tops that are showing above the open top edge of the flags.
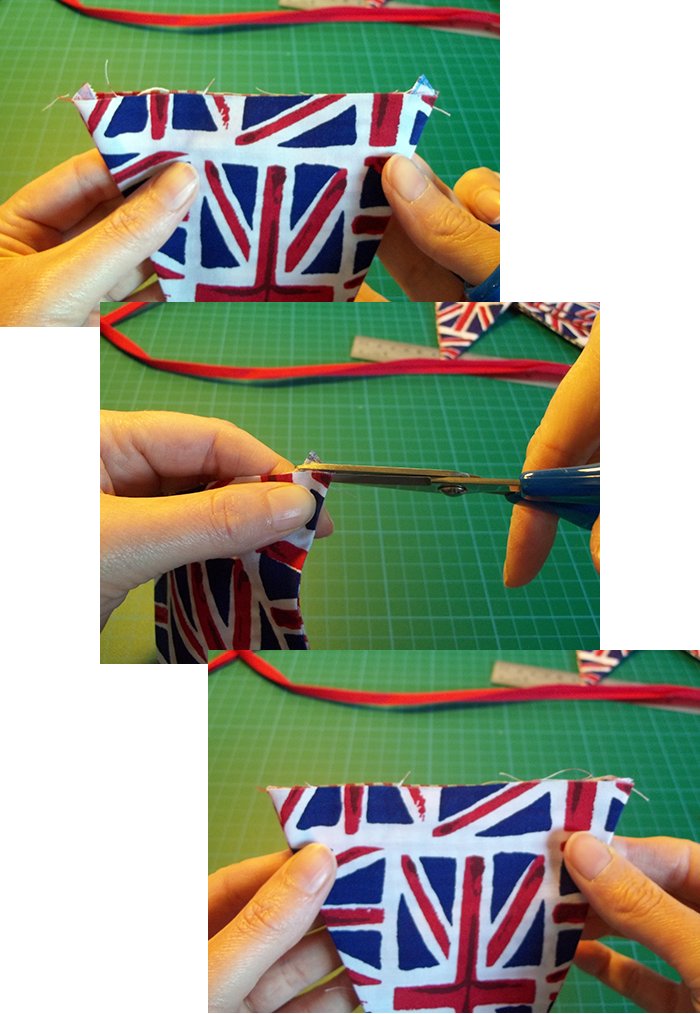
14. Leaving a length at each end (about 15-20cm for tying or 10-15cm for making a loop) equally space and pin the flag tops to the inside of the bias binding/ribbon, sandwiching them inside.
**TOP TIP - THE BIAS BINDING/RIBBON MUST BE PLACED OVER THE FLAGS SO THAT THERE IS AN EQUAL AMOUNT ON BOTH SIDES, THEY SHOULD LINE UP PERFECTLY WHEN PINNED TOGETHER - TOP TIP**
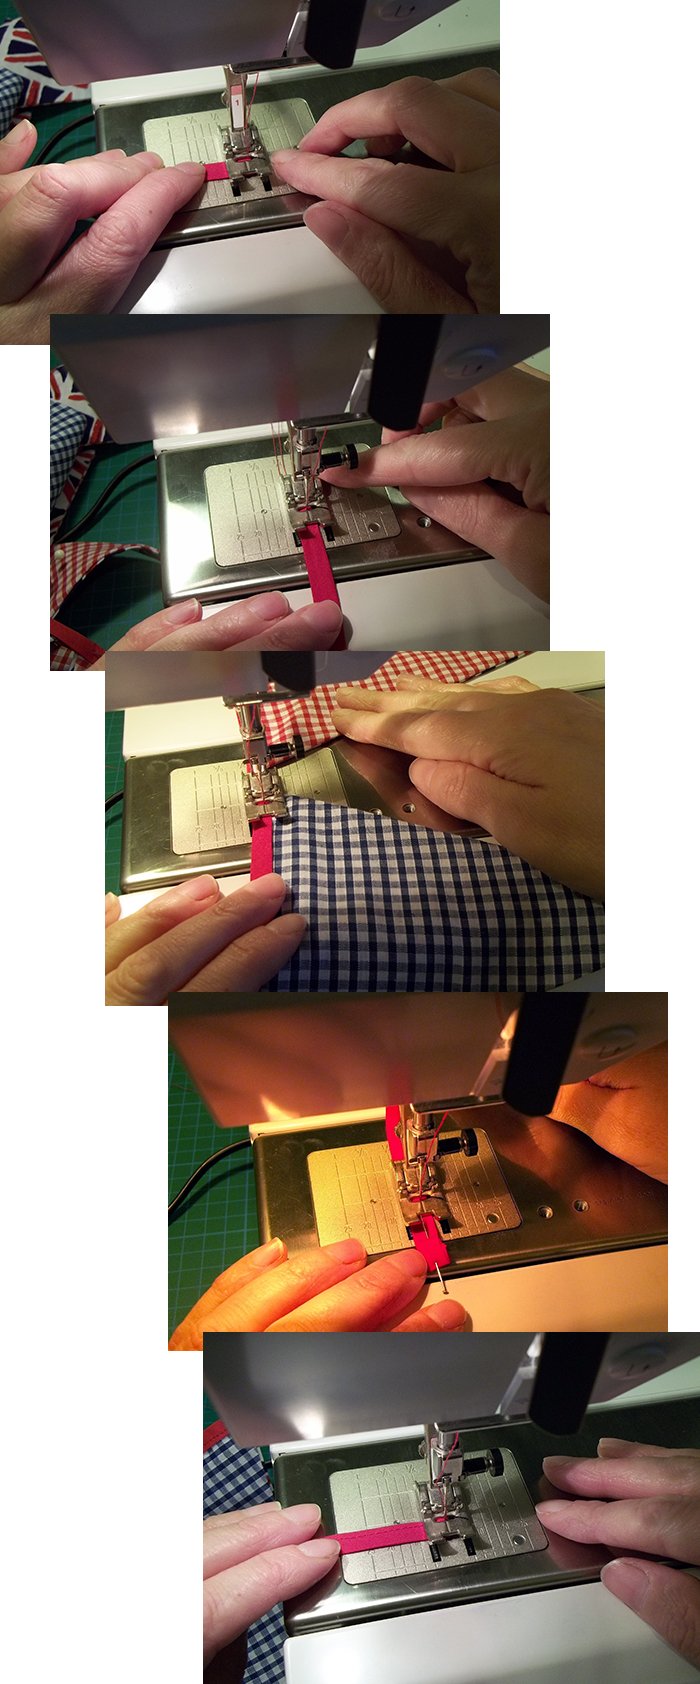
15. Start by sewing one of the pinned ends together about 2-3mm in from the edge, turn the corner and sew (about 2-3mm in from the edge) along the whole length of the bias binding/ribbon and through each flag until you reach the other end, turn the corner and sew the end closed. Remove the pins (you may find it easier to remove the pins as you are sewing).
**TOP TIP - I FOUND SEWING THE ENDS AND THEN TURNING ETC WITH THE SEWING MACHINE VERY FIDDLY, SO I WOULD RECOMMEND SEWING THE ENDS CLOSED BY HAND AND JUST SEWING DOWN THE LONG LENGTH BY MACHINE - TOP TIP**
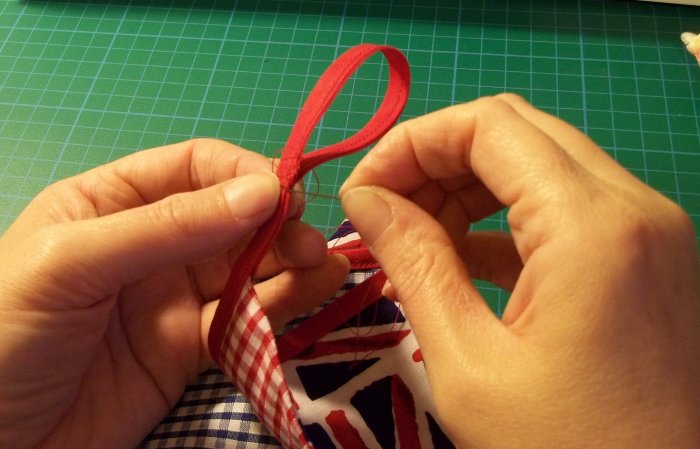
16. If you want to loop the ends for hanging then just turn each end over making loops and sew in place either by hand or machine.
17. Hang up your bunting and enjoy the party!

Back to the Fabric and Sewing menu...